

0


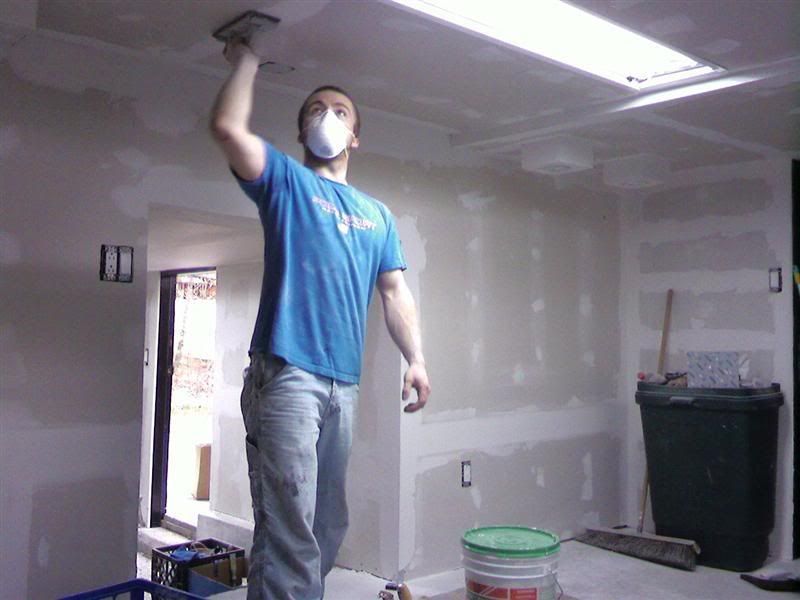
This past weekend (Easter weekend) I was able to get out there for all day Saturday and the morning of Sunday to get some work done. I finished everything involving all three doorways, did a couple bits of trim work, and did a little more mudding.
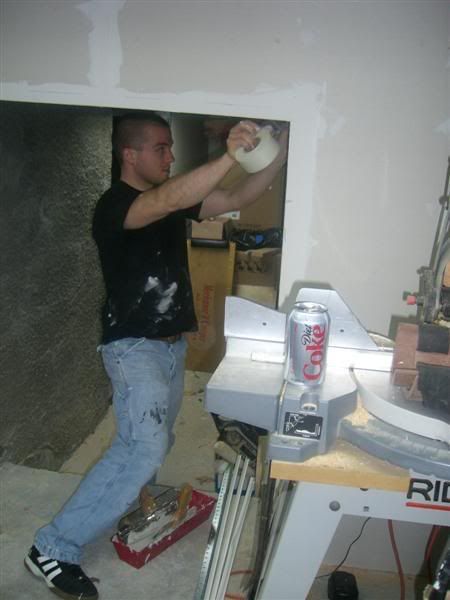
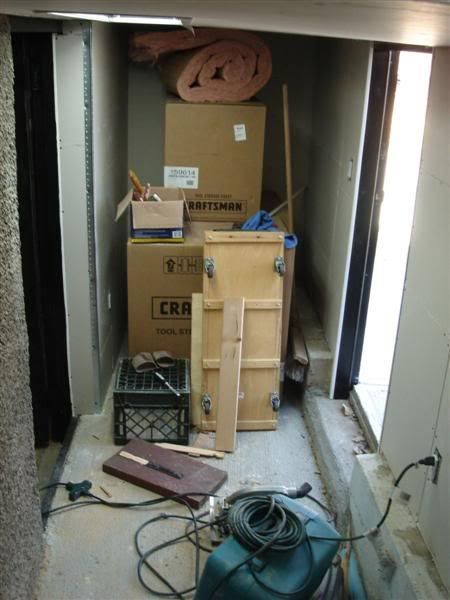
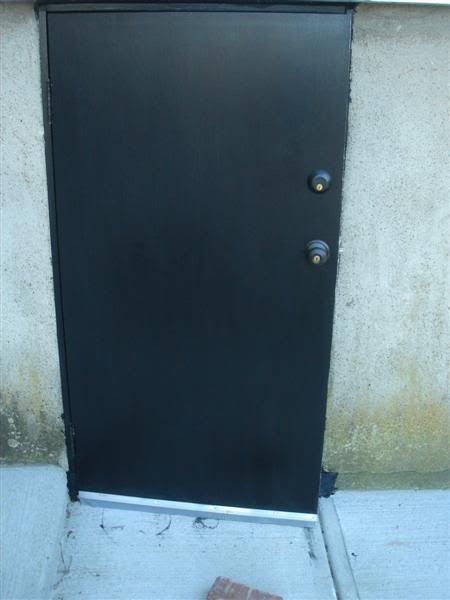
I gave another coat of paint to the door that goes into the main basement and painted the whole frame that it hangs on. I chiseled out bigger hinge cutouts on the frame and the door and hung it up. Looks 1000x better now:
I repainted some of the trim on the small door, and attached a doorsweep to the bottom. Cashmoney:
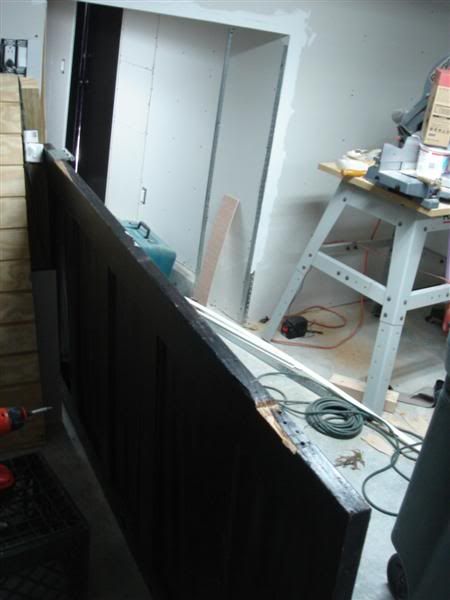
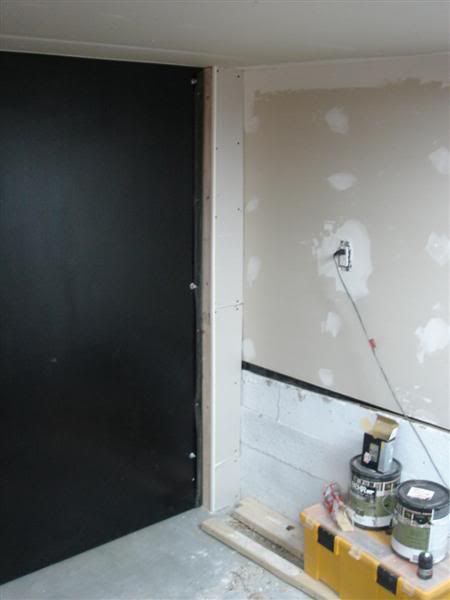
I boxed in the corner near the door because it was still exposed and drywalled it:
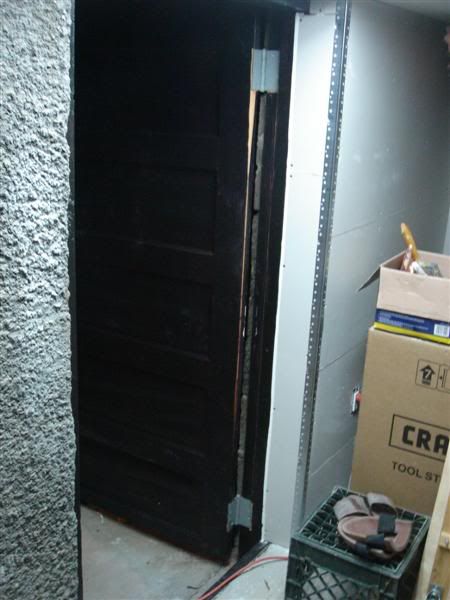
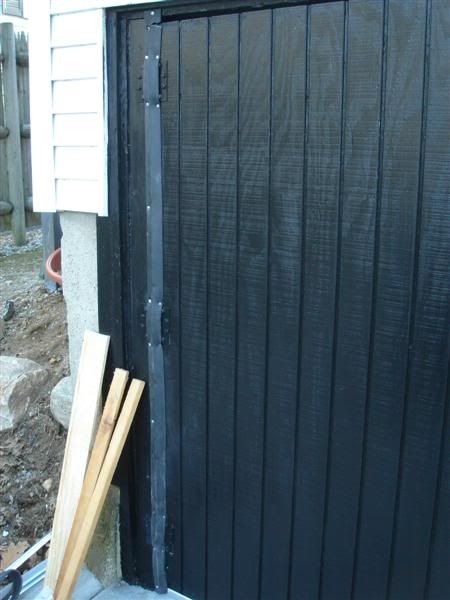
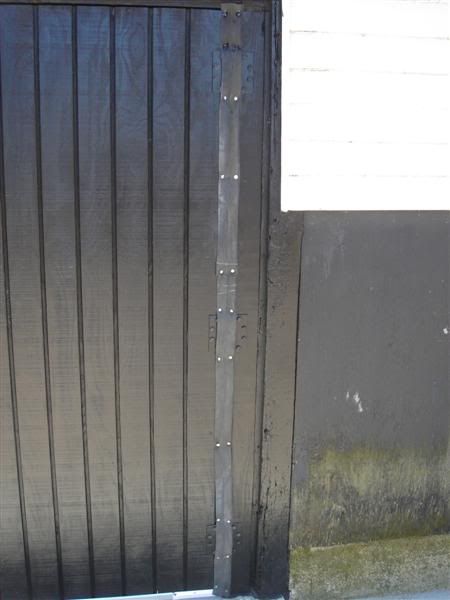
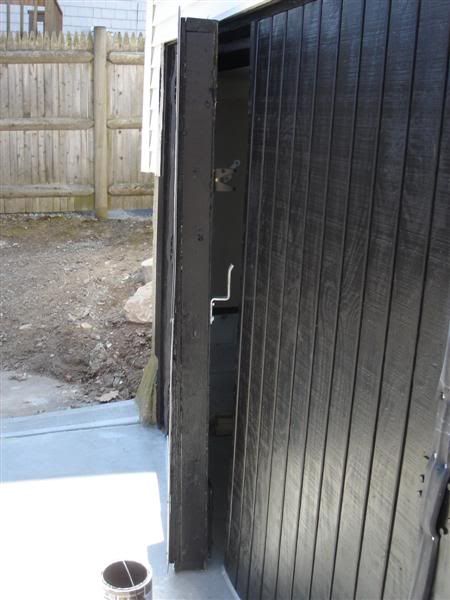
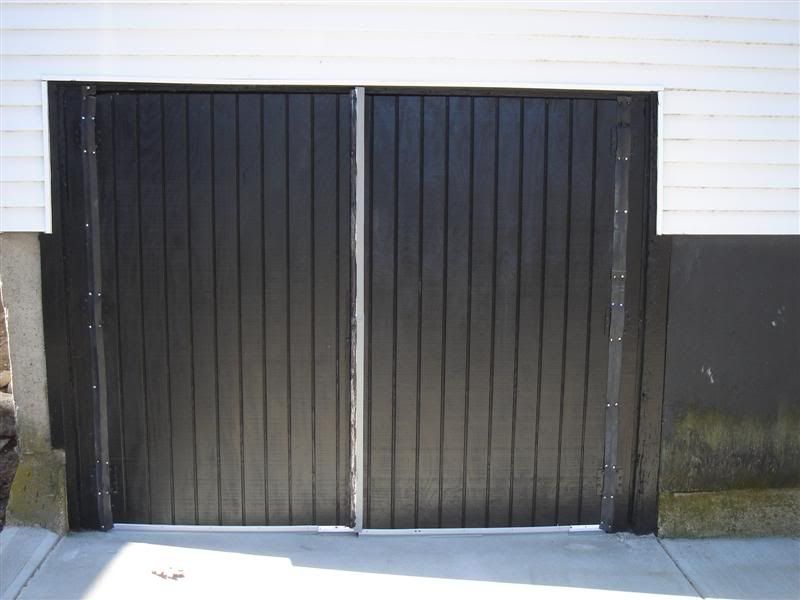
For the main doors I used some rubber weatherstripping to cover the gap near the hinges. I nailed some on the inside (forgot to take pics) wrapped around the corner so that as the door is closed, the strip gets compressed between the door and the frame. Then, for redundancy, I tacked a sheet over the gap on the outside as well. I think I'll probably dab all the nailheads with black paint just to improve the appearance next time I'm out there.
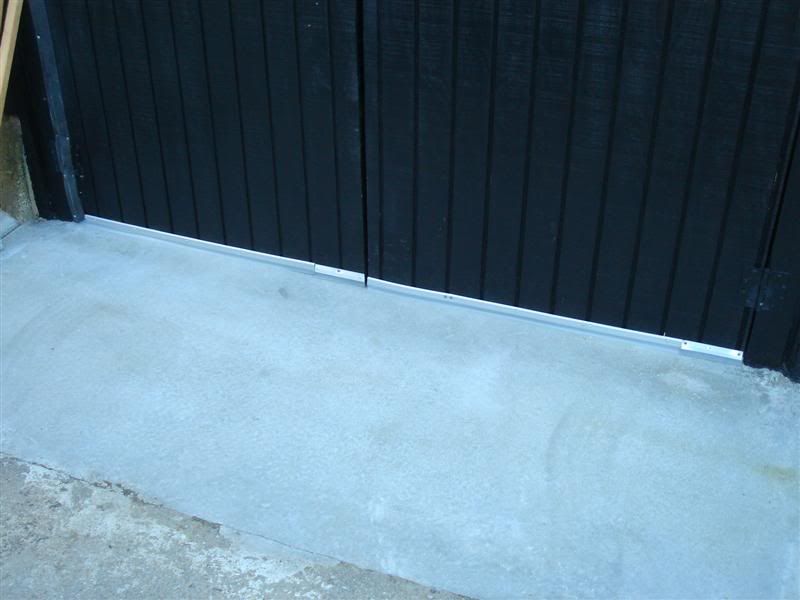
I put door sweeps on the bottom of both doors. They didn't come long enough so I had to buy three and chop one up:
Now comes the only real mistake I've made in this whole build (besides a couple small electrical brainfarts which I fixed). When building the doors, as I was putting on the sheeting on both sides, I used tons of construction adhesive as well as nails/screws for the back/front. After this, I stacked the doors on top of eachother and left them on my work table. But, I forgot to put some weight on top of the top door, so as the adhesive dried and hardened, the sheet moved/warped. This manifested itself when I hung the doors as the doors appearing to not be square, which is not the case.
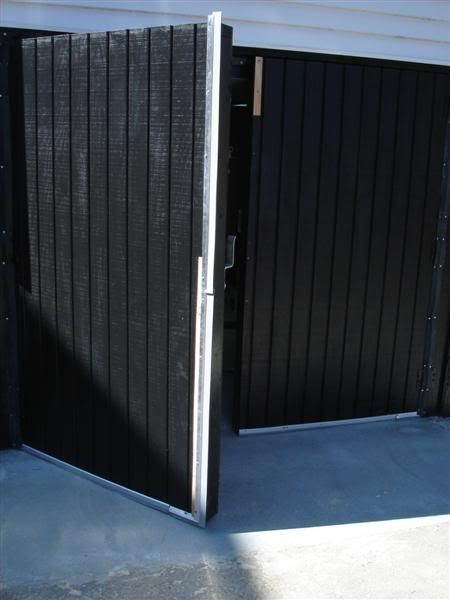
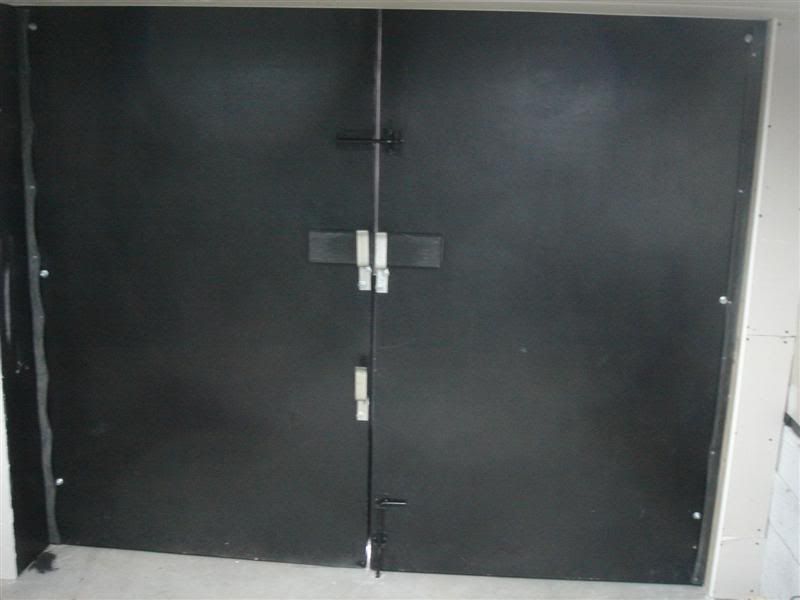
In order to seal the gap in the middle of the doors, I decided to get extra large door sweeps which had a wider piece of rubber sheet than most, and just mount them vertically. But, due to the screwup I just mentioned, the doors don't line up perfectly and the flap wouldn't seal all the way. So I traced the error onto a board and used a belt sander to create my own 'shim'. Worked great:
Then I painted those trim bits and you don't notice them at all:
I decided to paint the sweeps in the middle because I thought they looked funny. The paint didn't go on too well so they will need a couple more coats, this was on sunday right before I had to leave to do Easter stuff so I didn't do a great job. I'll fix it next time:
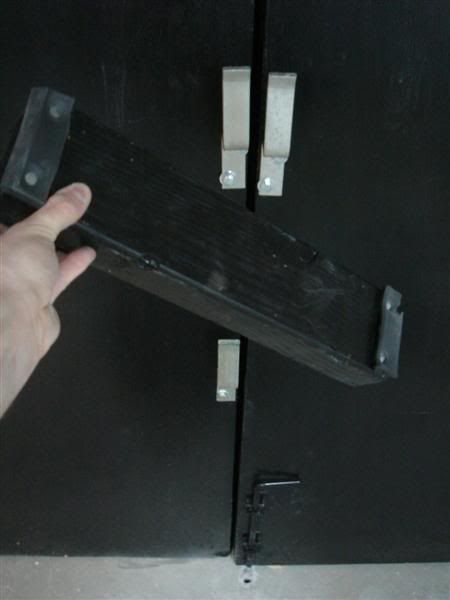
I painted the crossbar and tacked some rubber to it so it doesn't scratch the door when putting it in:
I did a little more mudding in the corner and on the ceiling:
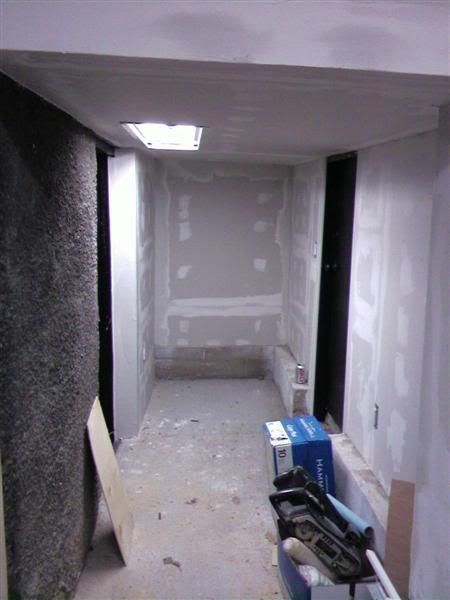
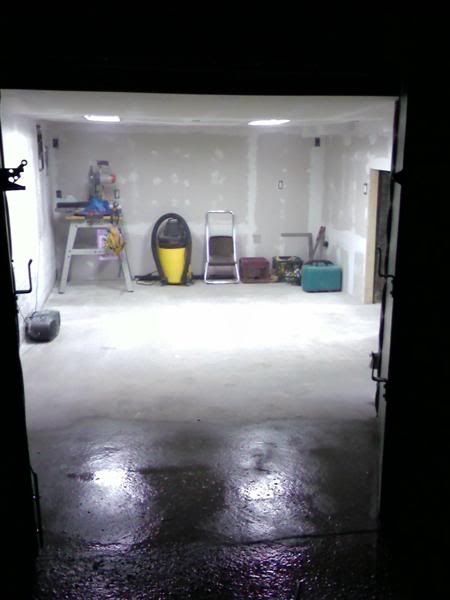
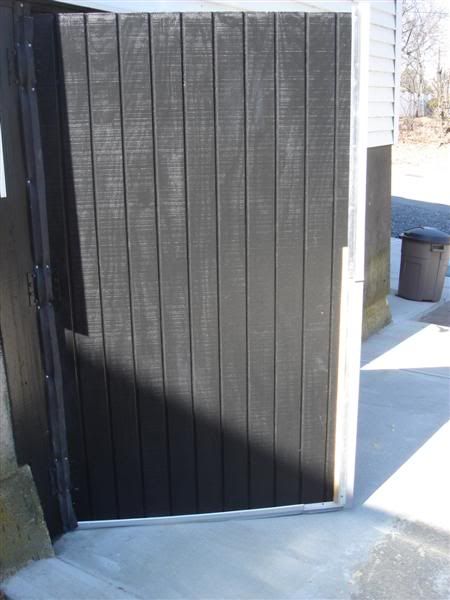
From the outside, the place looks pretty good, if I do say so myself. Especially considering the doors I built cost about 3% of what I was quoted to have a set built.
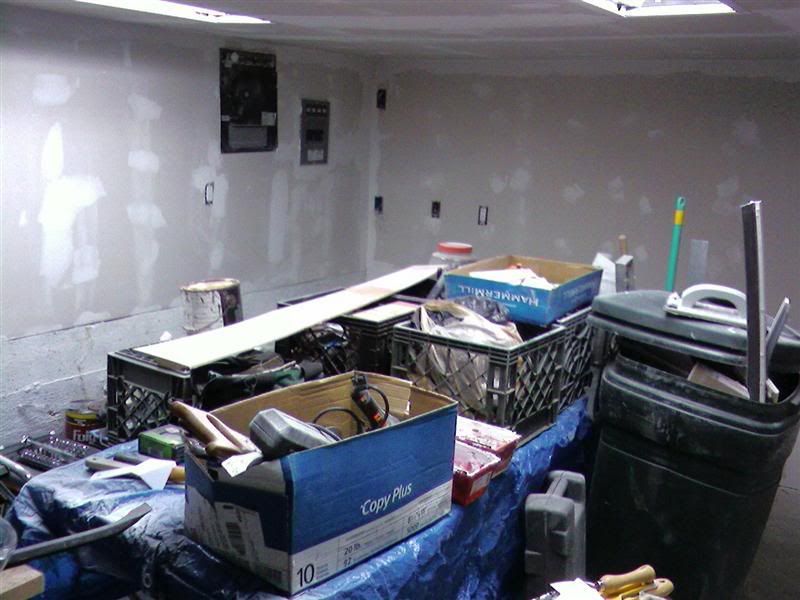
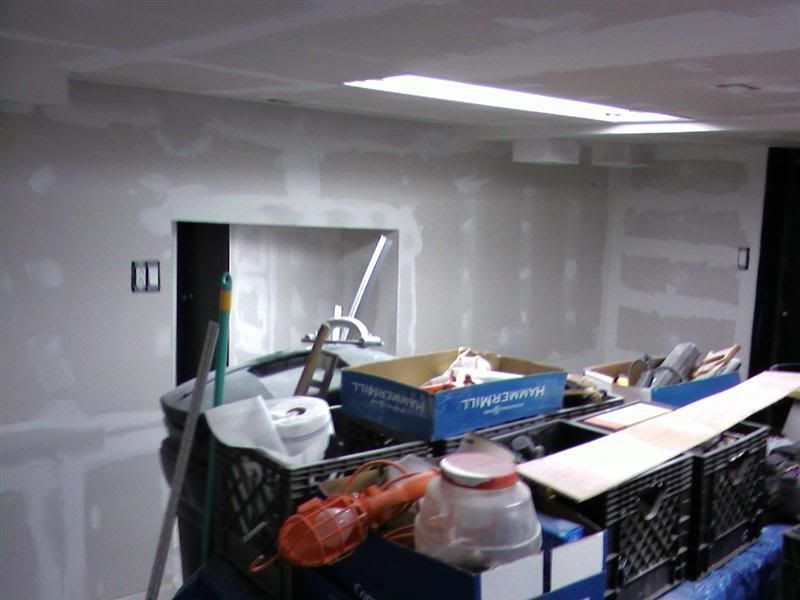
Inside looked alright sat night:
Unfortunately I've got a shitty couple of weeks with work, this one and next week, so I'm not sure if I'll be able to get much/anything done for a bit
Left:
- One small bit of trim work
- Mudding, sanding
- Clean the whole joint out, throw away scraps, etc to get ready for paint. Lay down plastic sheeting over the whole floor
- Priming, painting
- I want to use a baseboard that I can seal to the floor to make it waterproof. Since the place isn't that big I think I might splurge on these because they'll look fuckin' badass. Then I'll use clear caulking to seal the joint at the floor. Will make mopping the place really easy.
- Design and build workbench. Put a beer fridge under it.
- Build all shelving. The small room will be all shelves, and there will be shelves for the stereo.
- Set up tool chests, fill, organize, etc. In general organize the whole joint.
- Down the road, I want to do the epoxy flooring. We'll see when I get the money and time to do it.
I'm also going to tackle a job in the main basement as well, but that is a story for another day
Zip-Tie Alley Racing
LRRS/CCS #103
PPS | Dunlop | Boston Moto | Woodcraft & Armour Bodies | 35 Motorsports | Pit Bull | K&N
PL Sealants & Adhesives
If you use that baseboard done use metal fasteners. Use this stuff and just use painters tape to hold it on for a while. I use this all the time to put on Stainless Steel corner guards and you have to ripoff the drywall underneath to get it off.
Just and FYI><
2006 Ducati Monster S2R800
Hoping to get some work done this weekend. Didn't get any done last weekend unfortunately. Way too much shit going on these days.
Is that stuff clear? Is there a downside to metal fasteners?Originally Posted by BostonSVkid

Zip-Tie Alley Racing
LRRS/CCS #103
PPS | Dunlop | Boston Moto | Woodcraft & Armour Bodies | 35 Motorsports | Pit Bull | K&N
Wow, that looks like it's going to be a great little work shop. Nice job!
No its no clear but if its behind metal what does it matter?
No fasteners just looks cleaner. that stuff is not meant to be put on with metal fasteners.
2006 Ducati Monster S2R800
Have to say I am jealous! Looks great!! You don't need to wait until you are finished to drink beer. Projects such as this one are ment to be completed while drinking beer power tools and beer are a great mix
Thanks man! At this point, I just want it to be DONE... but life gets in the fucking way.
Well if you read back a bit the reason I want to use the metal in the first place is partly because I want to seal it to the floor for waterproofing, and seal the joints between each baseboard piece. That way I can mop the floor and not worry about water getting in to the drywall and wall framing. You could literally fill the room with 4" of water and not ruin the place. That's my thinking, at least. I figured I would just fasten the baseboards to the wall with fasteners and then use some kind of clear caulking to run a bead all around the joint between the floor and wall.
You bring up an excellent point... I usually have a couple beers around... and if you see any fuckups... they're usually the reason for those.
Thanks Jim, you dirty bastard.
I was able to get one good day of work done in the garage this past weekend. I had a friend visiting again. Next weekend will be dedicated to garage work and starting my bike prep for the track in 3 weeks and for the season in general.
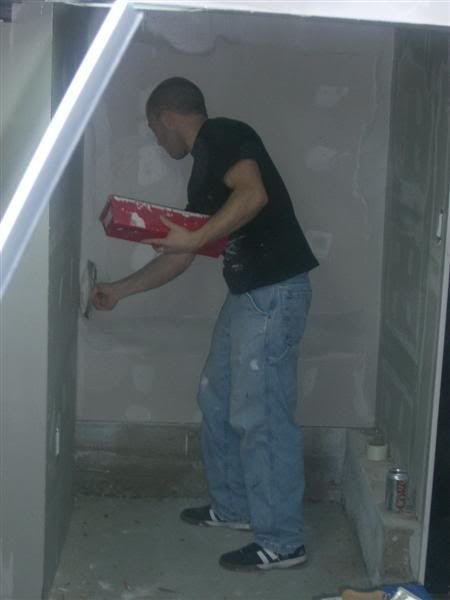
Basically I was abe to apply the rest of the 1st mud coat after doing a bunch of moving and organizing of things, and then sand half of that first coat. Three coats and three sands should do it.
Here's a few camera phone pics, and a couple my friend took.
At this point, I'll have sort of a double focus for the next few weeks until my track days: the garage, and doing some bike prep for the track is in order since I am a little anxious about all of that getting done (new tires, 4kmile service, new SS brake lines and HH pads, tank sliders, etc.)
Zip-Tie Alley Racing
LRRS/CCS #103
PPS | Dunlop | Boston Moto | Woodcraft & Armour Bodies | 35 Motorsports | Pit Bull | K&N
Chris you have made quite the leap since alicia and i seen it. it looks great.
i got a 3 bay garage that needs some work, if you want to lend a hand later in the summer?
Thanks a lot Keith! How are those wheels treating you?
And sure... I'll help you out for beer and food. Lots of beer.... which may degrade work quality, but will still be somewhat alright...
Zip-Tie Alley Racing
LRRS/CCS #103
PPS | Dunlop | Boston Moto | Woodcraft & Armour Bodies | 35 Motorsports | Pit Bull | K&N
Ah the wheels, they are still in the garage sitting in the corner. the car is not in what you'd call working order, so i just put it to the side for now. but other than that i am pumped to get them on the car if i can get the car back on the road that is.
beer and food. no problem, probably more towards the end of the summer, its got 10 foot ceilings and it needs to be double layered due to living space above and i am probably gonna need a few people to help put up some sheets.
beer and bbq will be in order.
dont worry about quality, i paid my buddy in beer to frame out the basement of my parents house. came out decent, nothing a little drywall didnt hide.
Well as I said before, these couple weeks would see a shift in focus to getting the bike ready for the track and concurrently working on the garage (hopefully).
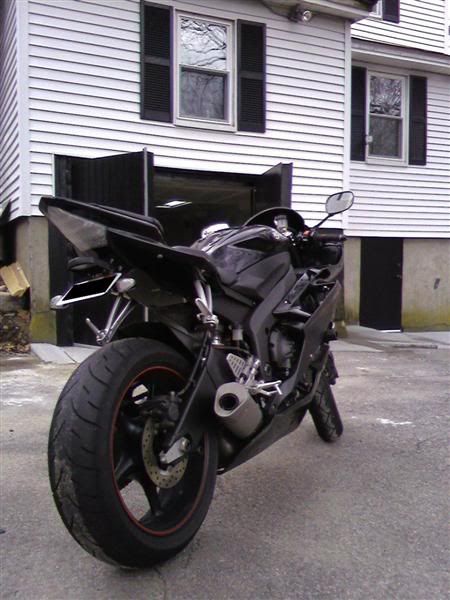
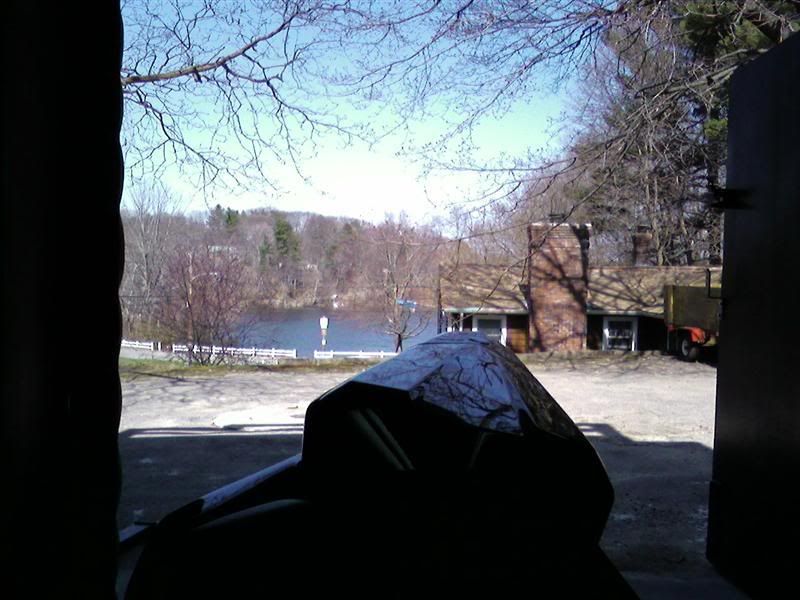
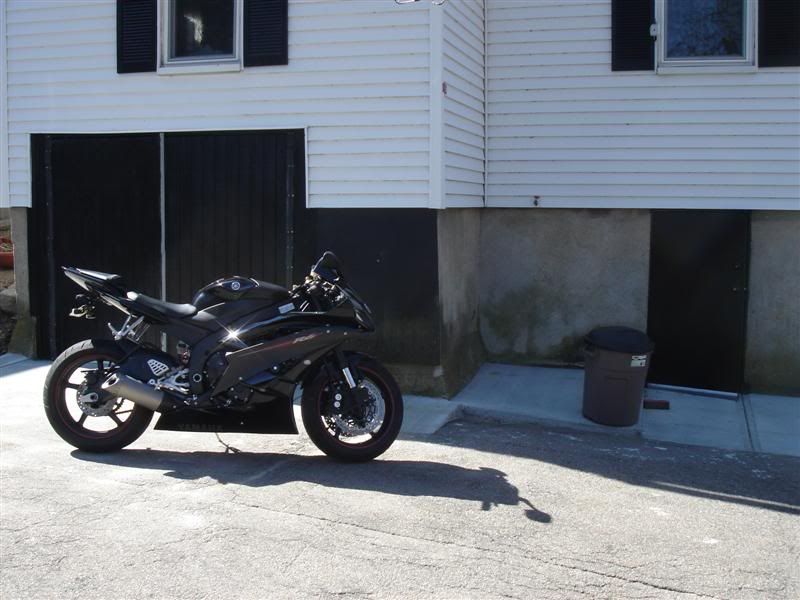
This past weekend it was real nice out so on saturday the first thing I did was go for a nice ride. Down the street from the office (where the garage is) is my folks' house, here's a pic of the lake. Awesome weather!
Back from the ride:
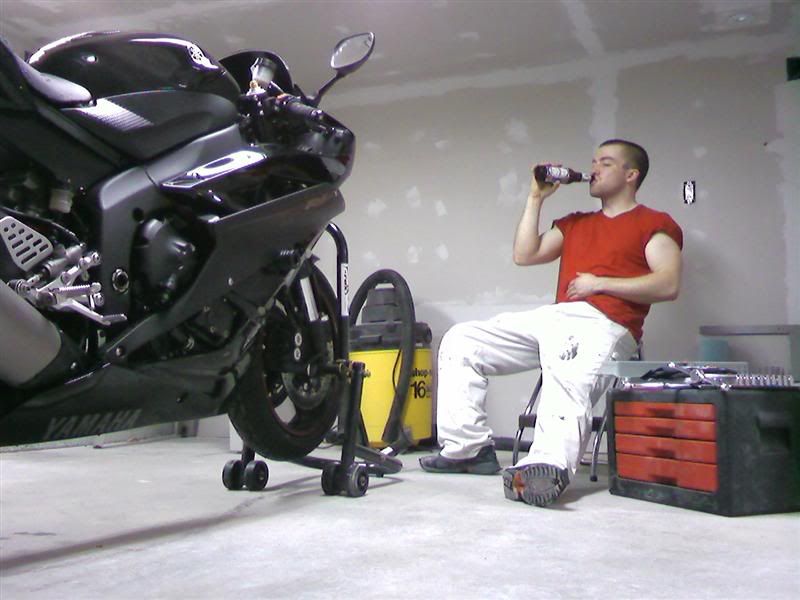
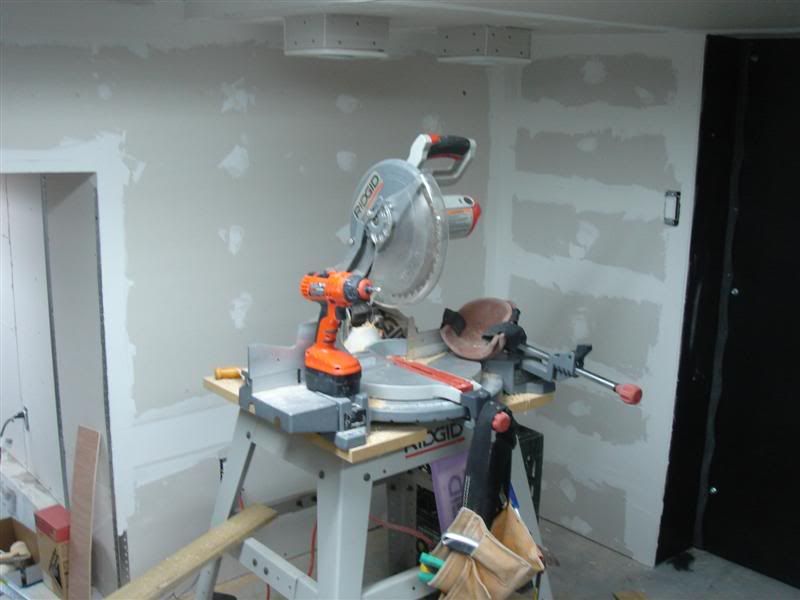
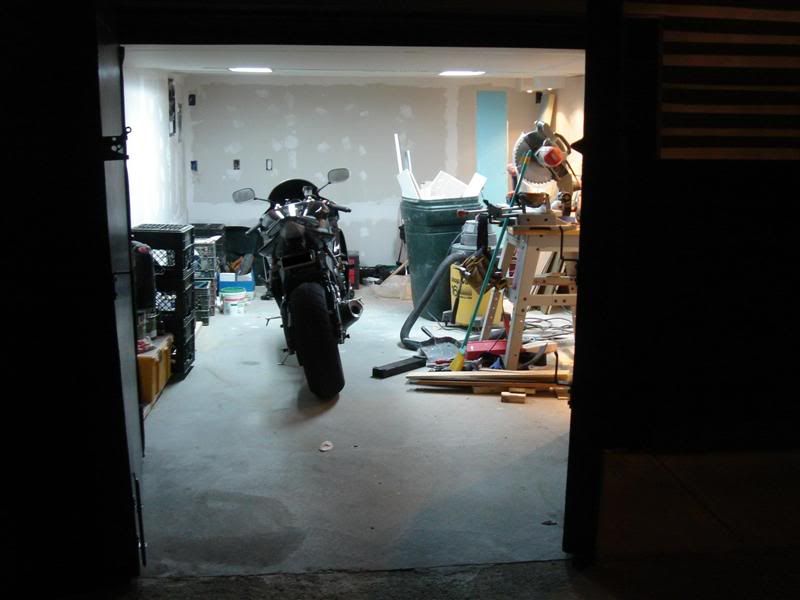
So then I spent the second part of saturday cleaning the garage. I organized all the tools and removed all the unnecessary ones and put them up in the 2nd floor apartment (next big project). The only things left are drywall related stuff, chop saw, vacuum, couple other tools. This took quite a while. Then I swept out the floor and it was ready for the garage's first REAL work to be done.
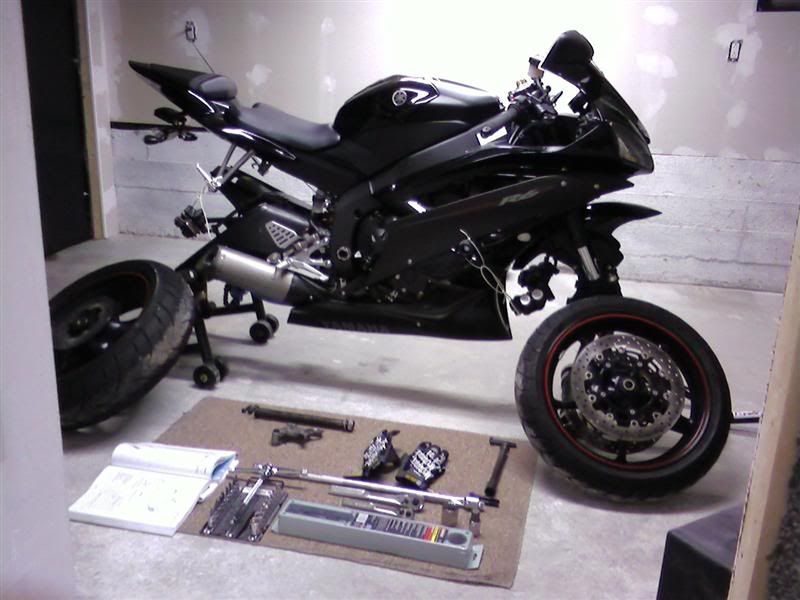
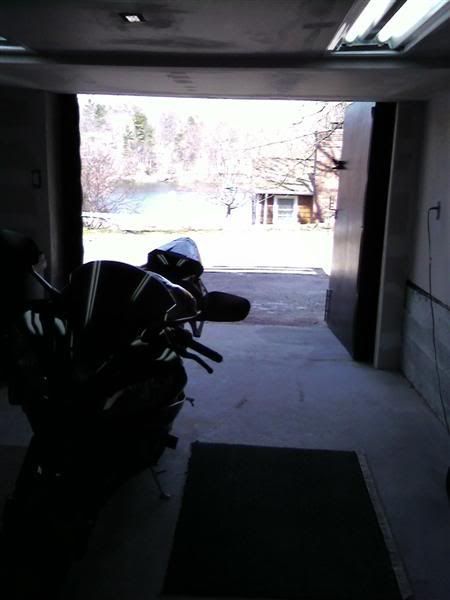
So I brought the bike in, and cracked a beer. I know the garage isn't done yet and I've got a lot left that I want to do, but it felt pretty fucking great to be using it for what it's meant for:
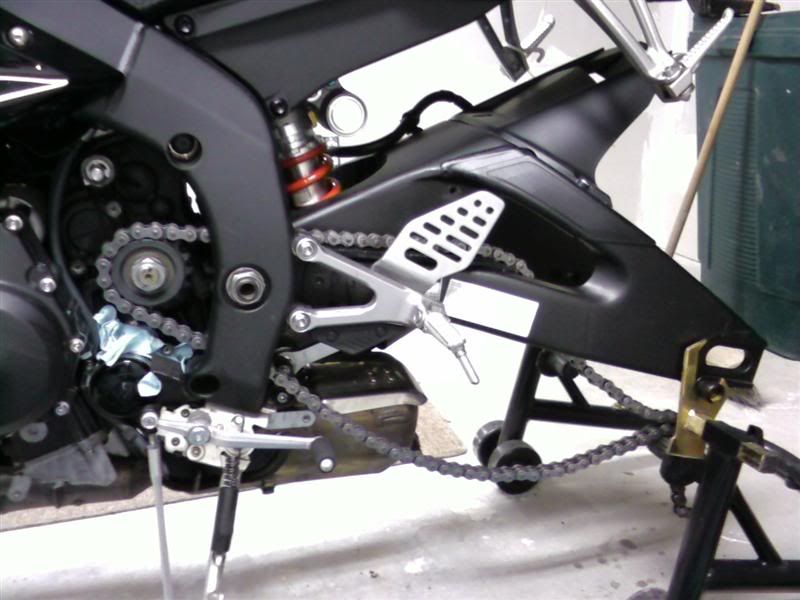
Took the wheels off:
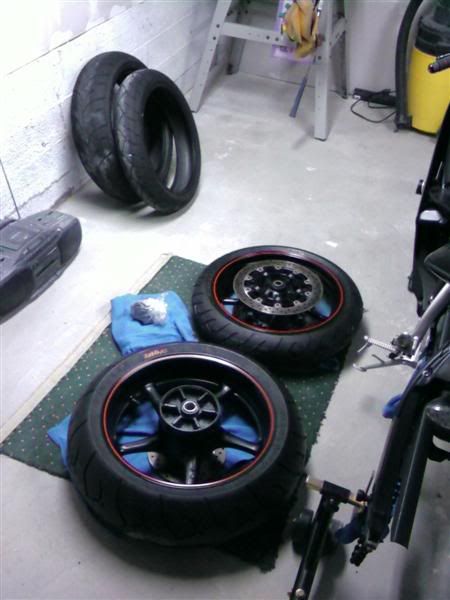
Took the wheels down to Derek Sunday morning to get the new corsas mounted... GOODBYE shitty OEM tires... oh yeah and THANKS DEREK YOU ROCK!!!
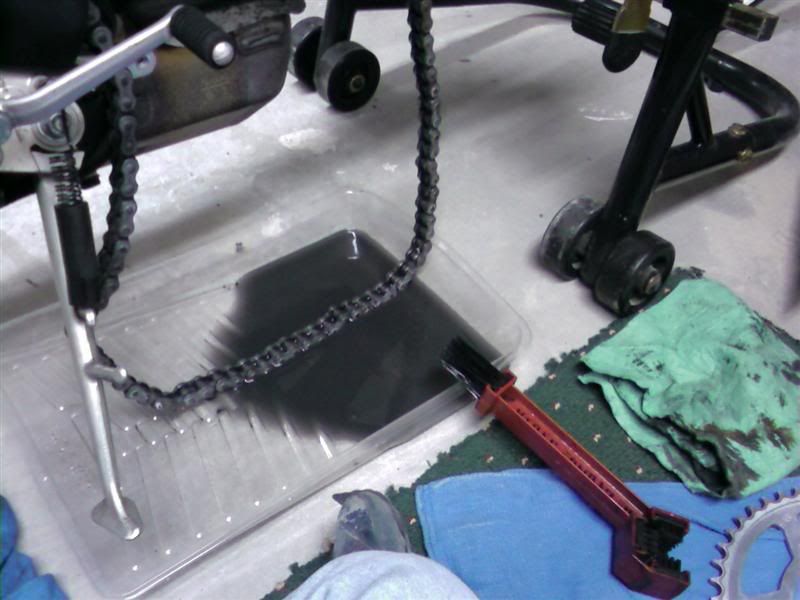
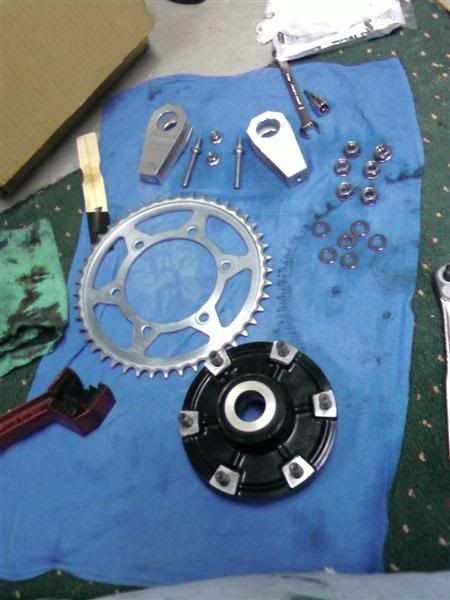
Cleaned the shit out the whole drivetrain (sprockets, chain, wheels, cush). Before:
After.... BLING BLING!!!:
Lubed the cush and cush rubbers, reassembled the rear wheel, looks mint! Mmmmm the smell of fresh rubber...:
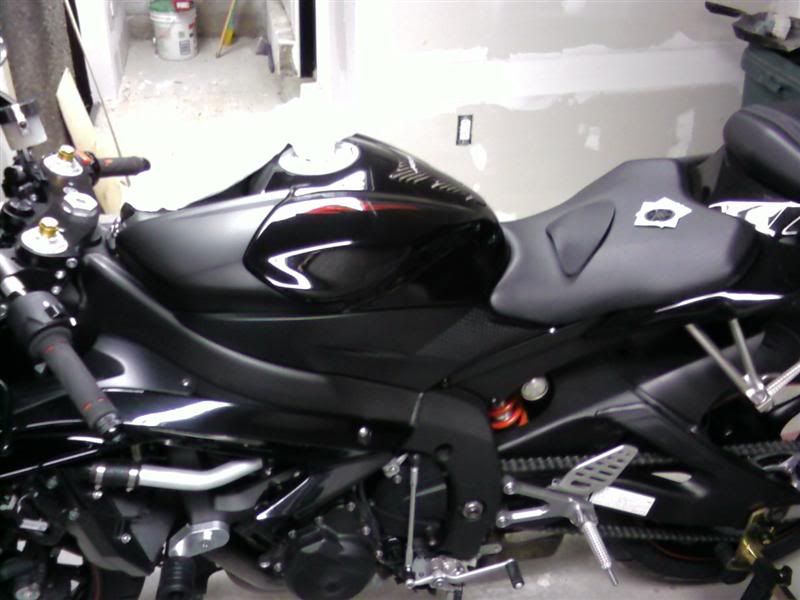
Stripped off the yamaha emblems:
Installed gas tank sliders (don't want to crash and have that bitch explode!):
Installed stompgrips on the tank and gave the bike a quick detail:
This coming weekend I'll be doing my 4,000 mile service, installing stainless steel brake lines and HH sintered pads, and hopefully doing some work on the mudding/sanding, but the bike takes precedence.
Zip-Tie Alley Racing
LRRS/CCS #103
PPS | Dunlop | Boston Moto | Woodcraft & Armour Bodies | 35 Motorsports | Pit Bull | K&N
Just wondering,
You had mentioned that you were planning on using an Epoxy floor treatment for the workshop. I was wondering if you've had any experience with it? Is it worth the money and time of laying it down?
The reason I ask is because I am thinking of treating my garage floor with it this year, but want to know if the stuff is any good because I'm sure it will cost a small fortune to treat the entire floor. It's a 3 car garage.
BTW, the project looks sweet. Kudos and grats to you. Bike is nice too.
"Harley Davidson: The most efficient way to turn fuel into noise without the risk of power and handling."
Selltekk.
-'04 Yami YZF600R (NOT R6)
- Uberfast Blue color
-Two Bros. Exhaust
-OES Sliders
-Helibars
-Mototeck Flushies
-Factory Pro Shift Kit
<a href="http://www.linkedin.com/in/davefortin" ><img src="http://www.linkedin.com/img/webpromo/btn_viewmy_160x25.gif" width="160" height="25" border="0" alt="View David Fortin's profile on LinkedIn"></a>
I've never used one before but I've done a lot of research on them. Yes, they are worth it. Look great, make cleanup a breeze, great grip, durability, protection, the works.
The ones you buy at home depot are known to be crap. You want a 100% solids epoxy (i.e. a TRUE epoxy)... look for that.
Temperature, humidity, etc are VERY important and need to be considered and monitored. I think I am going to wait until the fall to do mine... gives the floor more time to cure, air is nice and dry, etc.
Try a garage forum or something and do some more reading... there are a lot of brands and small companies who make the really good stuff.
And thanks for the kind words! I really appreciate it.
Zip-Tie Alley Racing
LRRS/CCS #103
PPS | Dunlop | Boston Moto | Woodcraft & Armour Bodies | 35 Motorsports | Pit Bull | K&N
This weekend was pretty much dedicated to riding the bike and then working on it. Friday night met up with Buddha and Schleppy and did a couple hour jaunt up the north shore of MA. Good times.
Saturday was very nice out:
Rode for a couple hours and then decided to get to work. MAN did it feel cool to open up the garage doors and wrench on the bike in the nice weather while sipping a cold one:
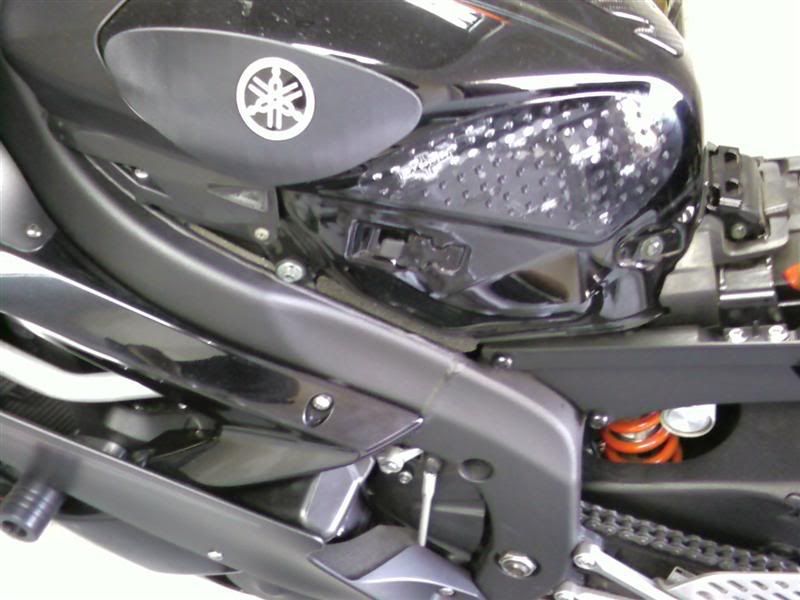
One bad thing, though... the side panels by the gas tank are known for having a tab that can break easily... well mine broke and fell off somewhere without me knowing it. I ordered a new one from mrcycles and called stompgrip and they are sending me the small piece that goes on that part for free. No big deal, I'll just try to keep a better eye on it from now on. This side without:
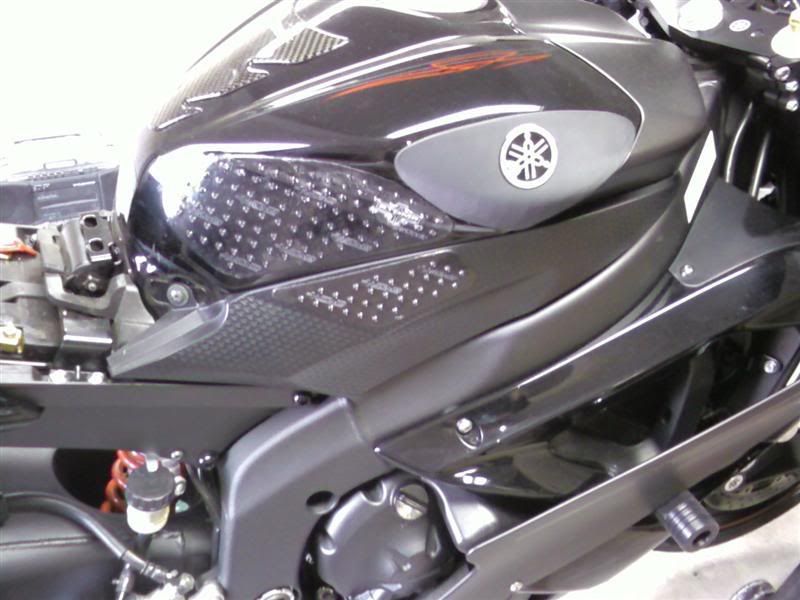
What it's supposed to look like:
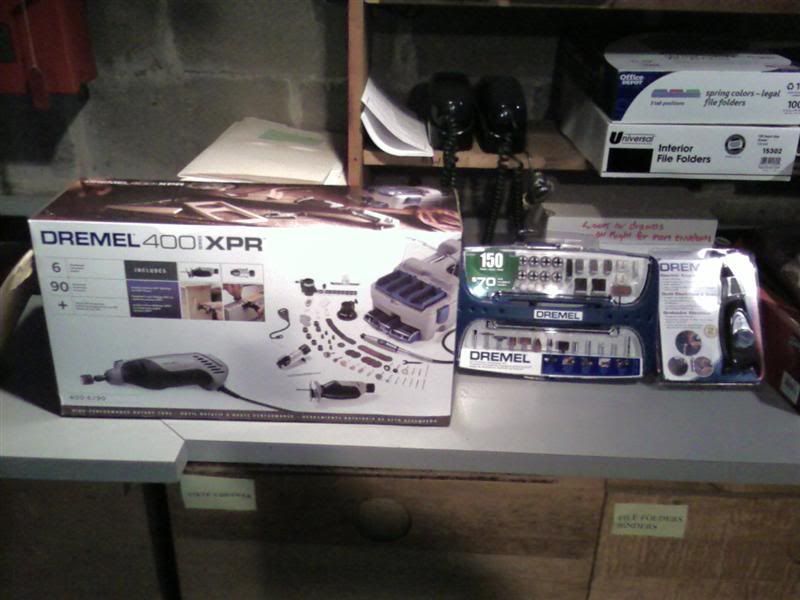
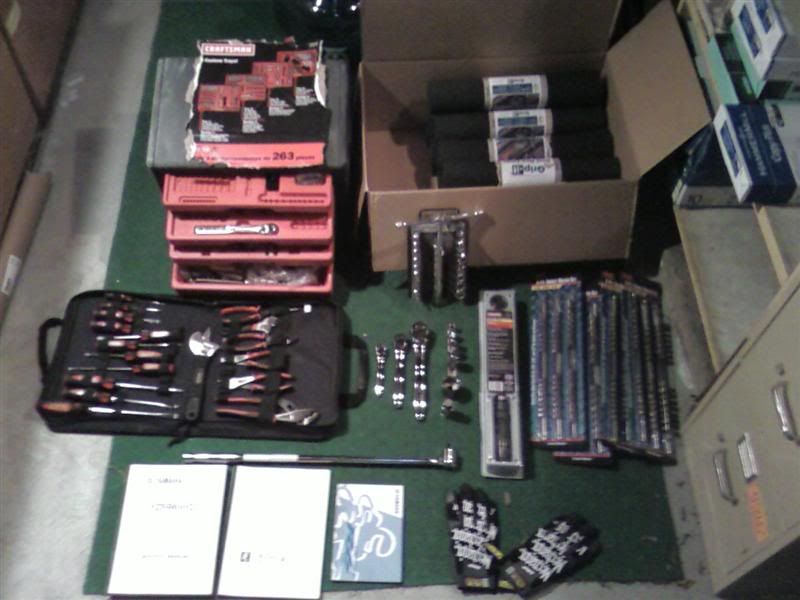
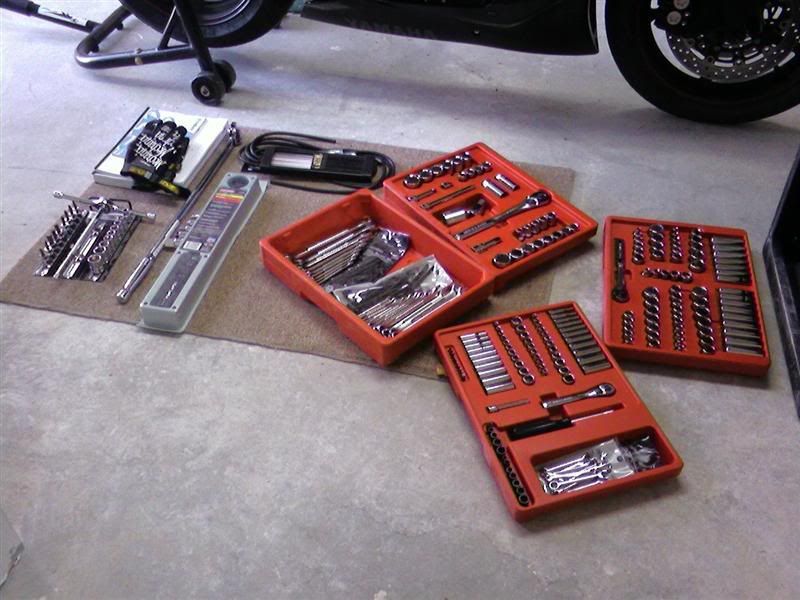
As an aside, my tool collection is starting to be pretty sweet. I got a dremel and some accessories and a dremel engraver to engrave my tools. Figured I'd snap a photo of the growing collection:
First things first, time to do the 4k mile service. Lubed all pivot points, repacked the wheel bearings (did this when i got new tires last week already actually), readjusted the chain slack to the slacker side of the spec since I'll be at the track soon and using more of the suspension travel, adjusted my throttle cable free play and I like to keep it adjusted a bit on the tight side, also lubed the chain a bit. Did the oil change as well.
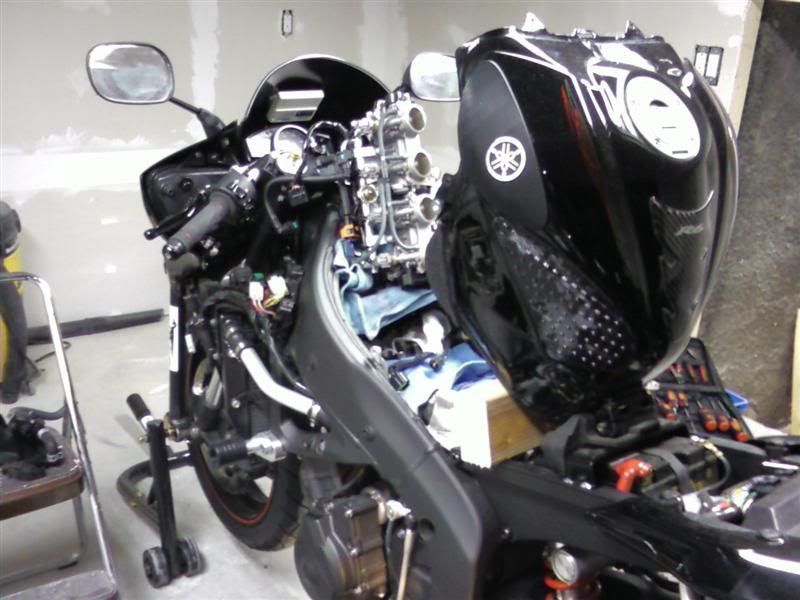
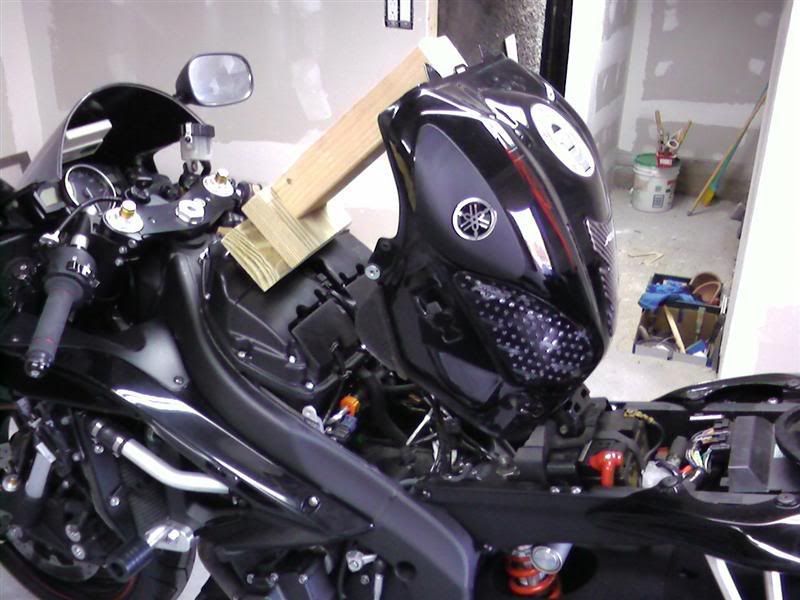
Then it was time to check the spark plugs. Lots of fun... you get to remove the gas tank, airbox, throttle bodies, the works... all to get to the plugs:
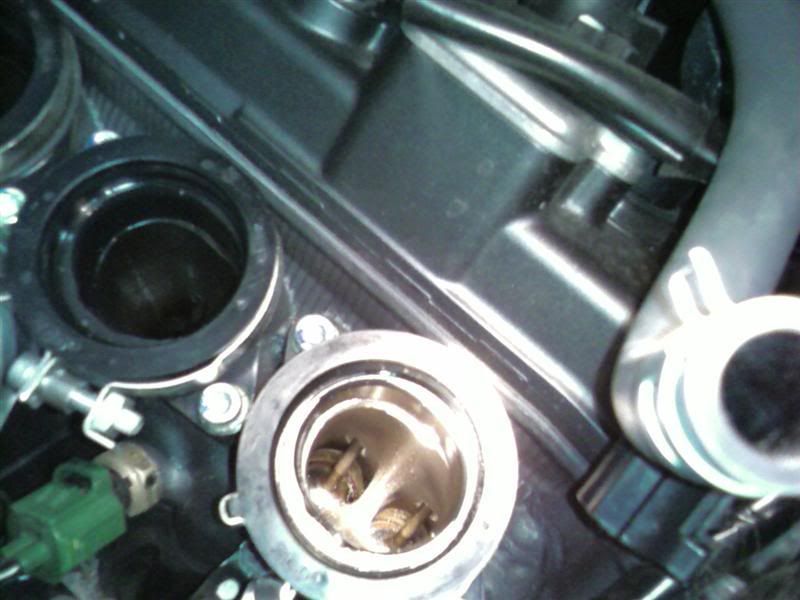
When doing this I noticed the back of my intake valves were a little cruddy. I use good gas, so I'm not sure why this is happening but a slight overfill in oil could probably cause it. I am going to run some seafoam through the bike and that should clean it up.
Anyone know if running seafoam will heavily affect performance? If so, I'll wait until after my TDs next week to run it through.
Then it was time to sync the throttle bodies. Propped up the tank:
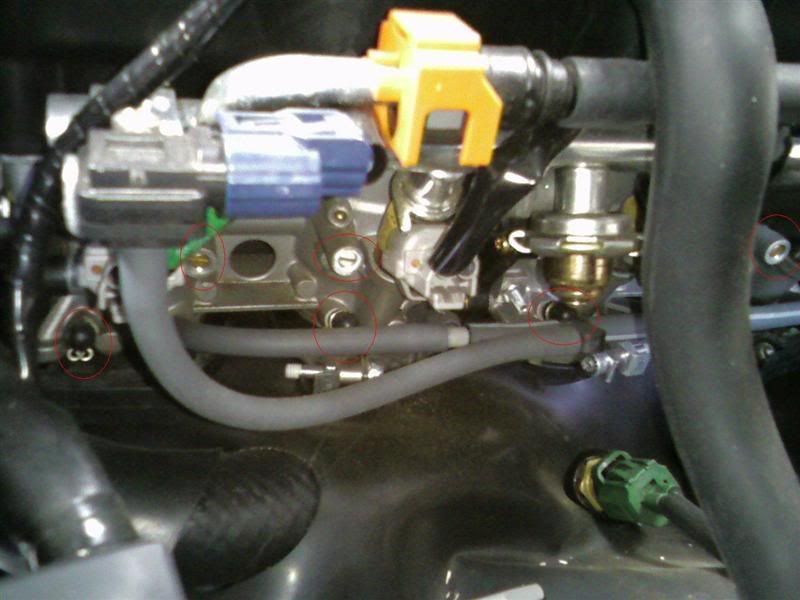
Here's the throttle bodies. I've circled three of the adjusting screws and three of the plugs for hooking up the tuner:
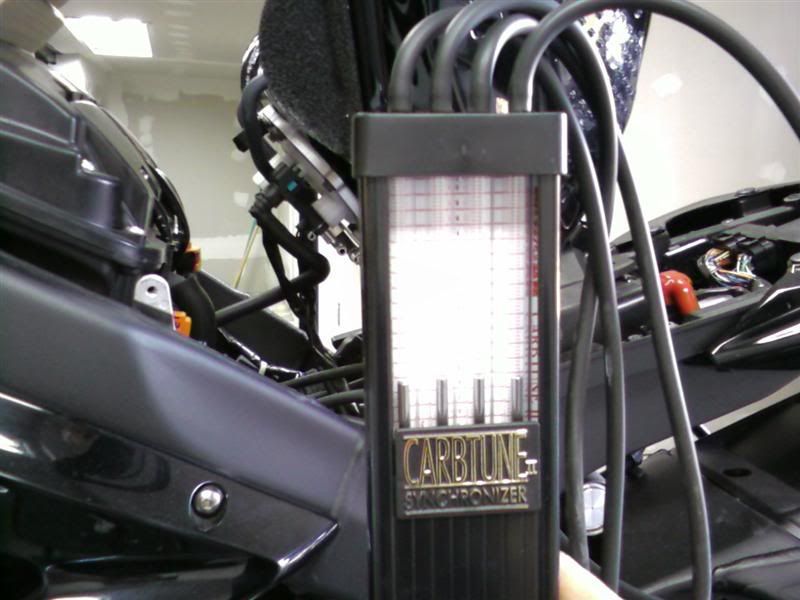
Basically you pull the plugs, hook up the sync tool, and adjust the screws to try to level them out. It's a sort of give and take, turning the 1 screw affects cylinders 1 and 3, turning the 2 screw affects cylinders 2 and 4, etc. After a little bit of messing, here's what you want it to look like:
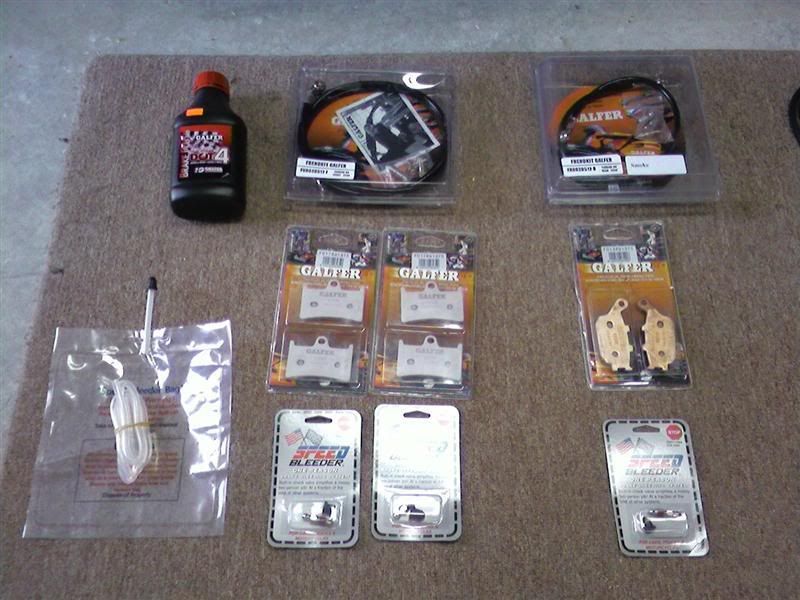
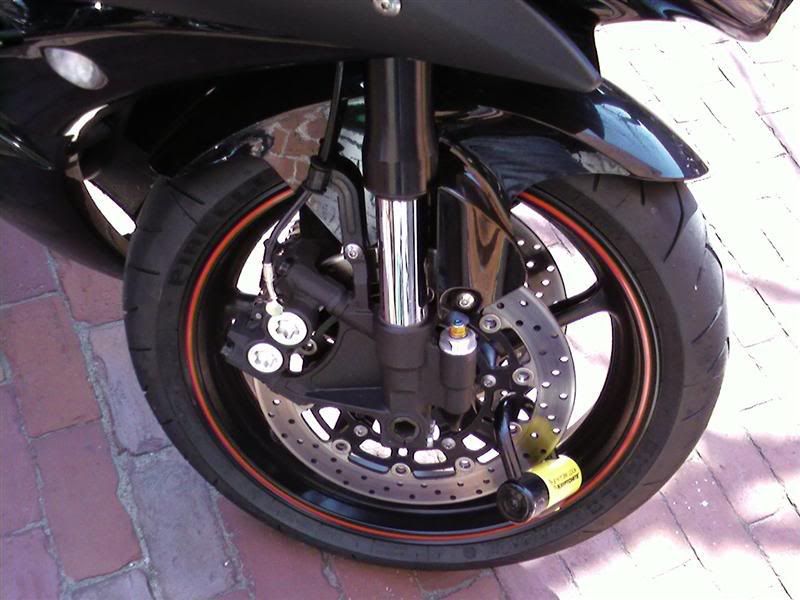
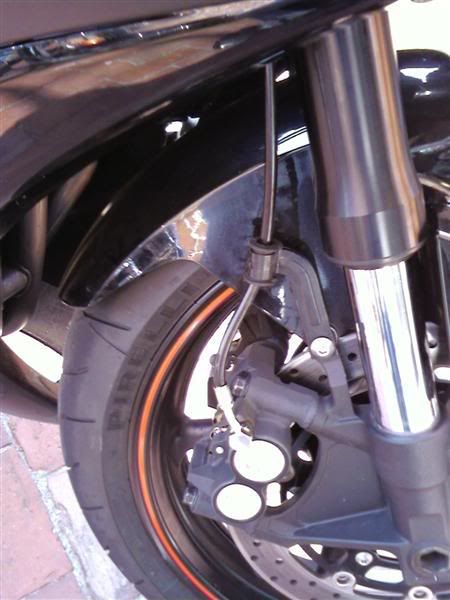
That was it for the 4k service. Lastly I wanted to throw on my Galfer SS lines (dark smoke... look great) front and rear, HH pads, and fresh fluid. Also got speedbleeders for all the calipers (helped a LOT, and they're stainless too). Here's the stuff:
Then, my phone died because I left my charger in boston. Since my camera needs to be repaired, my phone is my camera right now, so I don't have any more pics. I'll snap some of the lines next time I get a chance. On the ride back to town, got the pads all scrubbed in... did a couple hard braking moves... HOLY SHIT do those things bite. Amazing difference from the stock lines/pads/fluid. Can't wait to get up to the track next week... been dreaming about it for six months.
Zip-Tie Alley Racing
LRRS/CCS #103
PPS | Dunlop | Boston Moto | Woodcraft & Armour Bodies | 35 Motorsports | Pit Bull | K&N
Highly jealous of your garage, awesome job! Where did you pick up the carbtune II Sync?
Last edited by Billy; 04-23-08 at 02:02 PM.
Keep me posted on those Galfer pads. I wonder if they are just as good for the SV. I was going to get the Carbone Lorraine pads but they were sold out from the place I wanted to order from (Knee Draggers). Hmm...
If you read the post right above yours, yes, I did them.
Thanks dude!
I grabbed it semi-used from a guy on another forum. Neat little tool. You could make one for cheaper probably just with four vacuum gauges, but the unit is compact and works well, so I figured it was worth it.
I only have the stock lines and pads to compare this setup to, but there is a HUGE difference when comparing to that. The only thing is that at very low speeds I can hear a slight high pitched squeal from the fronts if I'm applying them lightly, but it might be because the pads are new. I wonder if this is normal?
Got some camera phone pics of the brake lines installed:
Rear:
Front (didn't get the left side):
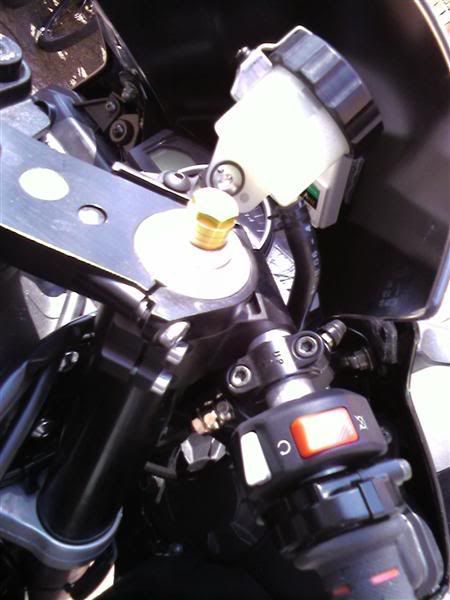
Front overfill reservoir (nice and clean/clear new fluid) and double banjo on the master:
I left this coming weekend as a buffer in case I had any trouble with bike work (my first time doing all this bike work for the most part). Since I was able to get the bike work pretty much all done, this weekend I should be able to do some work on the drywall and such, along with getting all packed up to go up to the track.
Zip-Tie Alley Racing
LRRS/CCS #103
PPS | Dunlop | Boston Moto | Woodcraft & Armour Bodies | 35 Motorsports | Pit Bull | K&N
Sick bike and very, very nice garage. Looks like you robbed a tool truck with all of those tools
Thanks! And I am just getting started... I hope to amass a much larger tool collection over time
Zip-Tie Alley Racing
LRRS/CCS #103
PPS | Dunlop | Boston Moto | Woodcraft & Armour Bodies | 35 Motorsports | Pit Bull | K&N
So I was able to do a very little bit on the garage this past weekend before heading up to the track. I had a lot of errands and such to do to get ready to head up there.
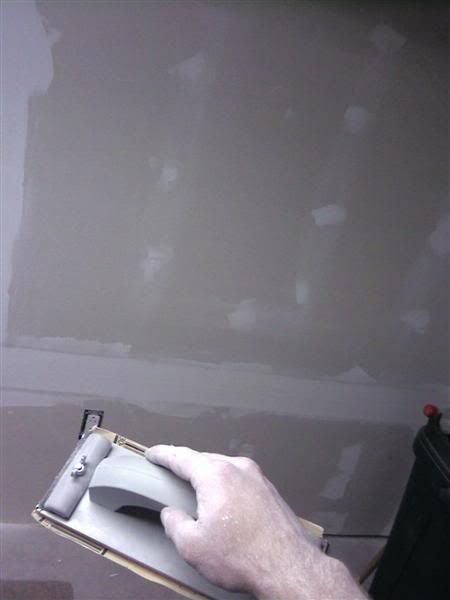
I sanded the last coat of mud that was laid down... man that work sucks and is messy.
Ghost hands:
Gettin' 'er done:
This weekend I'll be working solely on the garage and hope to have all the mudding and sanding done to be ready for paint. I also want to run a network cable down from the office and install an outlet for it by the workbench for internet access.
Zip-Tie Alley Racing
LRRS/CCS #103
PPS | Dunlop | Boston Moto | Woodcraft & Armour Bodies | 35 Motorsports | Pit Bull | K&N
would you ratehr just a wireless conntion? if not i have a box of cat5 at my house and can make you a cable.
My folks don't run wireless in their office for a lot of reasons, mainly security and such. They have a server and a firewall and ran everything hardwired. I figure I'll just grab an empty port on one of the hubs and run a wire down into the basement. I think I have a cable I can take from work that is long enough, but if not, I will let you know and we can work something out. I appreciate the offer either way
Zip-Tie Alley Racing
LRRS/CCS #103
PPS | Dunlop | Boston Moto | Woodcraft & Armour Bodies | 35 Motorsports | Pit Bull | K&N
Looking good Chris.
Man, I HATE sanding joint compound. If the job is big enough I rent one of theose Porter Cable drywall sanders. Worth every penny.
 Posting Permissions

 Reply With Quote