0


Denno... some people are not as fortunate as you, with your cable internet, your race teams, your tire vending ventures, and your makeout parties.Originally Posted by Crash Dummy Denno

Zip-Tie Alley Racing
LRRS/CCS #103
PPS | Dunlop | Boston Moto | Woodcraft & Armour Bodies | 35 Motorsports | Pit Bull | K&N
Yeah my life is better than about 99.9% of you vermon on this site. I just put up with you so that I can feel better about myself. You should see my journal entries, I just talk about how shitty you all are and how great I am.
Yup - its good to be me. Now I must go take a Viking sized shit in my gold toilet.
Good day scumbags.
Denno - CCS|LRRS EX#49
2006 Yamaha R6LRRS Rookie of the Year 2008
Zip-Tie Alley Racing
LRRS/CCS #103
PPS | Dunlop | Boston Moto | Woodcraft & Armour Bodies | 35 Motorsports | Pit Bull | K&N
carpentry trick, put a band of 1x2 in the front (you will have to make slight kerf line as your supports stick out past the front of shelf) attach with pocket hole screws from shelf to 1x2, the lip of the banding will hide the pocket wholes. If you don't have a pocket hole set up, pm me.
carl
well done sir, looks awesome
.:|LaRNZ|:.
You're saying to do this on the front of the shelf, to stiffen it and/or to prevent things from sliding off?
Thanks
Zip-Tie Alley Racing
LRRS/CCS #103
PPS | Dunlop | Boston Moto | Woodcraft & Armour Bodies | 35 Motorsports | Pit Bull | K&N
[QUOTE=ceo012384;532847]You're saying to do this on the front of the shelf, to stiffen it and/or to prevent things from sliding off?
yes, put the wood perpendicular to the shelf, you can have it flush with shelf and only hang lower, you can split the difference and have a slight lip above the shelf, or put the whole thing above and do the drawer idea, it all depends on the look you want. ( I was thinking go flush with top or just a slight reveal)
Wow!!! What a conversion. You need that on one of those stupid tv shows. I am very impressed. Me and some of the guys have been working on a garage at my house too. Not nearly that far along though. It was a 24x24 two door garage, door on the side, front sagging and pushed out. We ripped the front off and rebuilt it. Built a single 14 foot wide garage door (not bought, built). Had to jackhammer out and redo some concrete. Put the door from the side to the front. Lately we built an 8x24 addition on the back. Divided it into 3 sections. One is a 3-4 motorcycle bay with a seperate small garage door and ramp, the middle is a storage room and bathroom that opens into the garage and the last section is a storage shed for lawn and garden equipment.
Inside we are trying to get a ceiling up along with insulation and such. I have redone a fair amount of the wiring, but still have a LONG ways to go. I have a 68 El Camino SS (numbers matching) sitting in the way I started as a project about 5 years ago and still have to finish. Kinda lost interest when I ran out of money.
Always a project somewhere.
Again, AWESOME conversion!!!!
GarageGuy loves the caulk.
Support the Troops! (Except for Mondo, that guy's a dick)
-----------------------------------------------------
I see what you're getting at. That would certainly neaten things up, and the kerf line would hide the support brackets. Another little thing to add to the 'rainy-day' list.
Thanks a lot buddy, I appreciate it.
Sounds like the space you have to work with is pretty big and will be very functional when you're done.
Like I've said before... this isn't a large space, but it's everything I need for now... and it feels pretty good just hanging out and wrenching in there knowing I built it all
I suppose this is accurate. Damnit.
Zip-Tie Alley Racing
LRRS/CCS #103
PPS | Dunlop | Boston Moto | Woodcraft & Armour Bodies | 35 Motorsports | Pit Bull | K&N
Holy shit Chris, I just looked at the 'before' pics. Phenomenal job!
Original
Thanks!
Zip-Tie Alley Racing
LRRS/CCS #103
PPS | Dunlop | Boston Moto | Woodcraft & Armour Bodies | 35 Motorsports | Pit Bull | K&N
Couple more little things.
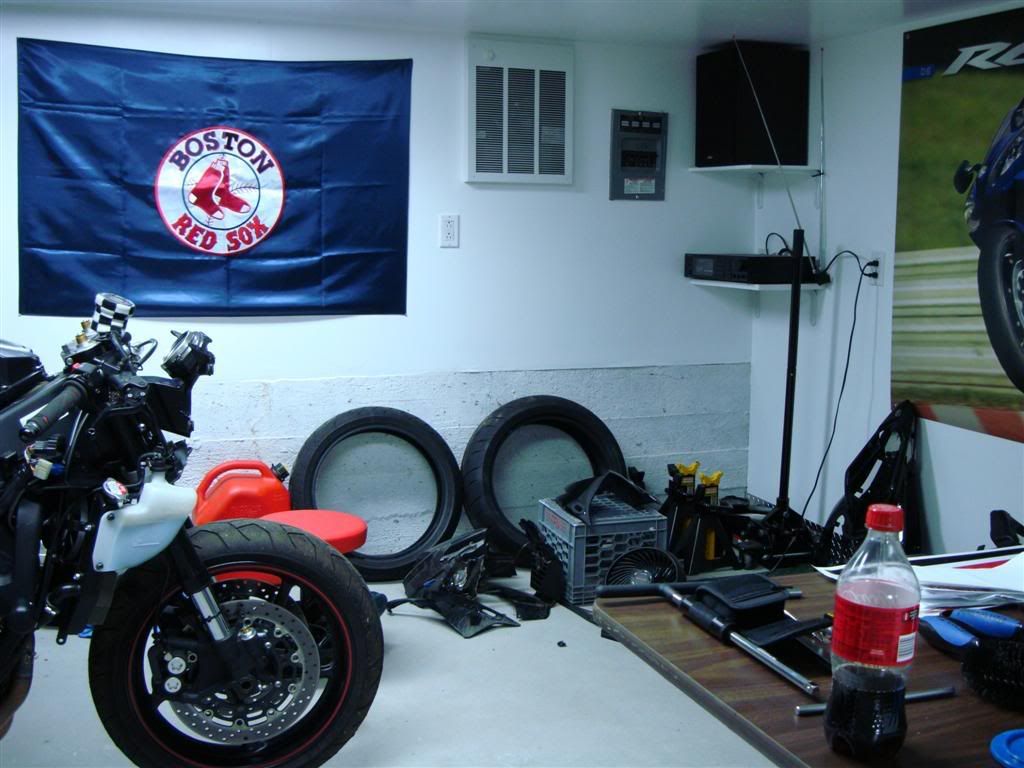
My good buddy Ebbs, who is in Korea with the military, got a red sox flag from someone. Since he isn't a huge fan, and he's a nice guy, he thought of me and my garage and shipped it to me. When he told me it was a red sox flag, I assumed something relatively cheap and screenprinted, which would have been fine and still generous.... but this thing is high quality! The material appears to be satin or something like it, and the whole logo is all stitched!!!Friggin' sweet!! THANKS BUDDY!!!!
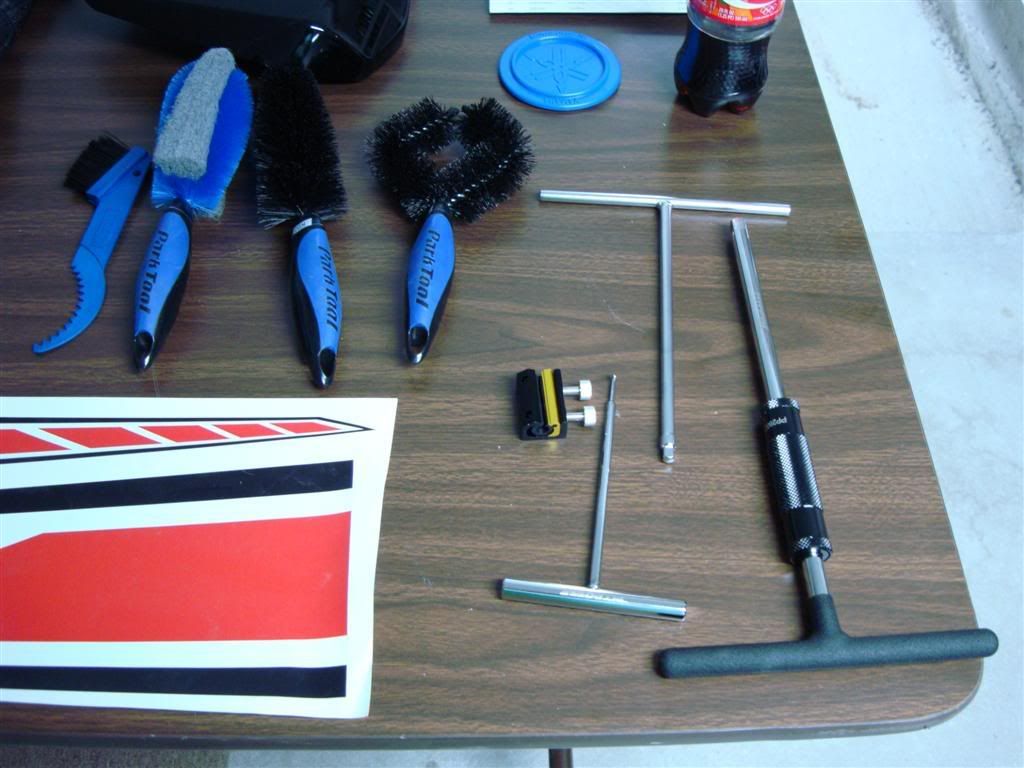
Picked up a couple little things... some cleaning brushes, 1/4 T-handle since I didn't have one yet, spring puller, cable luber, 3/8 T-handle with spin bearing
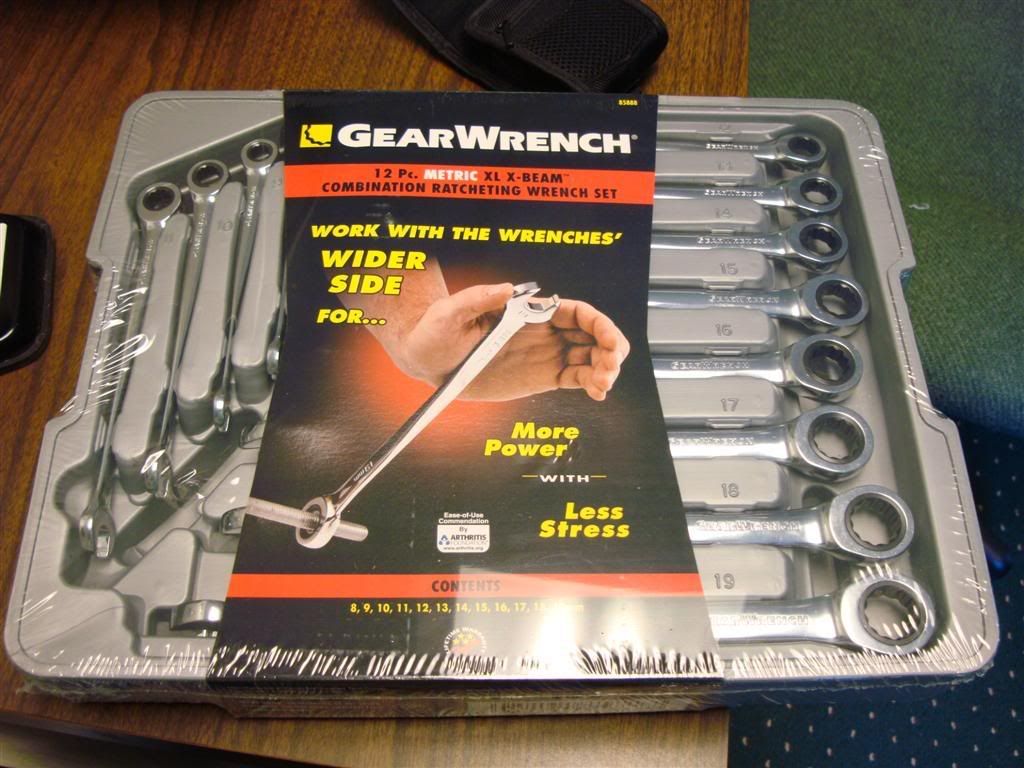
Got a sweet deal on a set of ratcheting wrenches... metric, 8-19mm, and have the X-Beam handles for comfort, 112 bucks shipped
Zip-Tie Alley Racing
LRRS/CCS #103
PPS | Dunlop | Boston Moto | Woodcraft & Armour Bodies | 35 Motorsports | Pit Bull | K&N
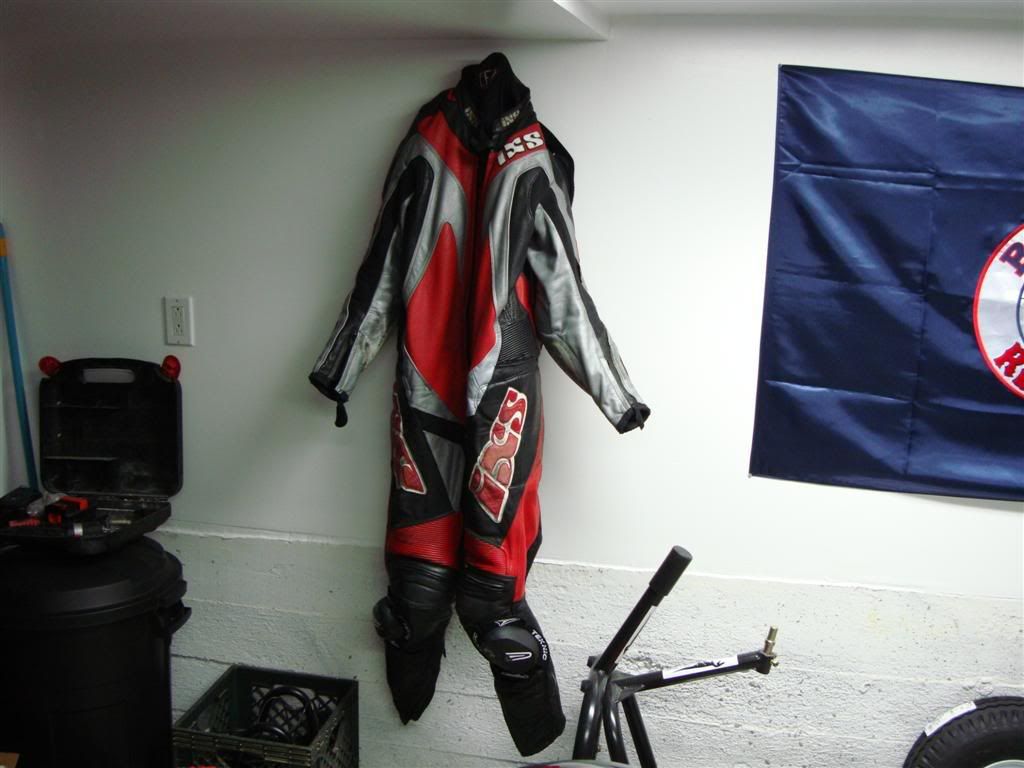
Couple little things...
Mounted a hook for my suit
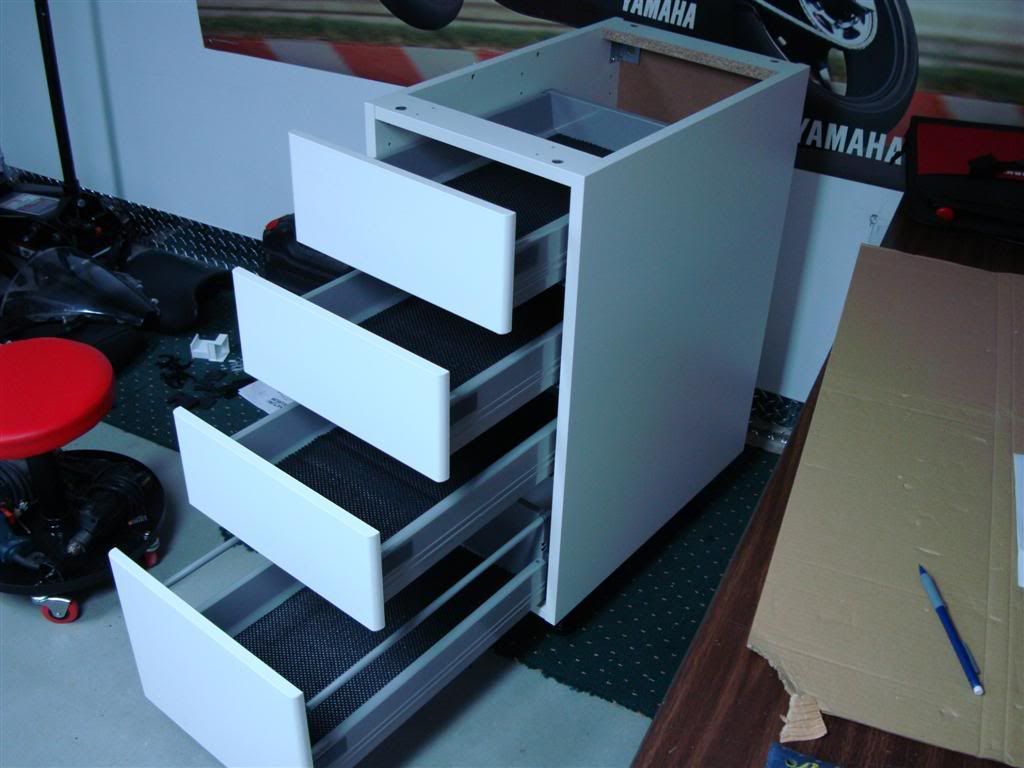
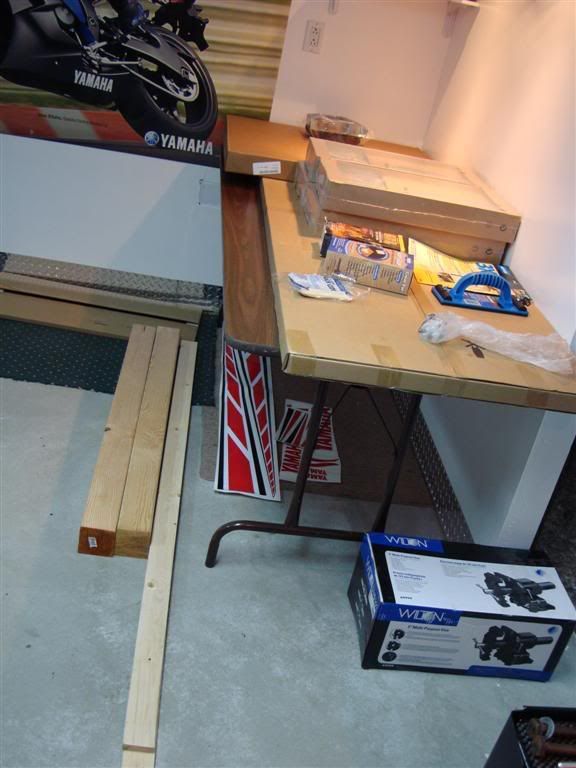
Purchased and organized all the parts I'll need to make my workbench.
I've got a thick, solid oak kitchen countertop for the top, along with sandpaper and polyurethane coating to finish it nicely.
Kitchen base 4-drawer cabinet that will support one side of the workbench and act as storage.
4x4's for the legs on the other side of the workbench, with lag bolts and washers.
1x4's for cross-bracing of legs/etc.
Since I've bought so many damn bike parts and they all came with stickers, I think I'm goign to seal a bunch of stickers under the polyurethane on the workbench top, I think it will look really nice.
Zip-Tie Alley Racing
LRRS/CCS #103
PPS | Dunlop | Boston Moto | Woodcraft & Armour Bodies | 35 Motorsports | Pit Bull | K&N
As much as we won't rice out our cars and bikes, we always have to find somewhere to put the stickers. All of mine are on my toolbox.
Friends don't let friends wave to Can Ams
Haha exactly! My toolboxes are mint condish... so I thought this bench idea might work out nicely.
Thanks dude!
And yes... kerosene is the absolute best chain cleaning solvent. Not to mention far more cost effective than canned spray chain cleaners... Just get a spray bottle like I did. Works like a charm, as you saw.
Zip-Tie Alley Racing
LRRS/CCS #103
PPS | Dunlop | Boston Moto | Woodcraft & Armour Bodies | 35 Motorsports | Pit Bull | K&N
Ahh the life of a single man!
2006 Ducati Monster S2R800
Man... it's written all over me isn't it

Zip-Tie Alley Racing
LRRS/CCS #103
PPS | Dunlop | Boston Moto | Woodcraft & Armour Bodies | 35 Motorsports | Pit Bull | K&N
This weekend I got a bunch done on the workbench, in addition to a bunch of Hooplah with selling and shipping some of the spare R6 parts I'm trying to get rid of.
First things first, I assembled the Ikea kitchen base cabinet and cut drawer liners for all the drawers. This thing is really nice for the money. Really solid drawer slides. There's even a built-in mechanism allowing you to adjust the drawer front alignment up/down and left/right with a screwdriver. Not bad for 100 bucks:
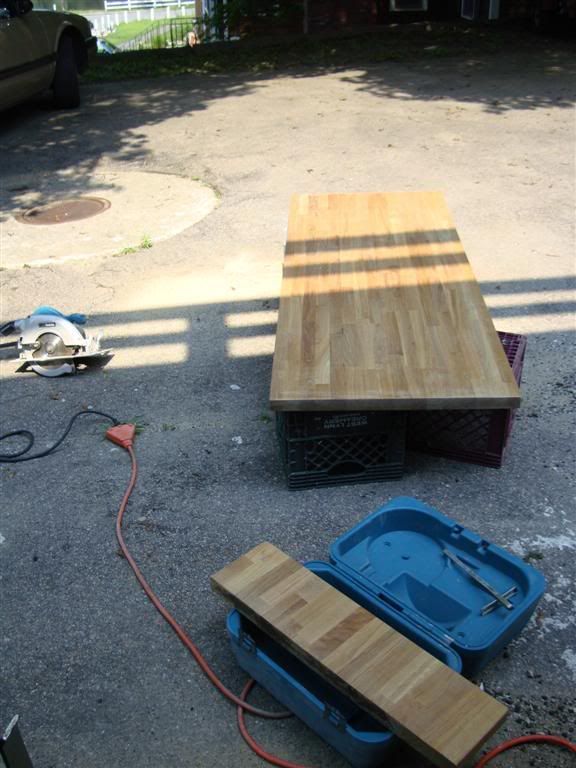
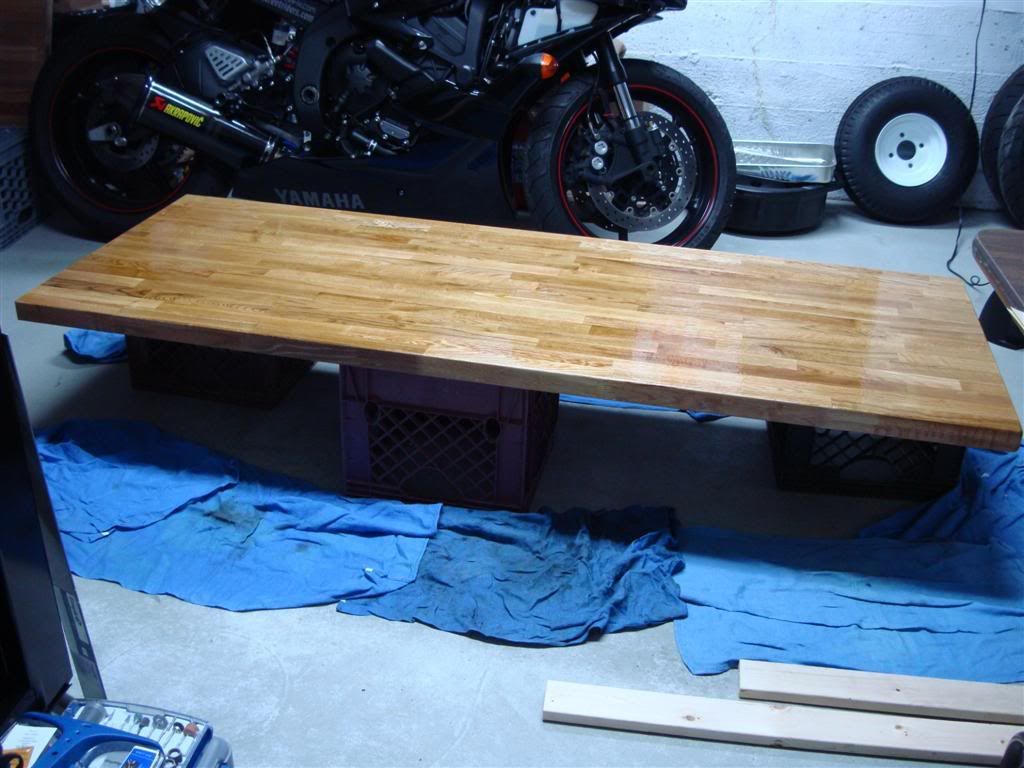
Next, it was time to get to work on the countertop. It's a solid oak kitchen countertop from ikea... what a deal... 2.5" thick solid oak butcherblock, over 2 feet in depth and over 6 feet long for around 120 bucks (I think that's what it was). I took it outside and cut it to length. Then, I used some 220 grit sandpaper to give a light sand to the top and sides. Then I cleaned up all the dust with some tack cloth:
I bought a couple packages of Parks' Super Glaze surface treatment. It's a VERY thick/viscous epoxy. Instead of using polyurethane and having to do 100 coats, I'll just do a few coats of this stuff, it says it's equivalent to 60 coats of poly, I htink I used it a bit thicker than that.
Since wood is so porous I mixed up a small batch and poured it on and spread it on really thin, just to seal up the surface and get it ready:
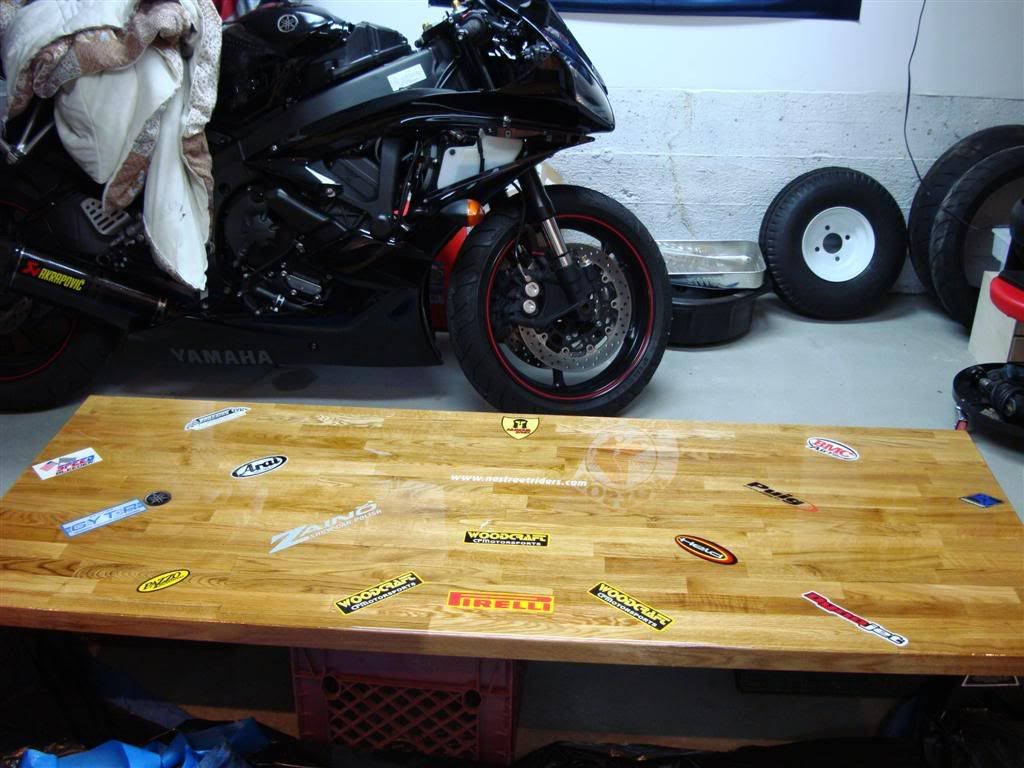
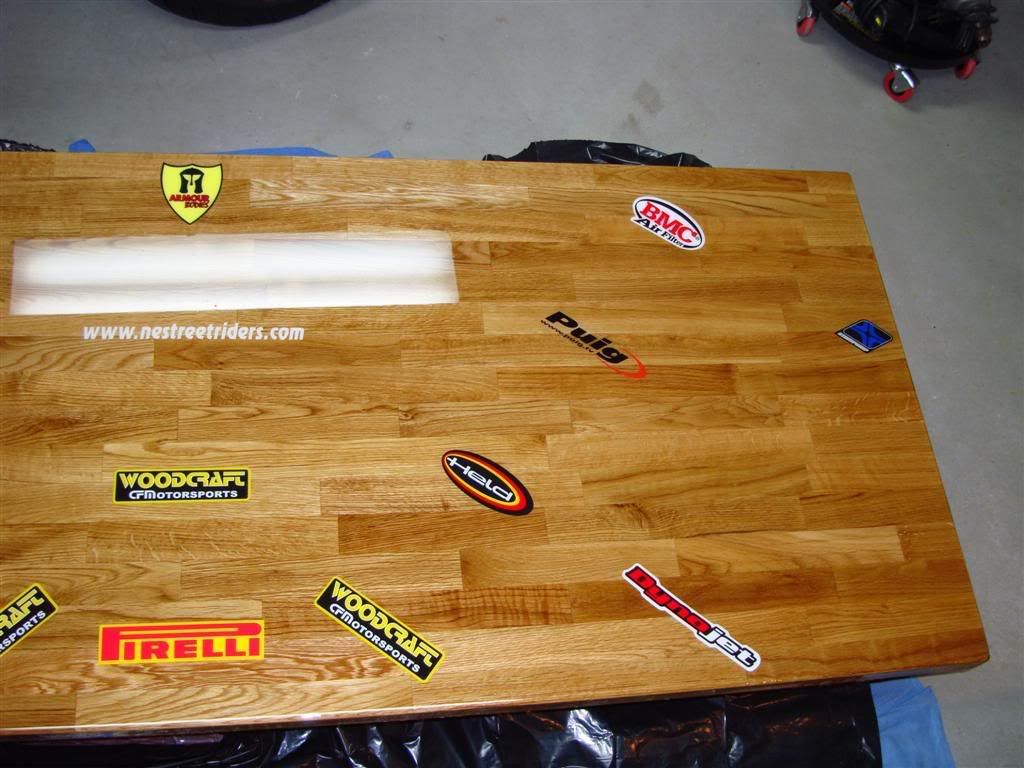
The next day, I decided where I wanted to put all the stickers and how to orient them and such. I stuck them all on on top of the now-dry skim coat:
Happy with the setup, I mixed up the rest of the two packages, saving a little bit for later since I will need to sand down edge drips and then recoat the edges. All in all it was about 1 3/4 quarts of the stuff... poured it on and spread it around carefully.
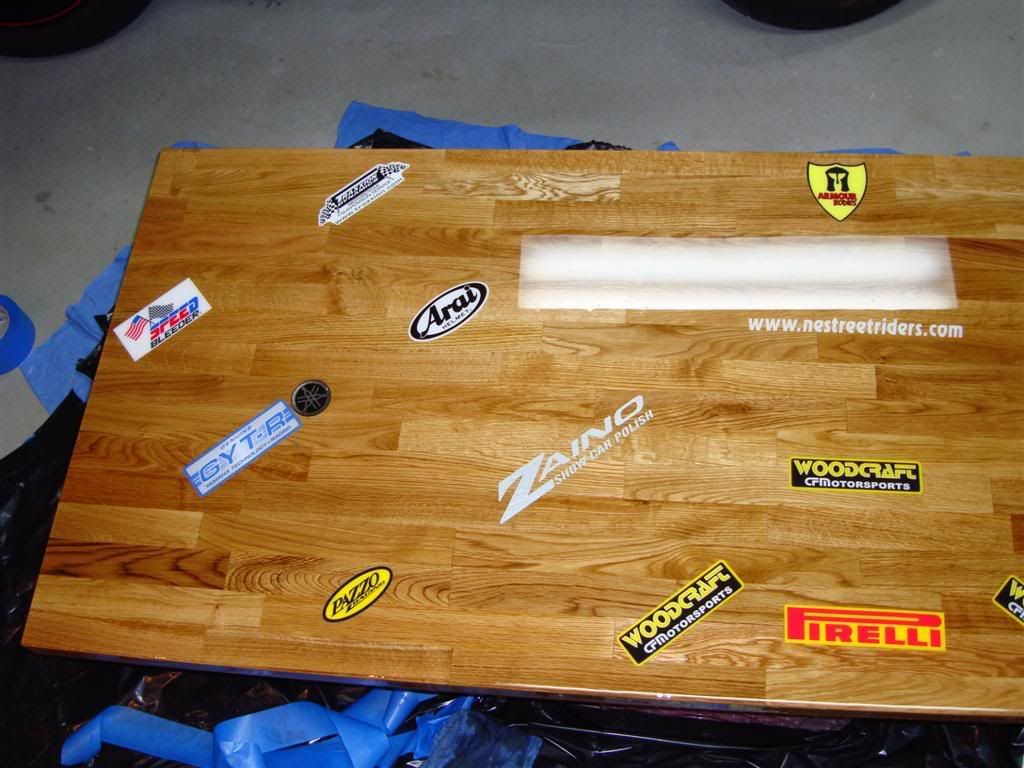
It started to set/cure and I am pretty happy with the result... it's amazingly clear and shiny. I will explain the gap on the right side in a second. Here's the benchtop, I tried to align the fluorescent light with a portion of the benchtop without any stickers when taking photos:
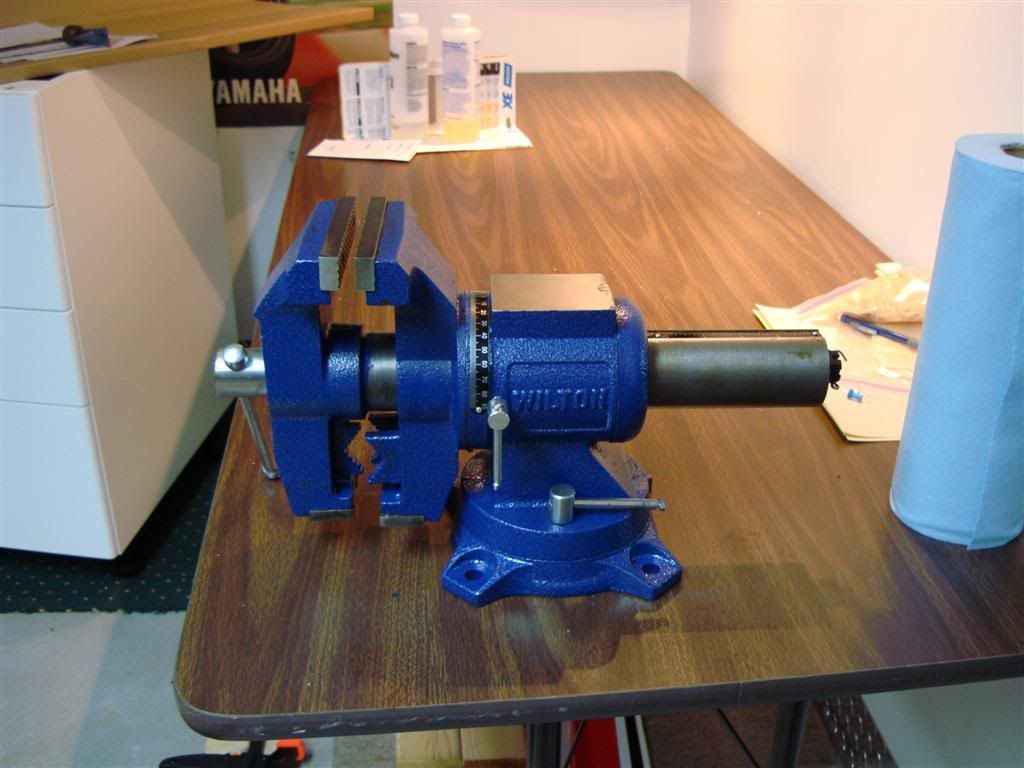
The space on the right is for this bad boy I picked up... full 360 degree swivel both on the base and the throat... anvil on top, 5" jaws on one side, pipe jaws on the otherside. Thing's a beast:
The Parks' Super Glaze is pretty resilient... if you slam a wrench on it or something it will deflect, but over time it will recover. Even still, this is a workbench, so I'm considering picking up another package and adding several more /32"s to the coating. Also, I forgot a couple of the Akrapovic stickers I meant to put on so I could add those too haha.
This bench looks like it will turn out really nice. I ordered a couple swivel leveling feet that will thread into the bottom of the 4x4's for leveling the bench, those will show up before next weekend.
Basically I'm spending as much money on the bench as it would cost to buy the one I was looking at from Sears... except this thing will be a hell of a lot nicer.
Zip-Tie Alley Racing
LRRS/CCS #103
PPS | Dunlop | Boston Moto | Woodcraft & Armour Bodies | 35 Motorsports | Pit Bull | K&N
Nice workspace blah blah yada yada.....is something leaking under your bike in the picture with the ladies faux fur coat on it?
EVERYTHING is a repost
06 749R #0047
08 R 1200 GSA
13 Monster EVO 1100
1. Thank you.
2. No.
3. I keep that blanket there in case your mom stops by. The concrete hurts her face/knees/elbows.
Zip-Tie Alley Racing
LRRS/CCS #103
PPS | Dunlop | Boston Moto | Woodcraft & Armour Bodies | 35 Motorsports | Pit Bull | K&N
I just choked on my coffee, thanks.
Original
 Posting Permissions

 Reply With Quote