1


I believe most of you have seen the initial build of my KTM 450SMR. Pretty much most of it was buying and bolting on parts with a little fabrication. After racing it for a season its time for an overhaul.
This will include taking the bike down to the frame, going over everything and putting it back together. Ill also be servicing the forks and shock. I can go into more detail on just about anything. Im also looking to have a few parts made and hopefully I can get to the machine shop and snap some photos.
What it wont include but is being done is a engine rebuild. I dont know a lot about building motors so Im having Eric Block from Manchester KTM do that for me. Maybe I can talk him into documenting some of it.
If there is interest Ill make sure I try to document everything and put it up here.
Most of what I will be doing is stuff that everyone that raced all year should be doing to their bike.

Last edited by OreoGaborio; 10-13-13 at 03:17 PM.
-Pete
NEMRR #81 - ECK Racing
Cyclesmith Track Days
Woodcraft | MTag-Pirelli | OnTrack Media
'03 Tuono | '06 SV650 | '04 CRF250X | '24 Aprilia Tuareg
Oooo..
cant wait to see the progress!
Time for another iced coffee...
LRRS/CCS Amateur #514 / RSP Racing / Woodcraft / MTAG Pirelli / Dyno Solutions / Tony's Track Days / Sport Bike Track Gear / 434racer / Brunetto T-Shirts / Knox / GMD Computrack
That was fast!
Paul_E_D
OK so bare with me for a little this might take a few edits. About 40 photos. I apologize for some of the poor quality but I only have a cellphone to take shots with and Ive been banned from buying anything before Christmas.
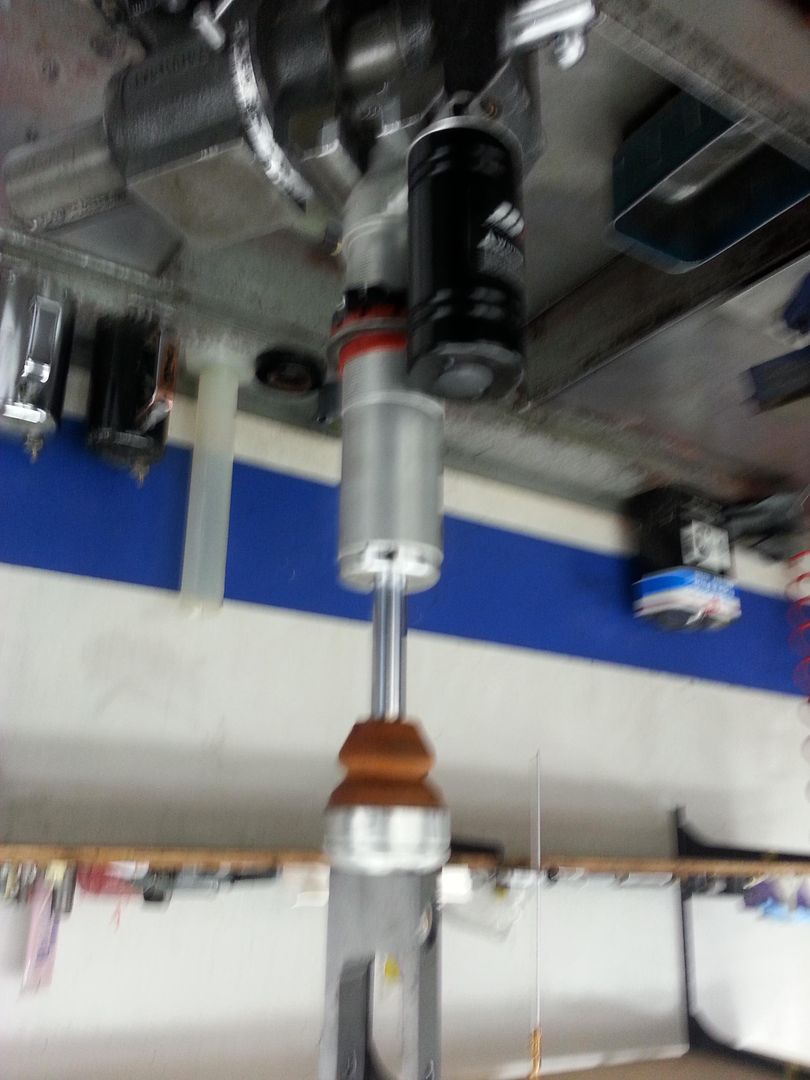
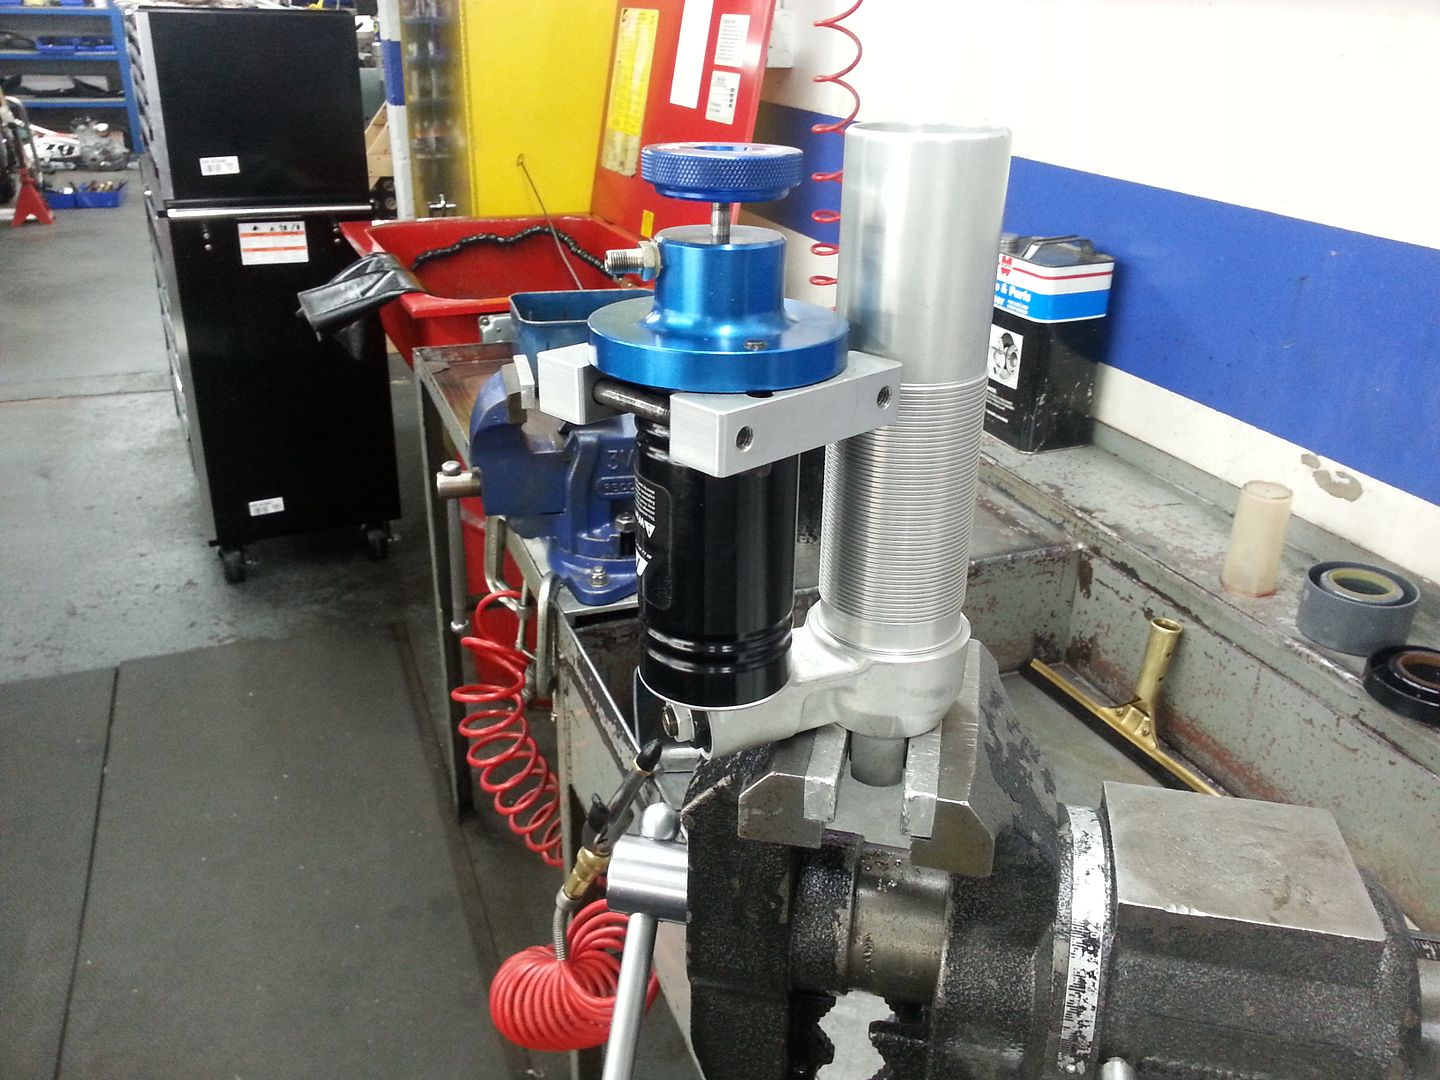
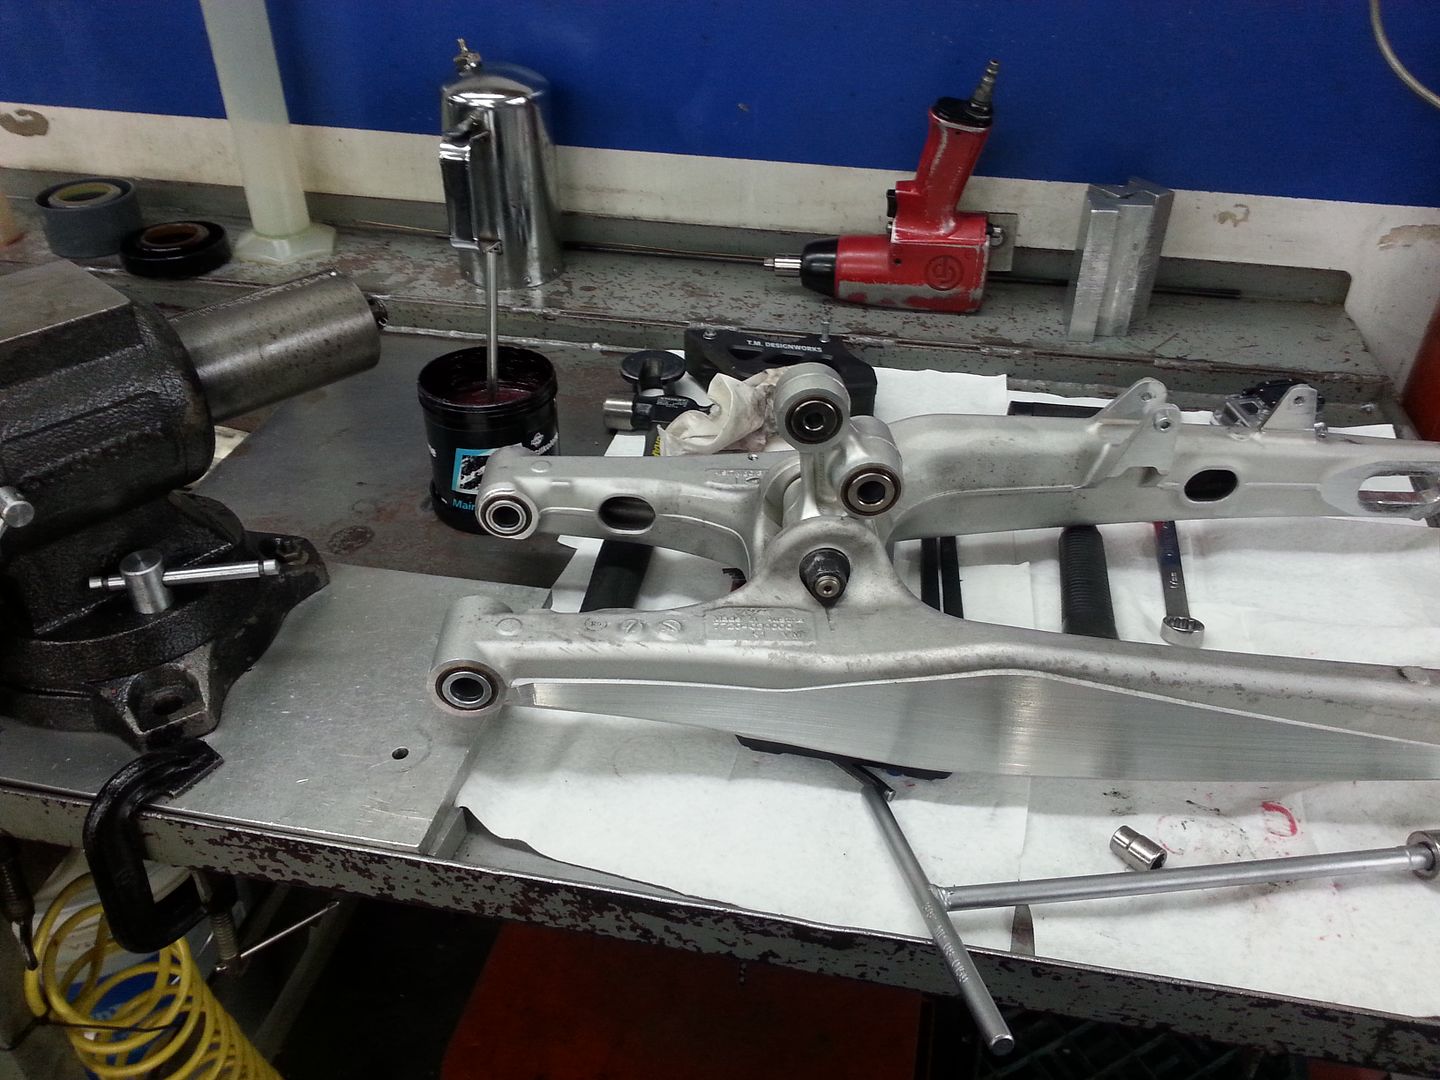
Today was shock and swingarm day.
Quick overview of a shock service
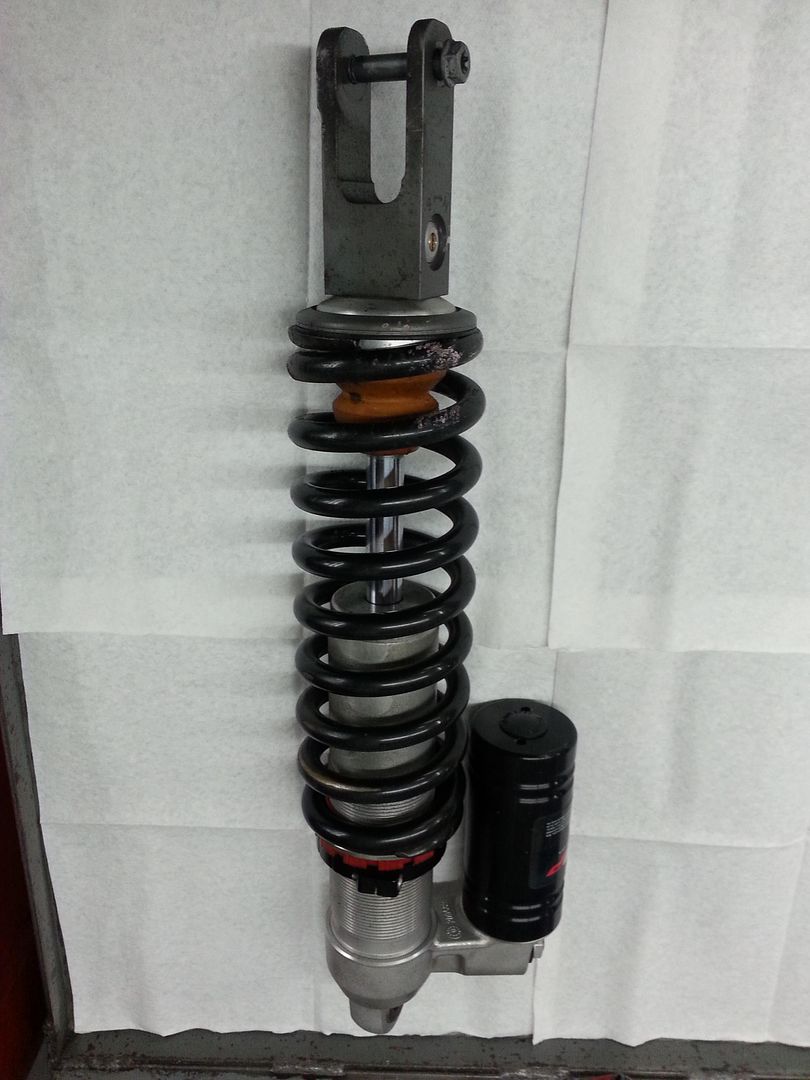
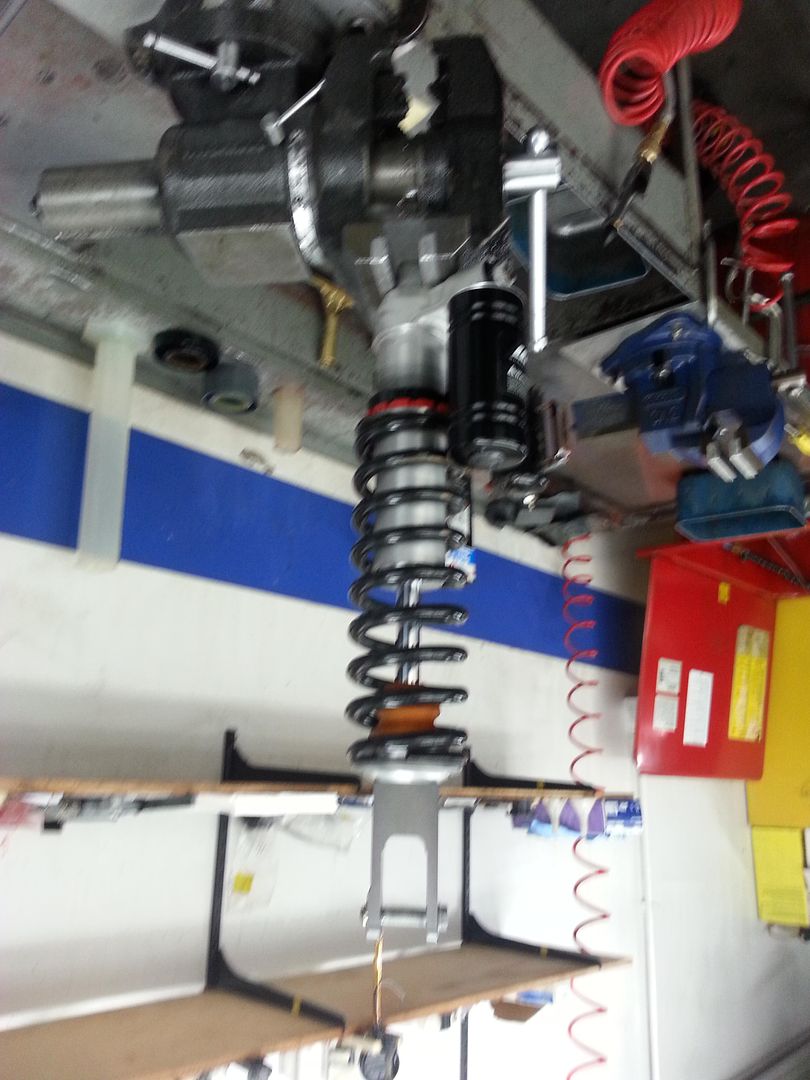
So here it is. WP Shock out of my SMR
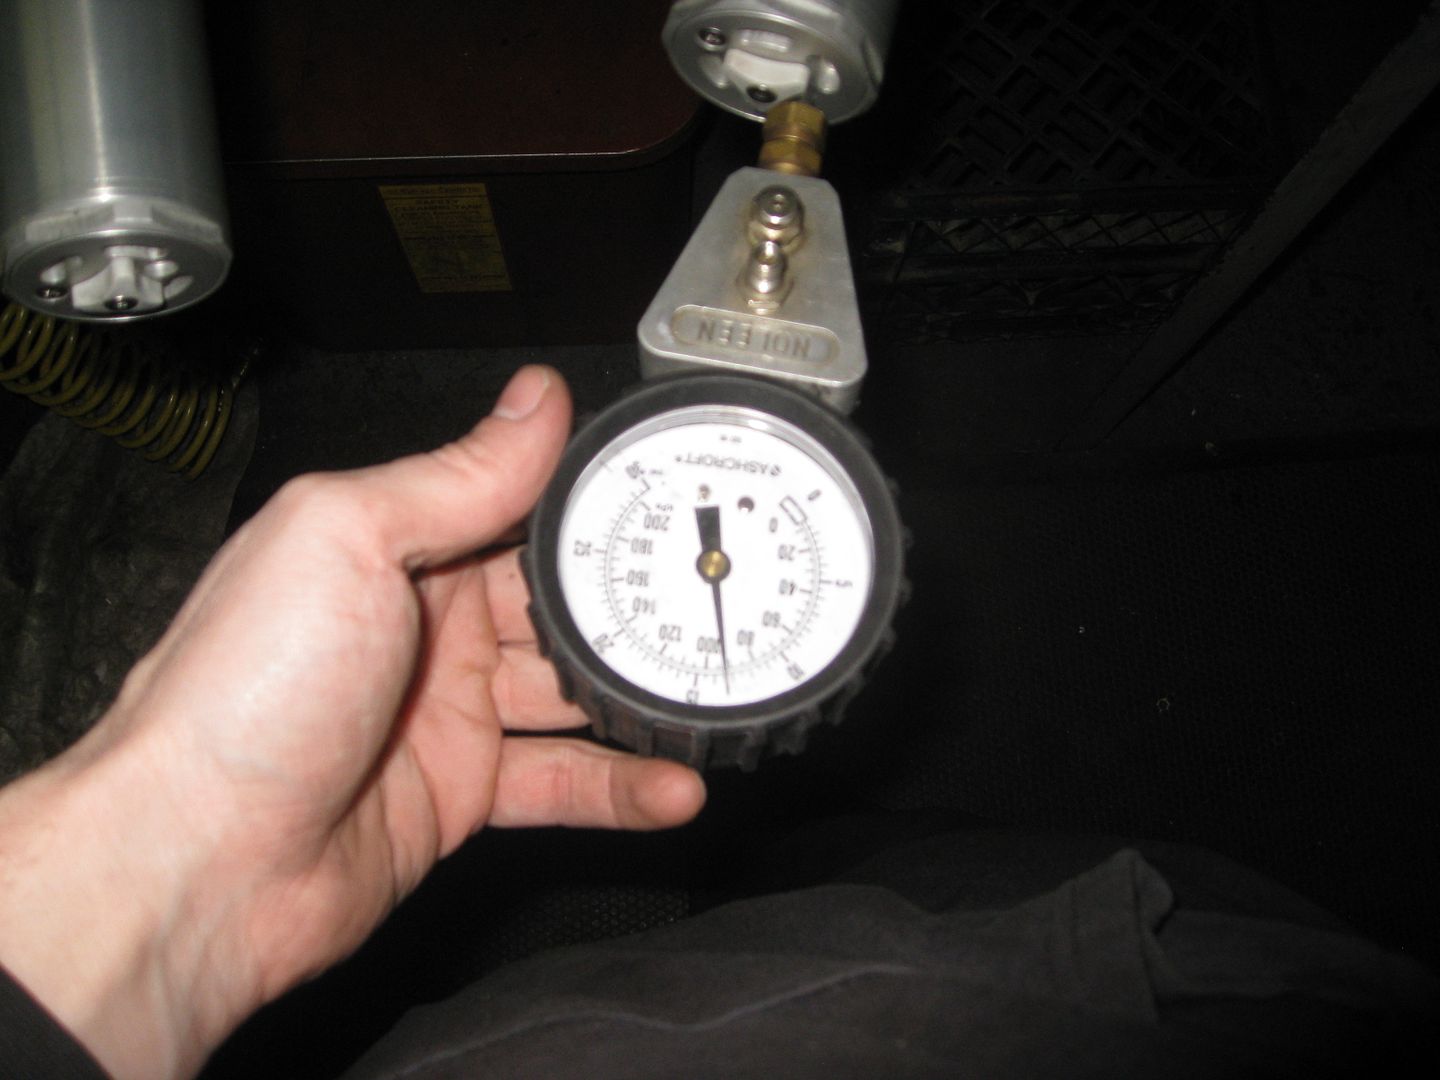
Before any work is done to the shock all its current settings are documented.
I did the compression as well but its a bit of a pain to take photos and work on the shock at the same time.
The spring is the first thing to come off
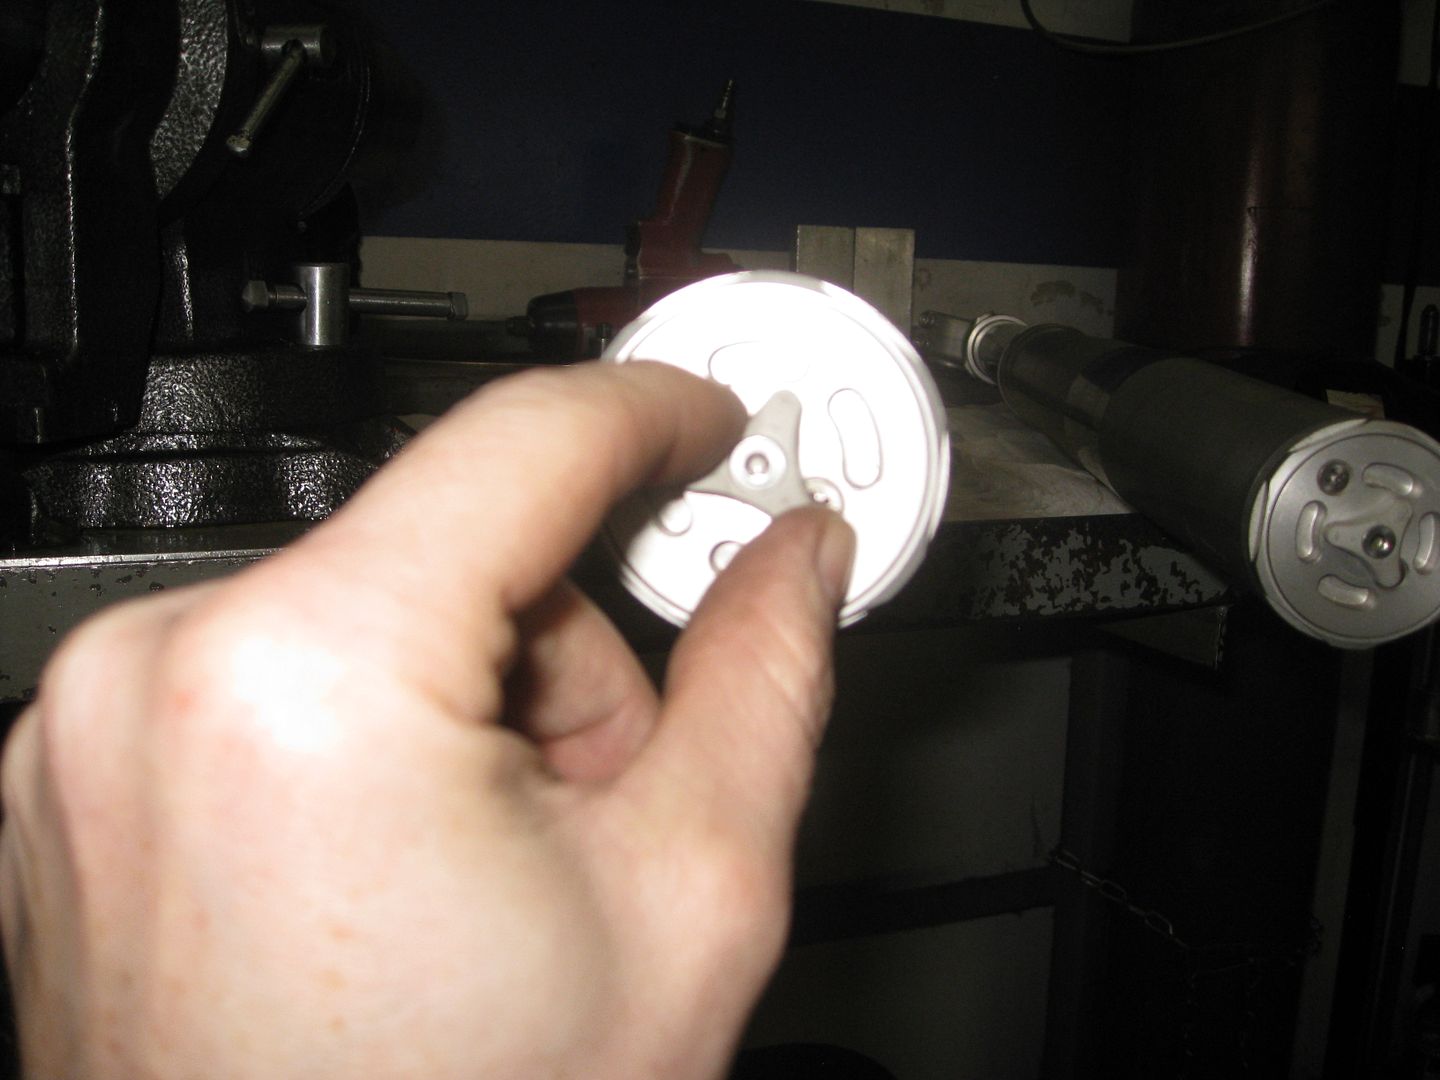
Next before any actual shock disassembly happens the nitrogen pressure is released.
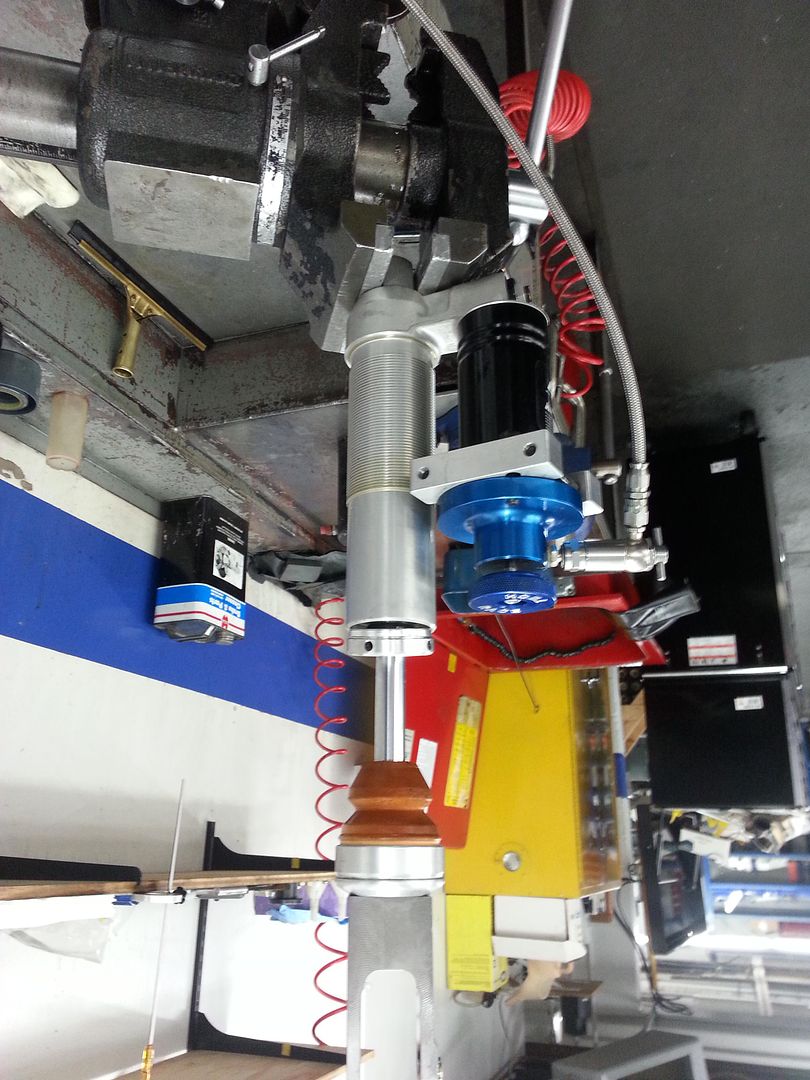
Now the shock is ready to get opened up
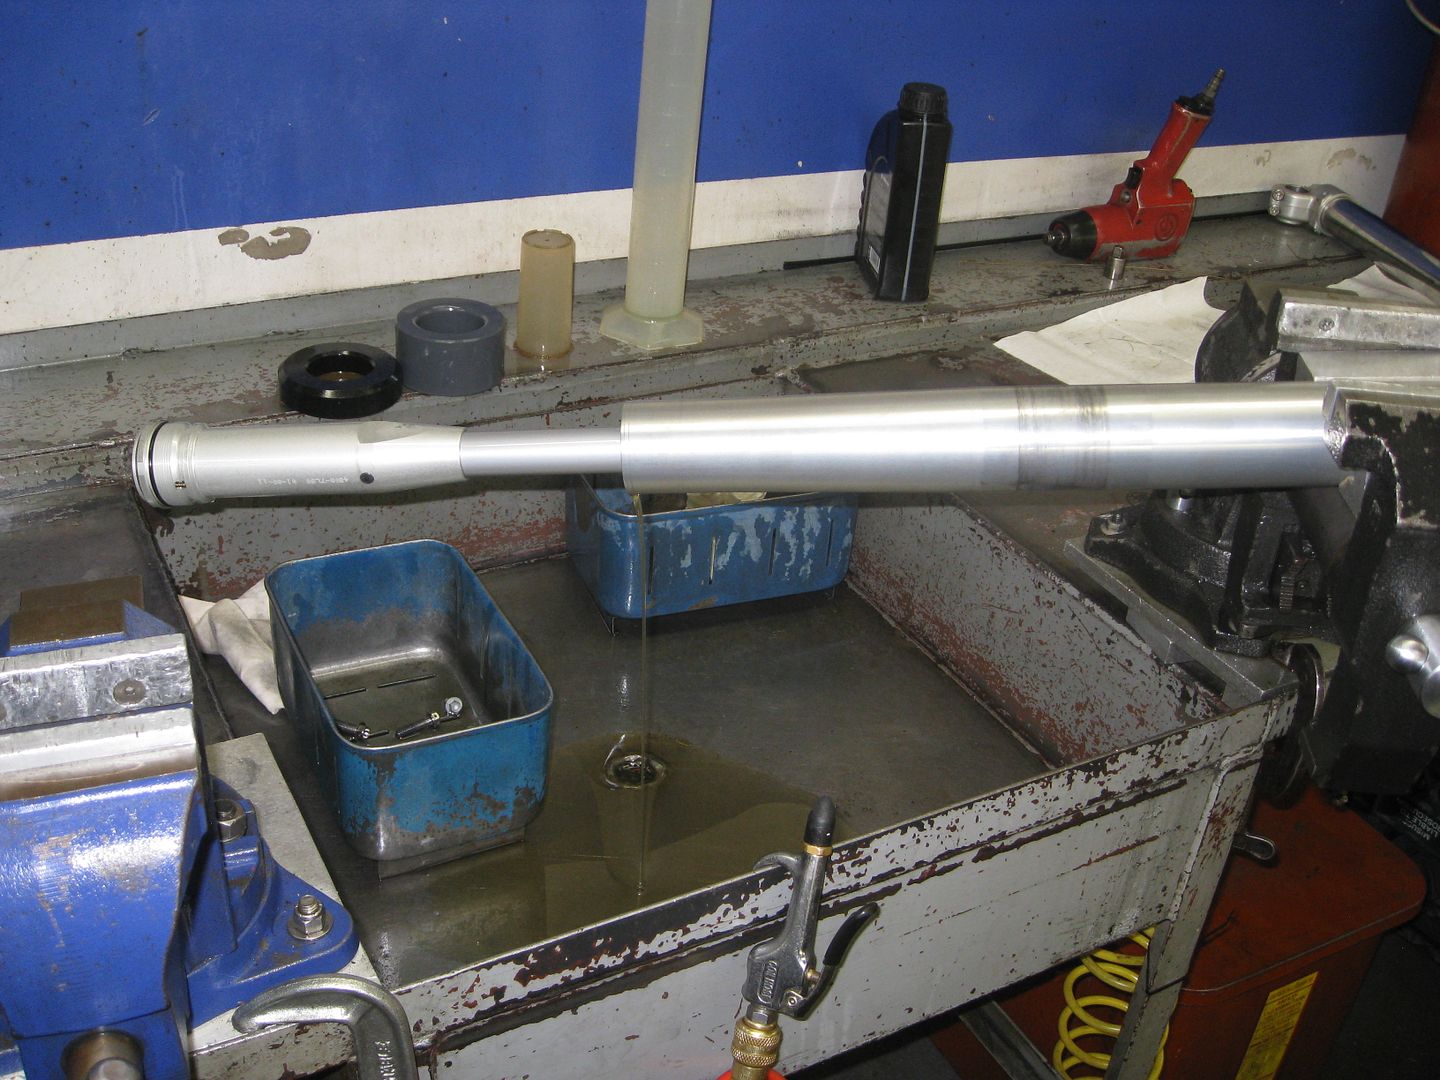
Shock shaft comes out
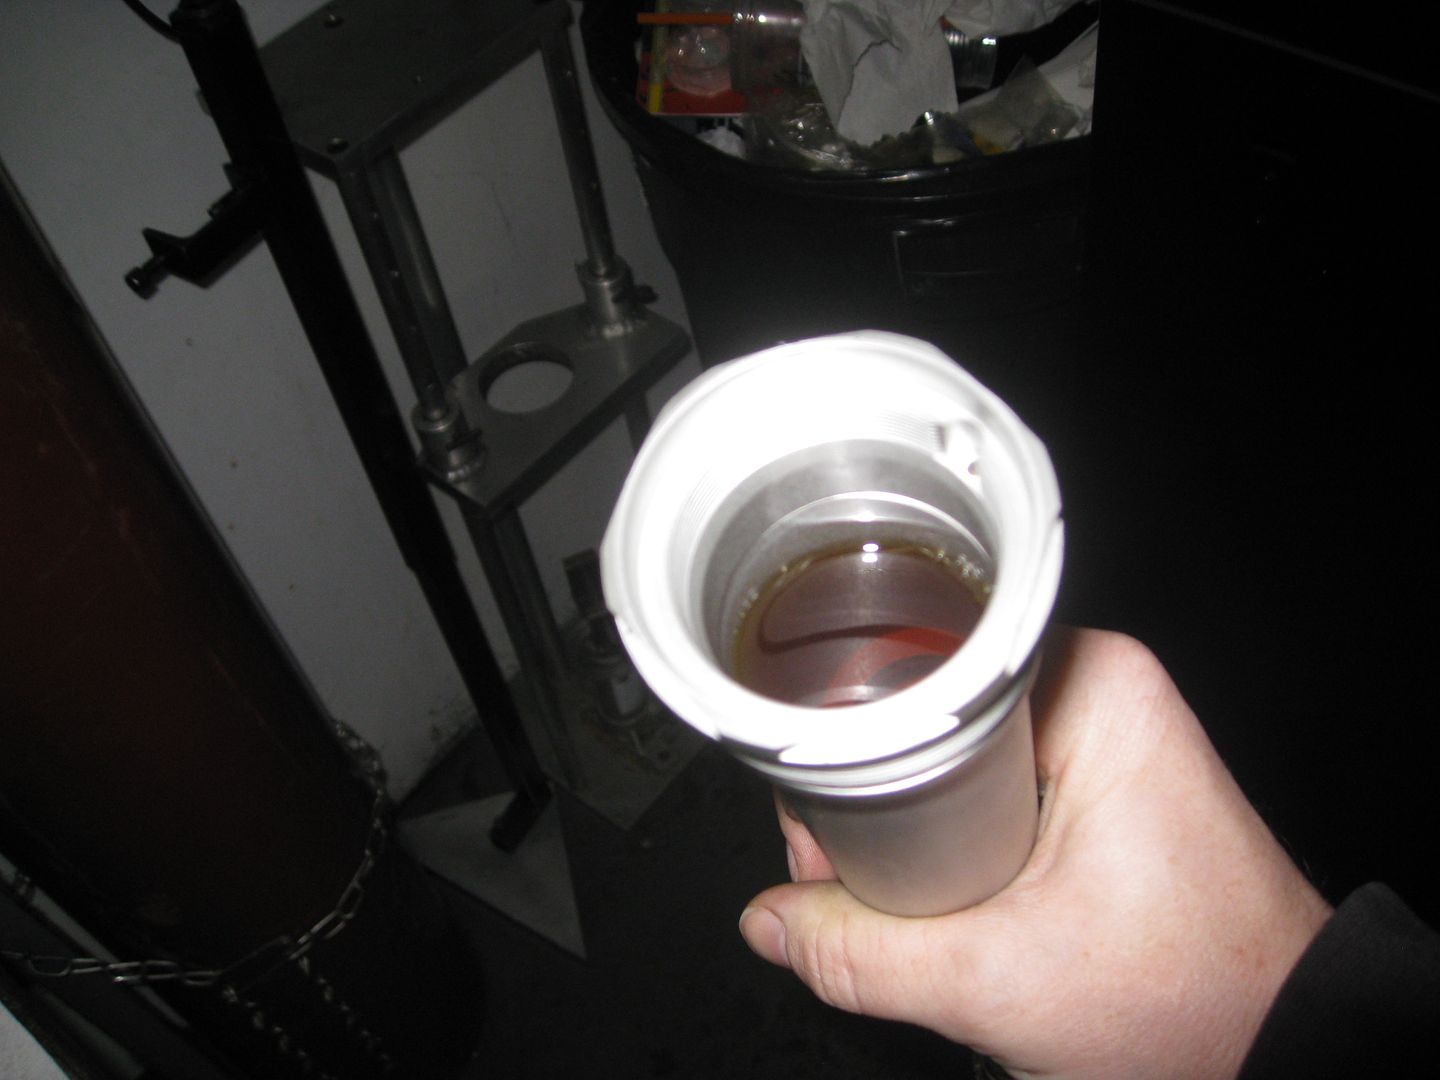
Now the oil in the shock body can be dumped.
Loosen the nitrogen chamber but dont take it off unless youre over a oil sink or youll get oil on the floor.
Tip the shock so the open end of the shock body is facing down and then remove the nitrogen chamber.
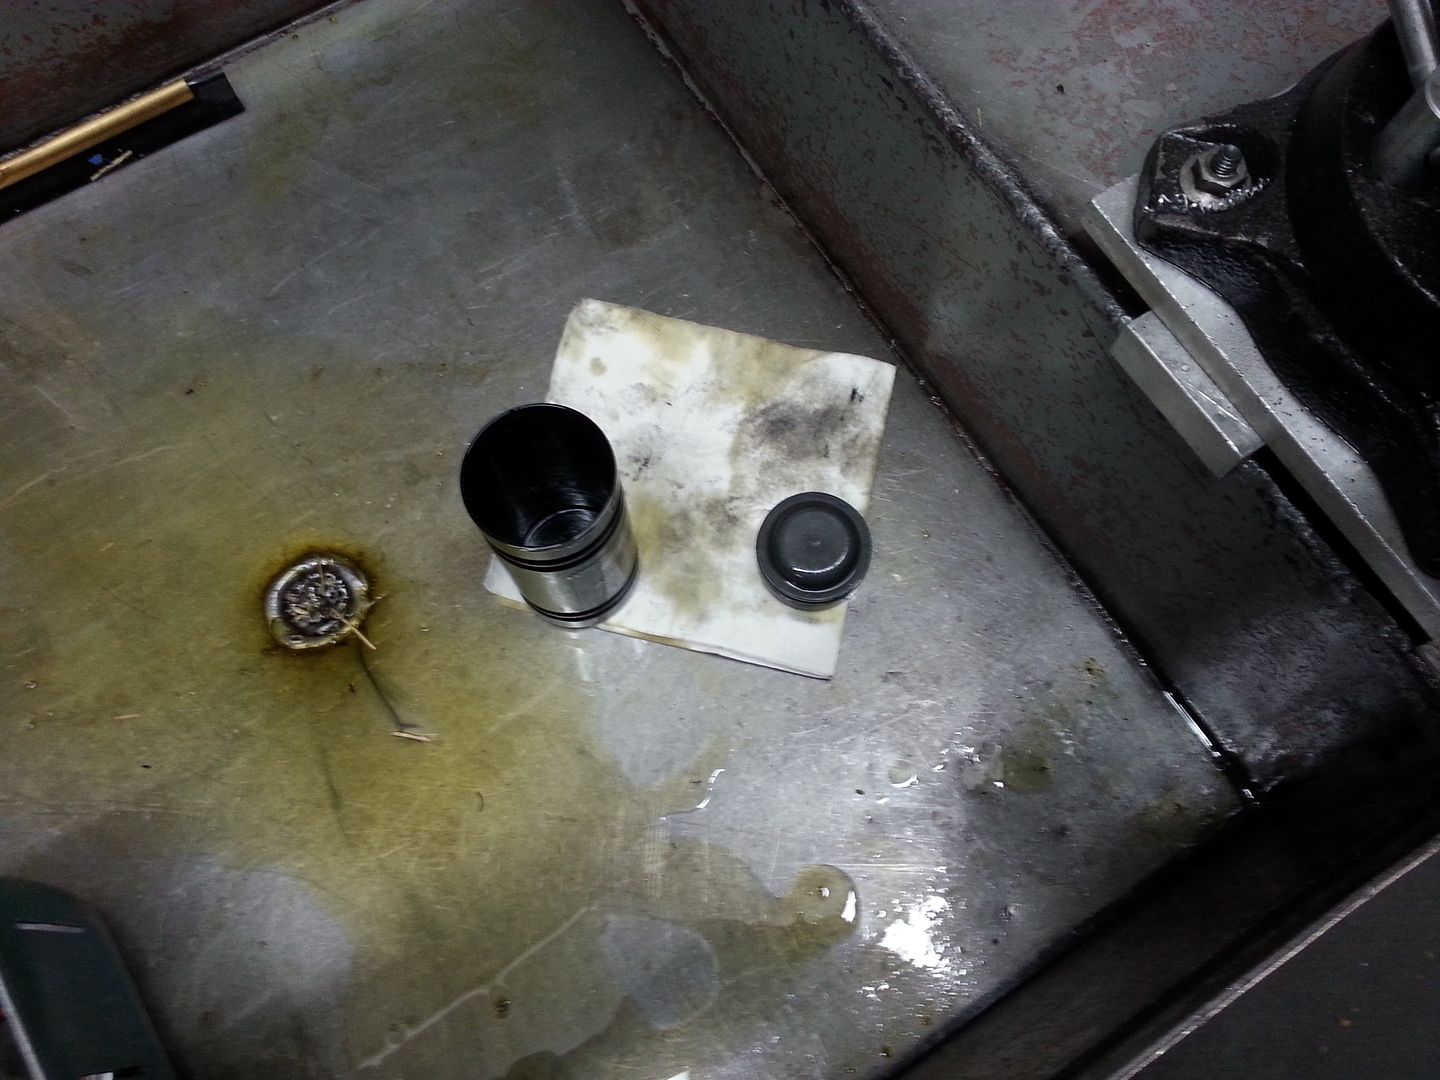
Youll end up with something like this
Shock body
Nitrogen chamber with the dividing piston
Wash cycle time
Rinse and drying cycle
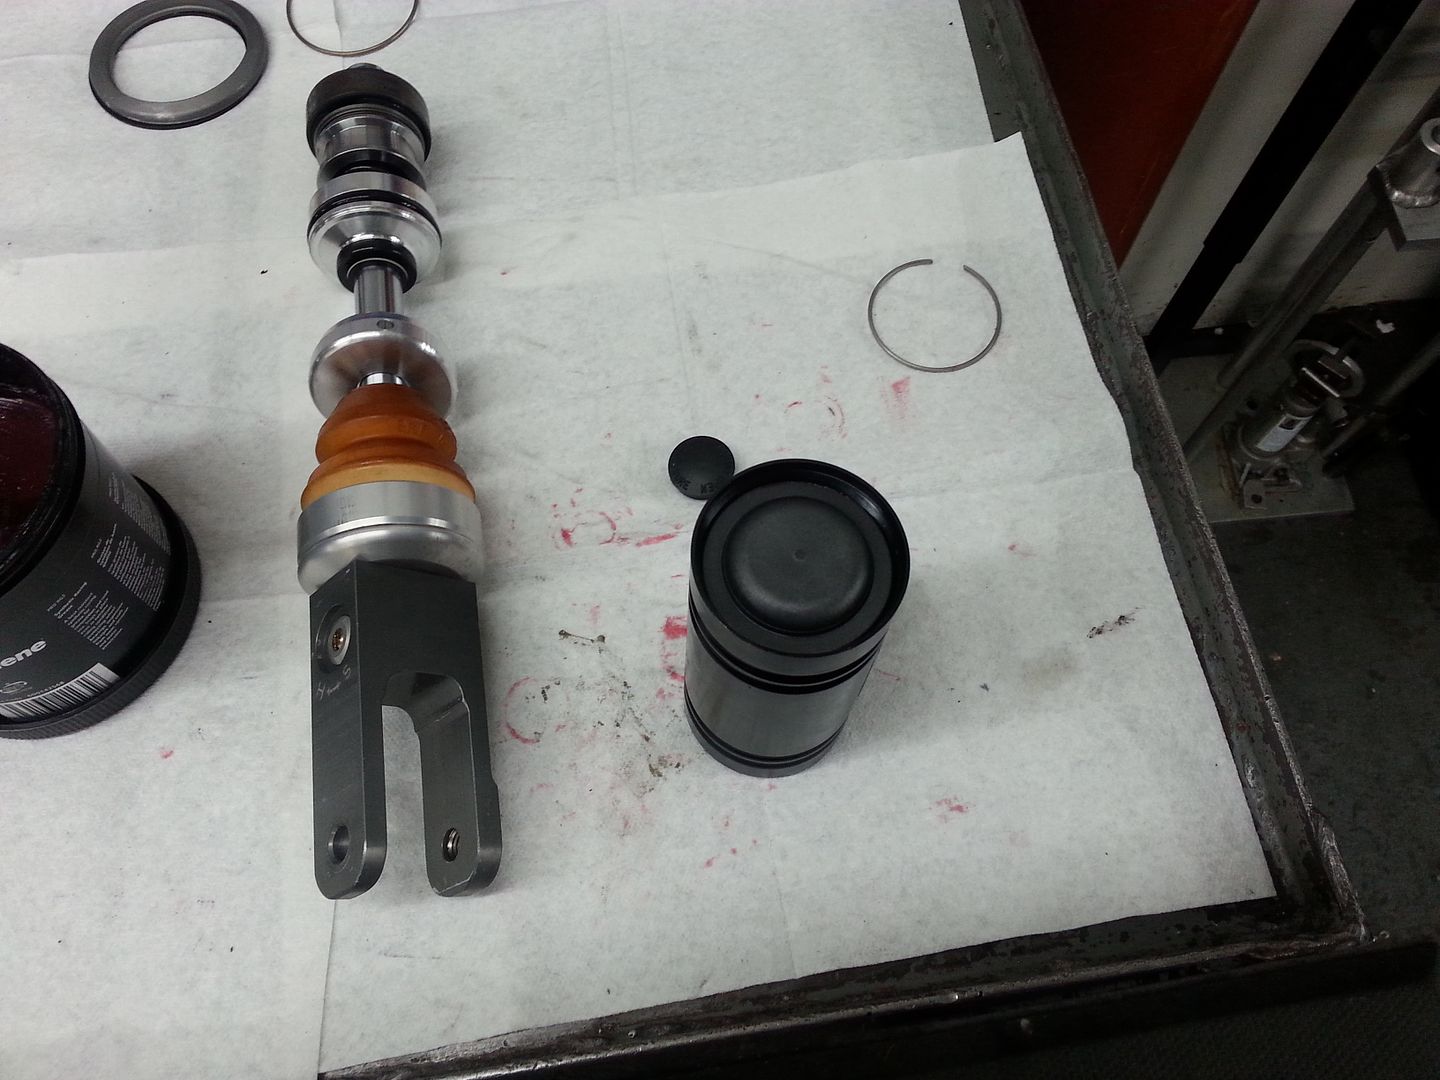
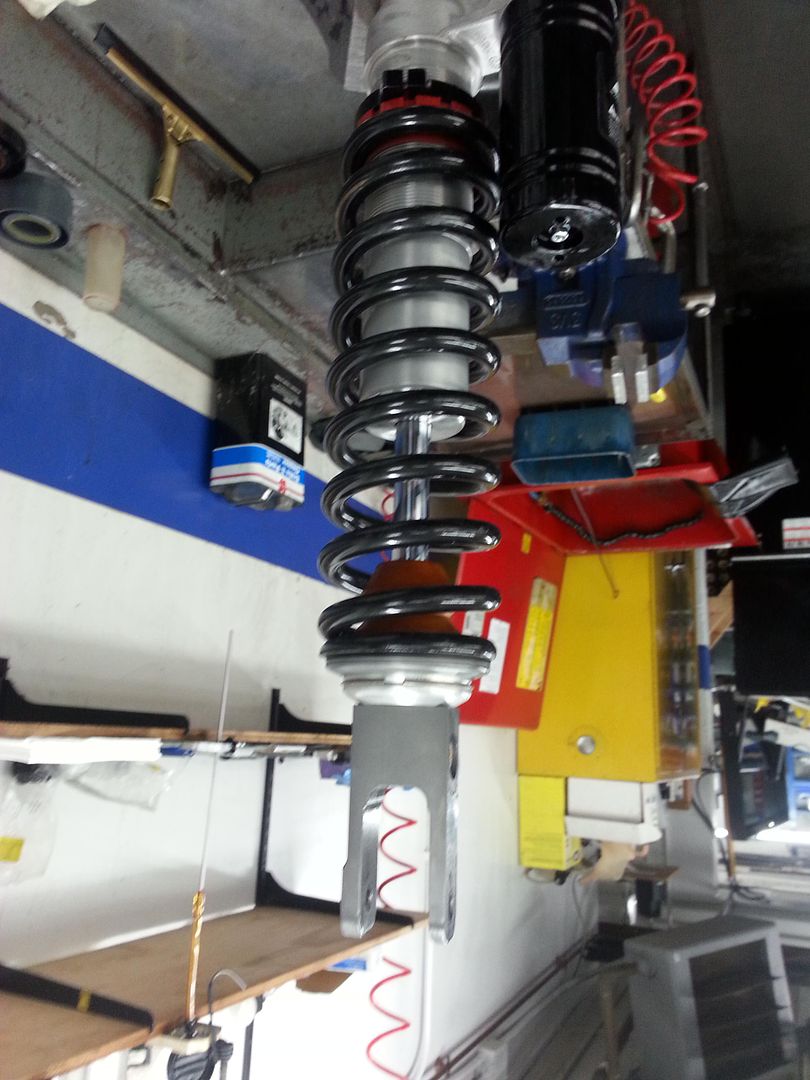
Now its time to reassemble
Lay out the parts to make sure you have everything and inspect the pieces to make sure nothing is broken or needs replacement.
A little grease on the oring of the diving piston to help it move inside the nitrogen chamber
Push the piston to the other end of the chamber and fill with oil
A little grease on the threads of the shock body where the nitrogen chamber goes.
Tip the shock so the nitrogen body can be threaded on without spilling oil out of it
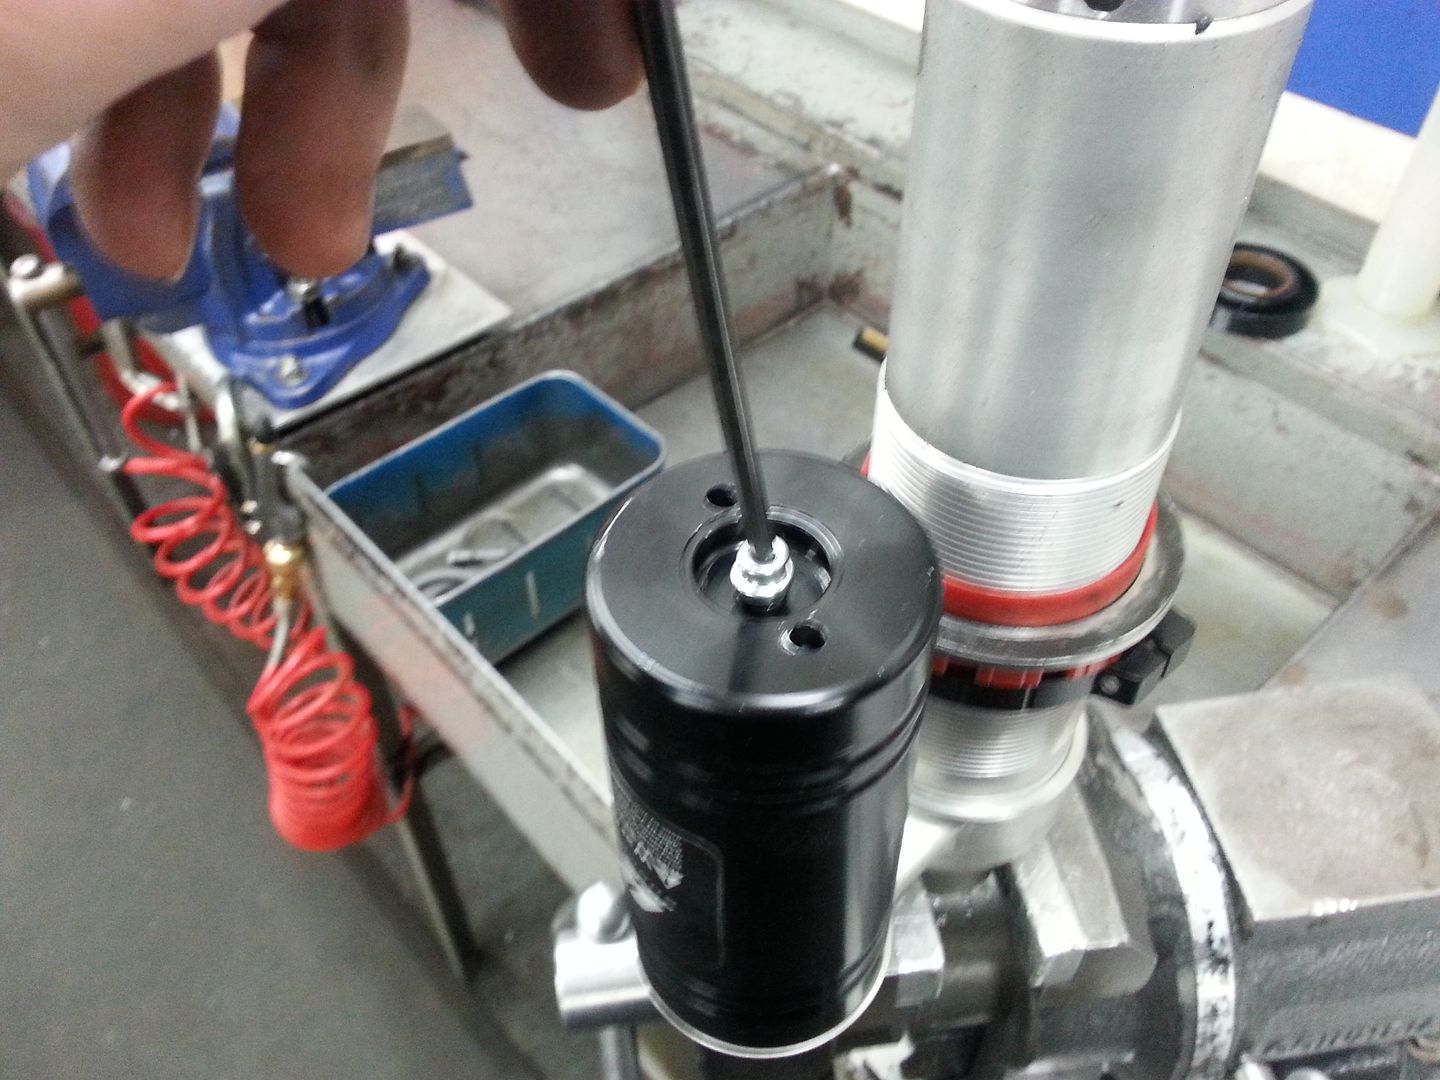
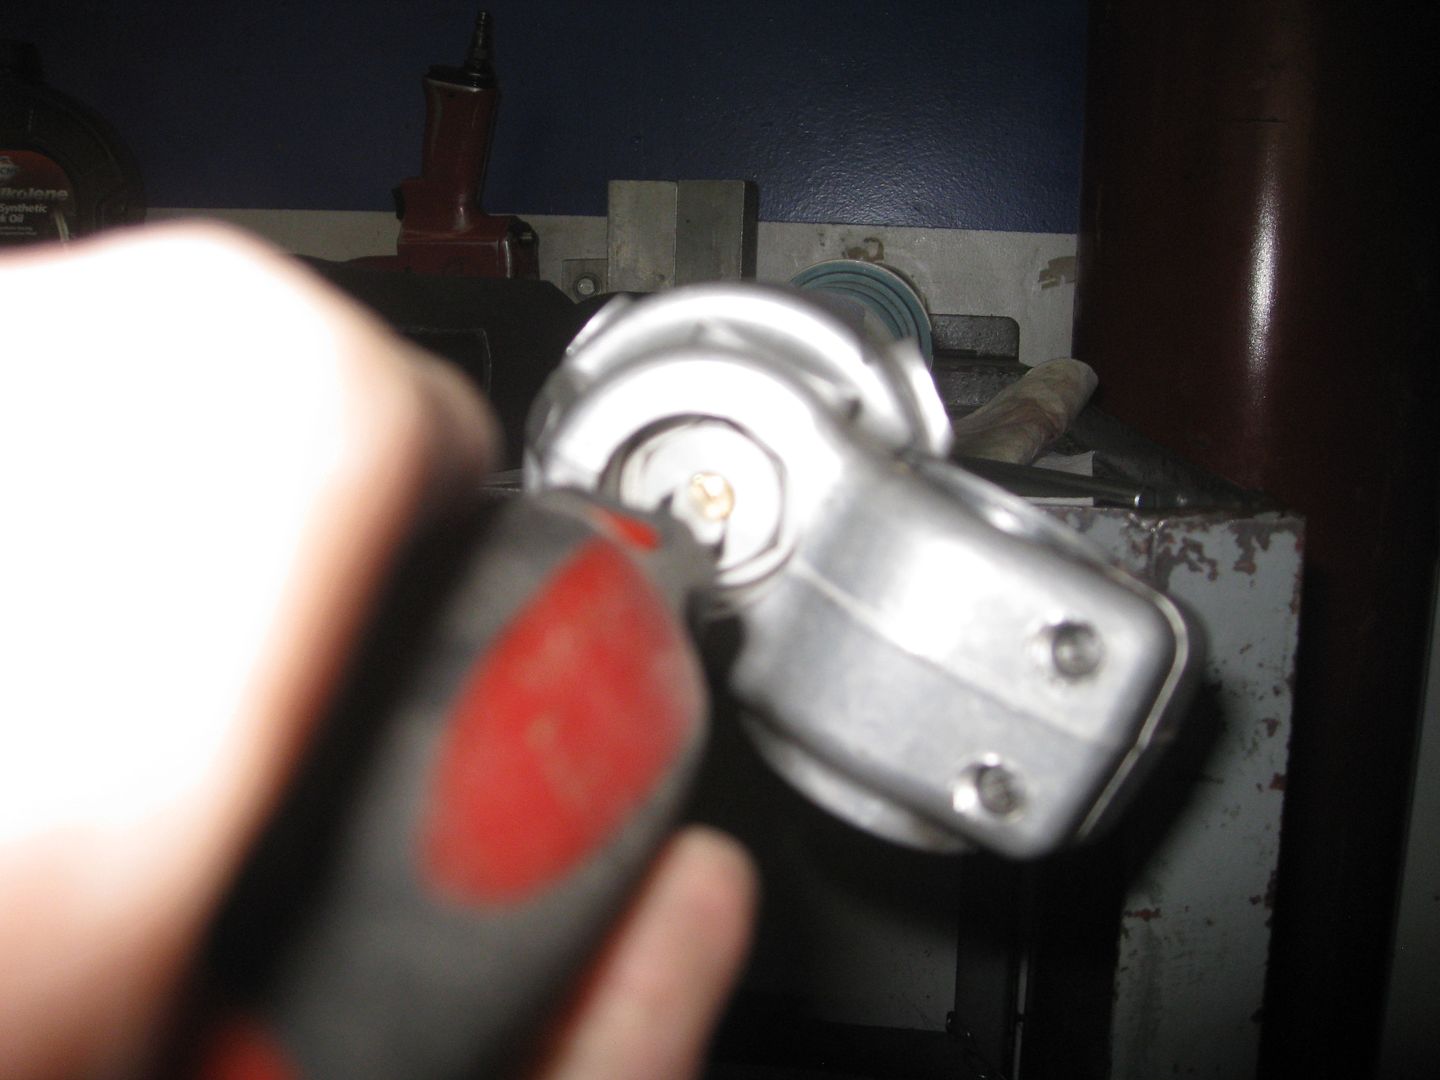
WP shocks require a special tool to pressurize them.
Pressurize the shock to force the oil out of the nitrogen chamber and into the shock body.
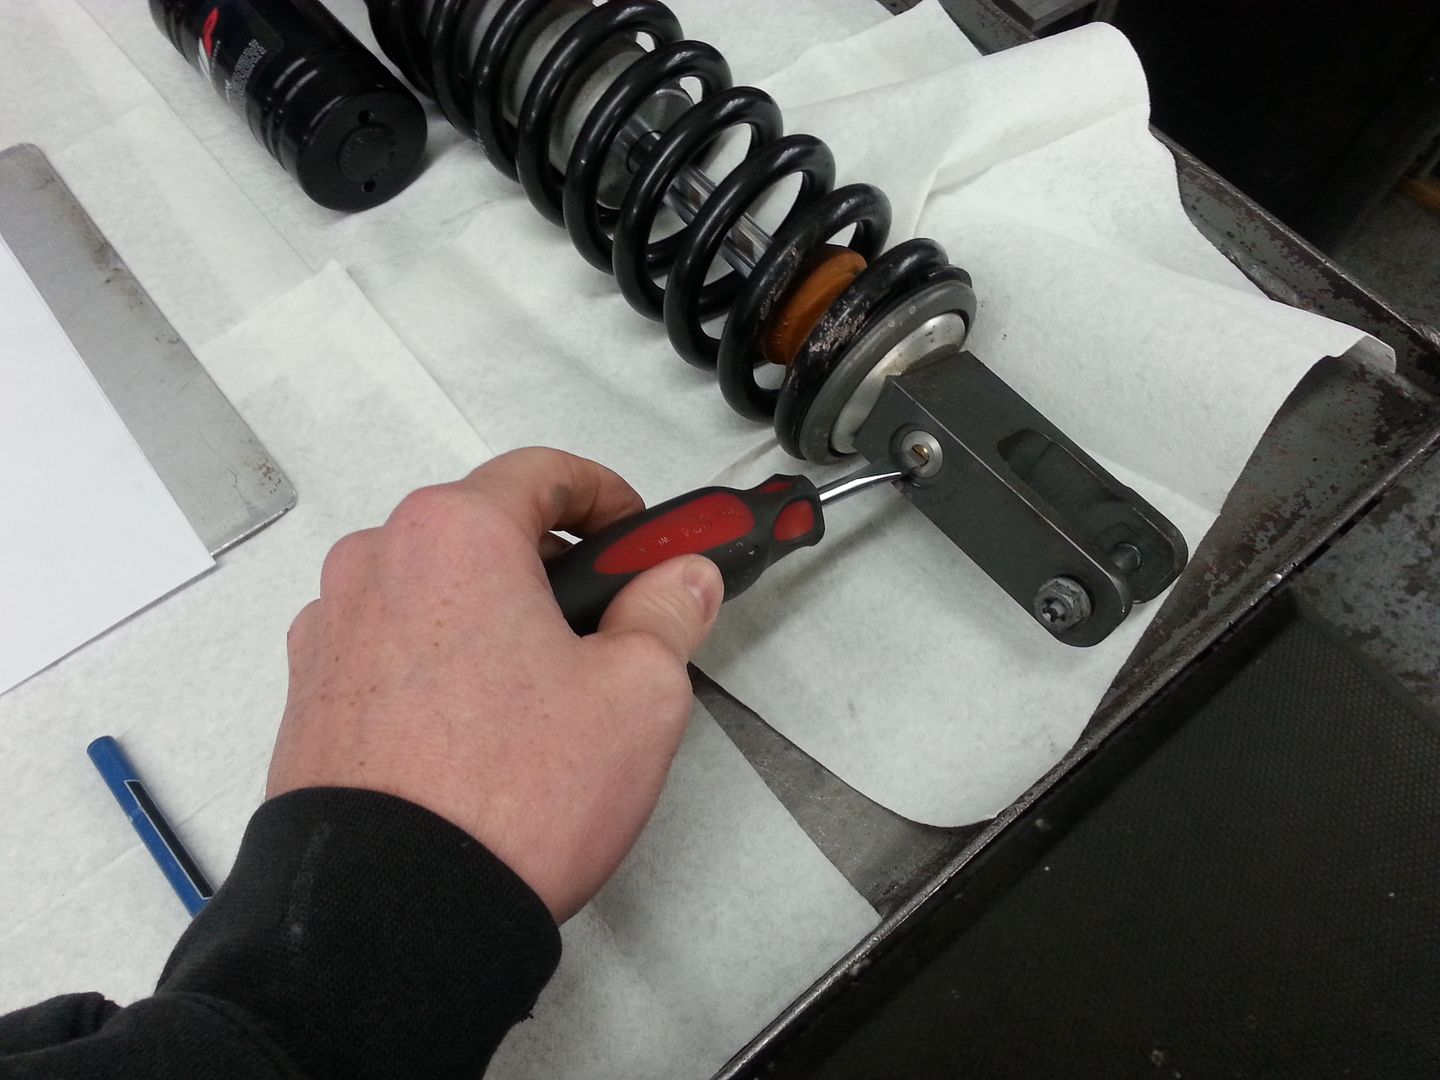
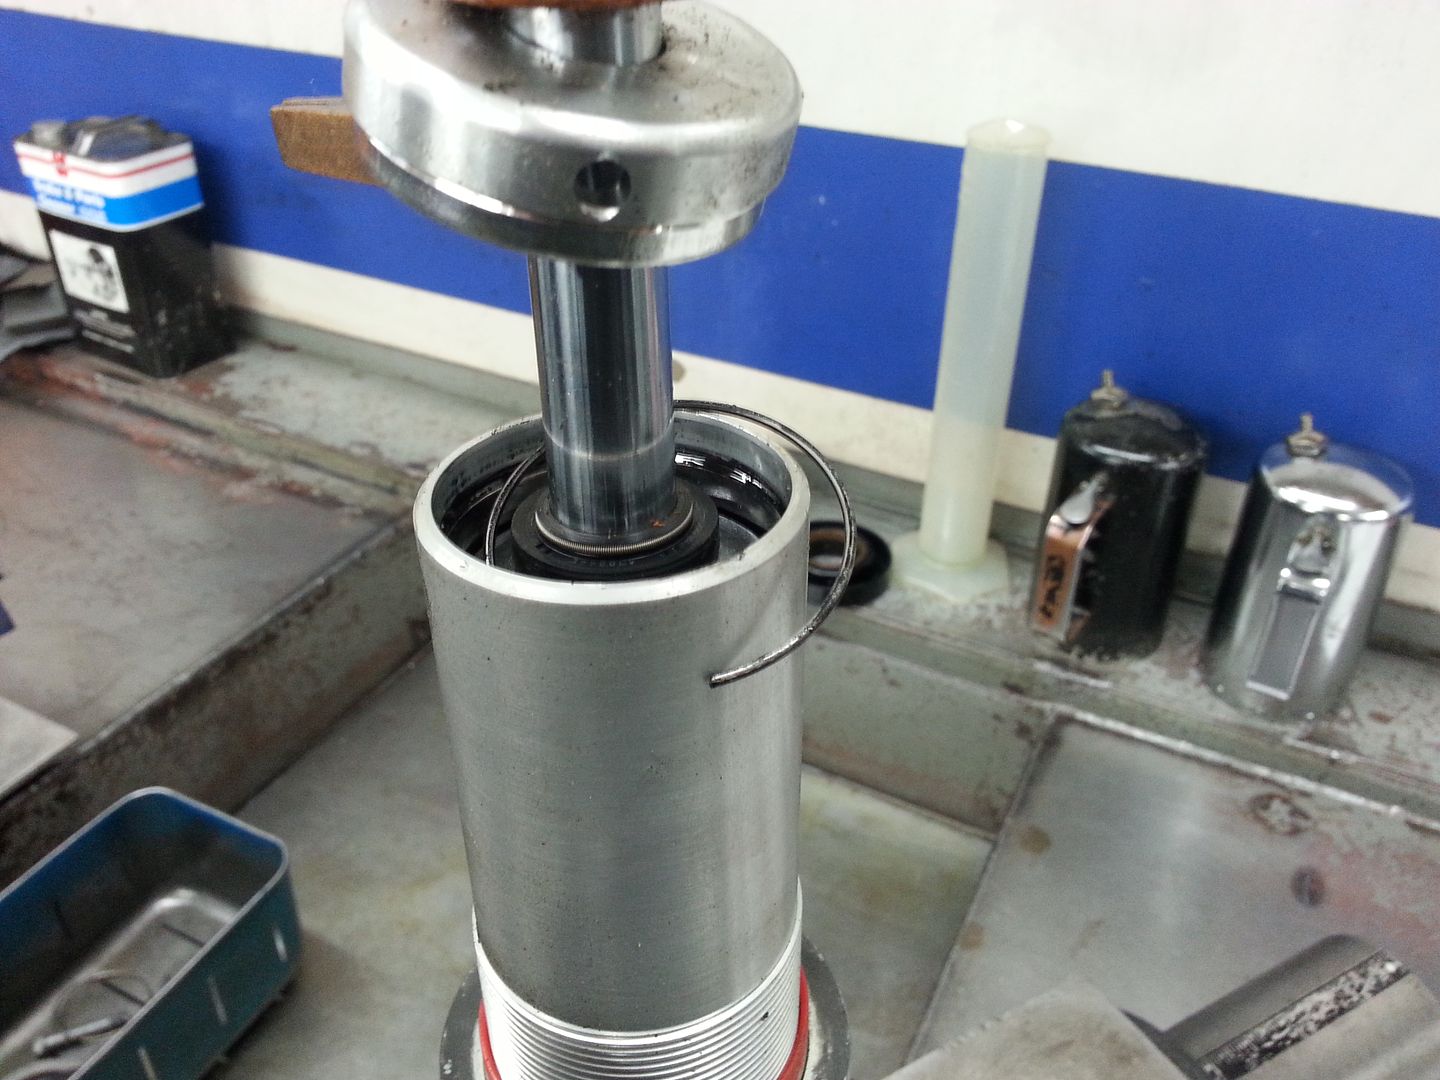
Bleed out the valving. A note about WP. Thread on the spring perch before inserting the shock shaft or youll have to bleed it over. The perch doesnt fit over the the mount at the clevis. Dont ask me how I know
Slowly release the pressure while pushing the seal down and into the shock body. Insert the snap ring that holds the seal in place and re-pressurize. Make sure the shock is functioning properly and then put the cap on.
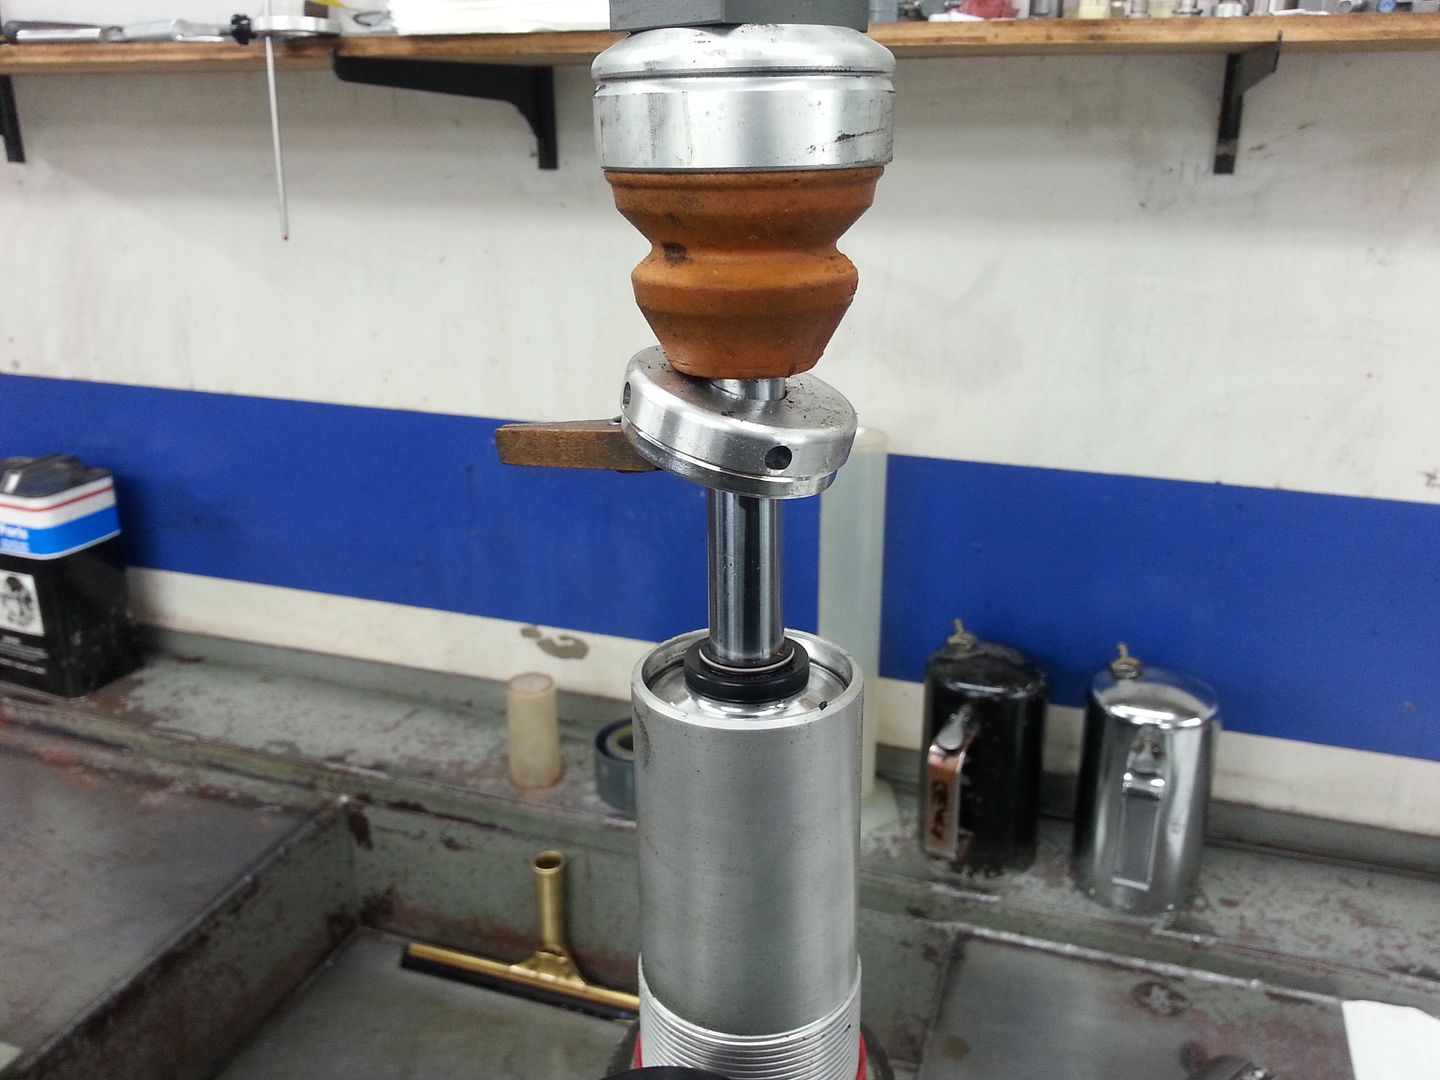
A little never seize where the perch will end up when the spring is set to the right preload.
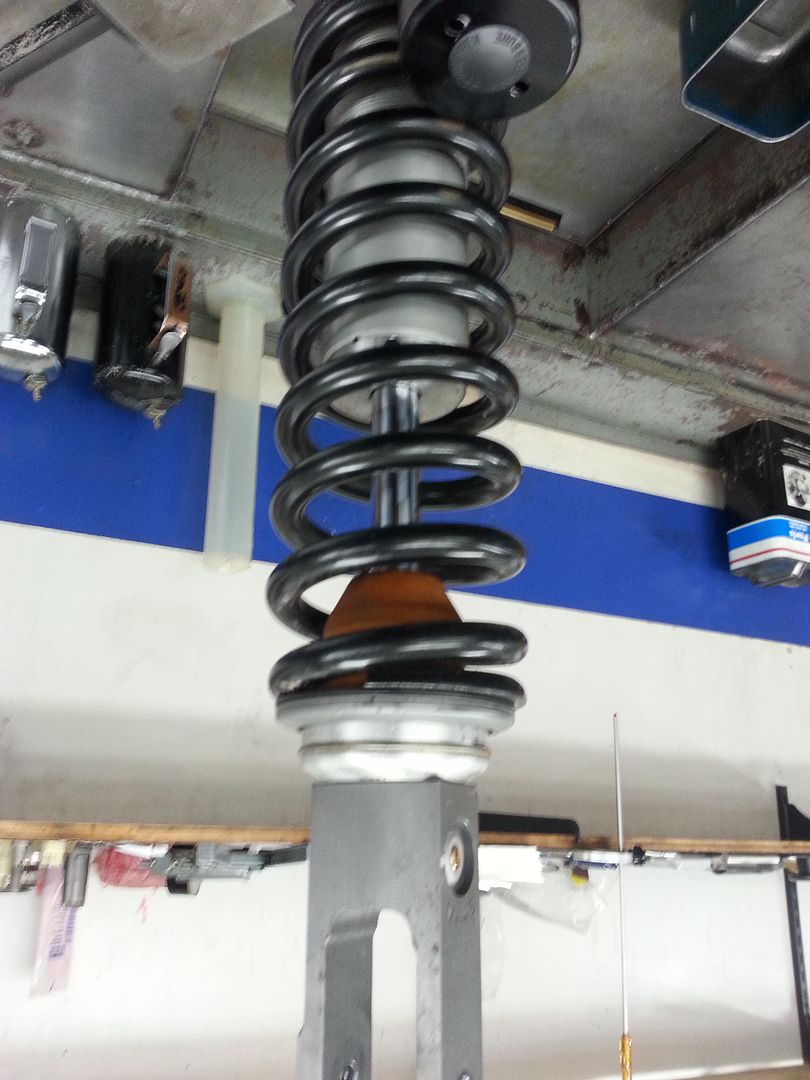
Return the shock spring and clickers to their settings and youre all done
holy crap...this is better than a service manual
FREE $10 UBER CREDIT W' PROMO CODE --> PON41
1994 Yamaha YZ250 CA Street Legal 2-smoke :smoke:
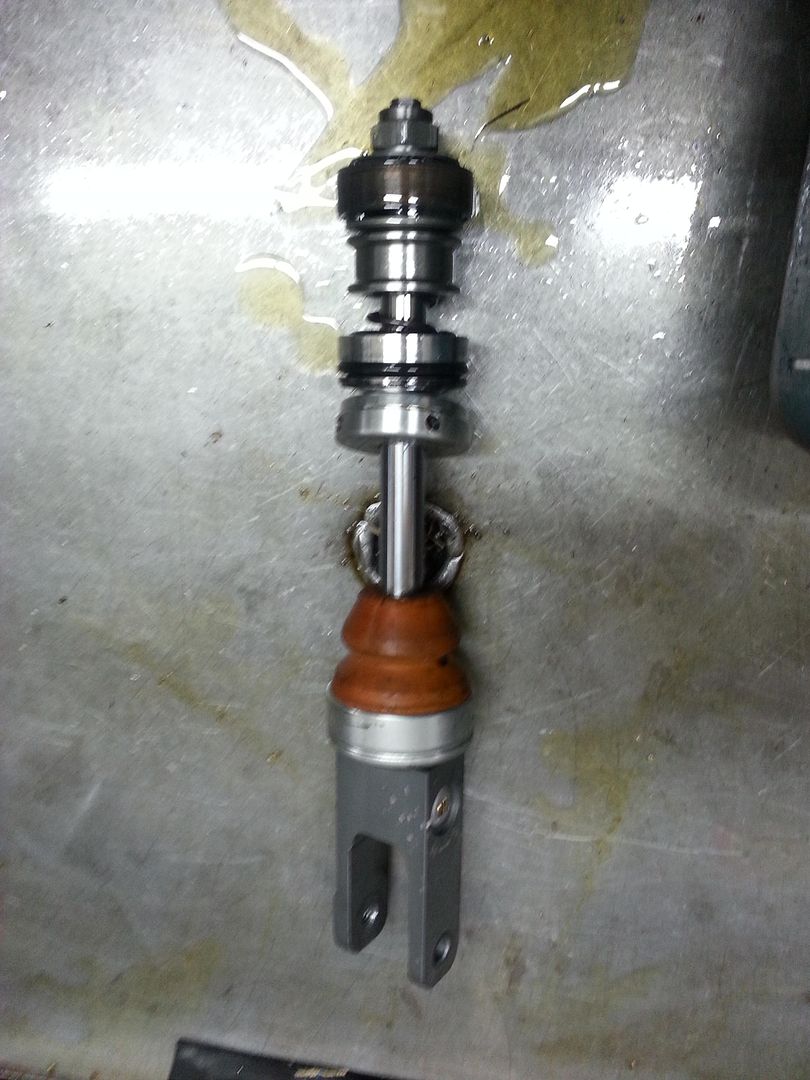
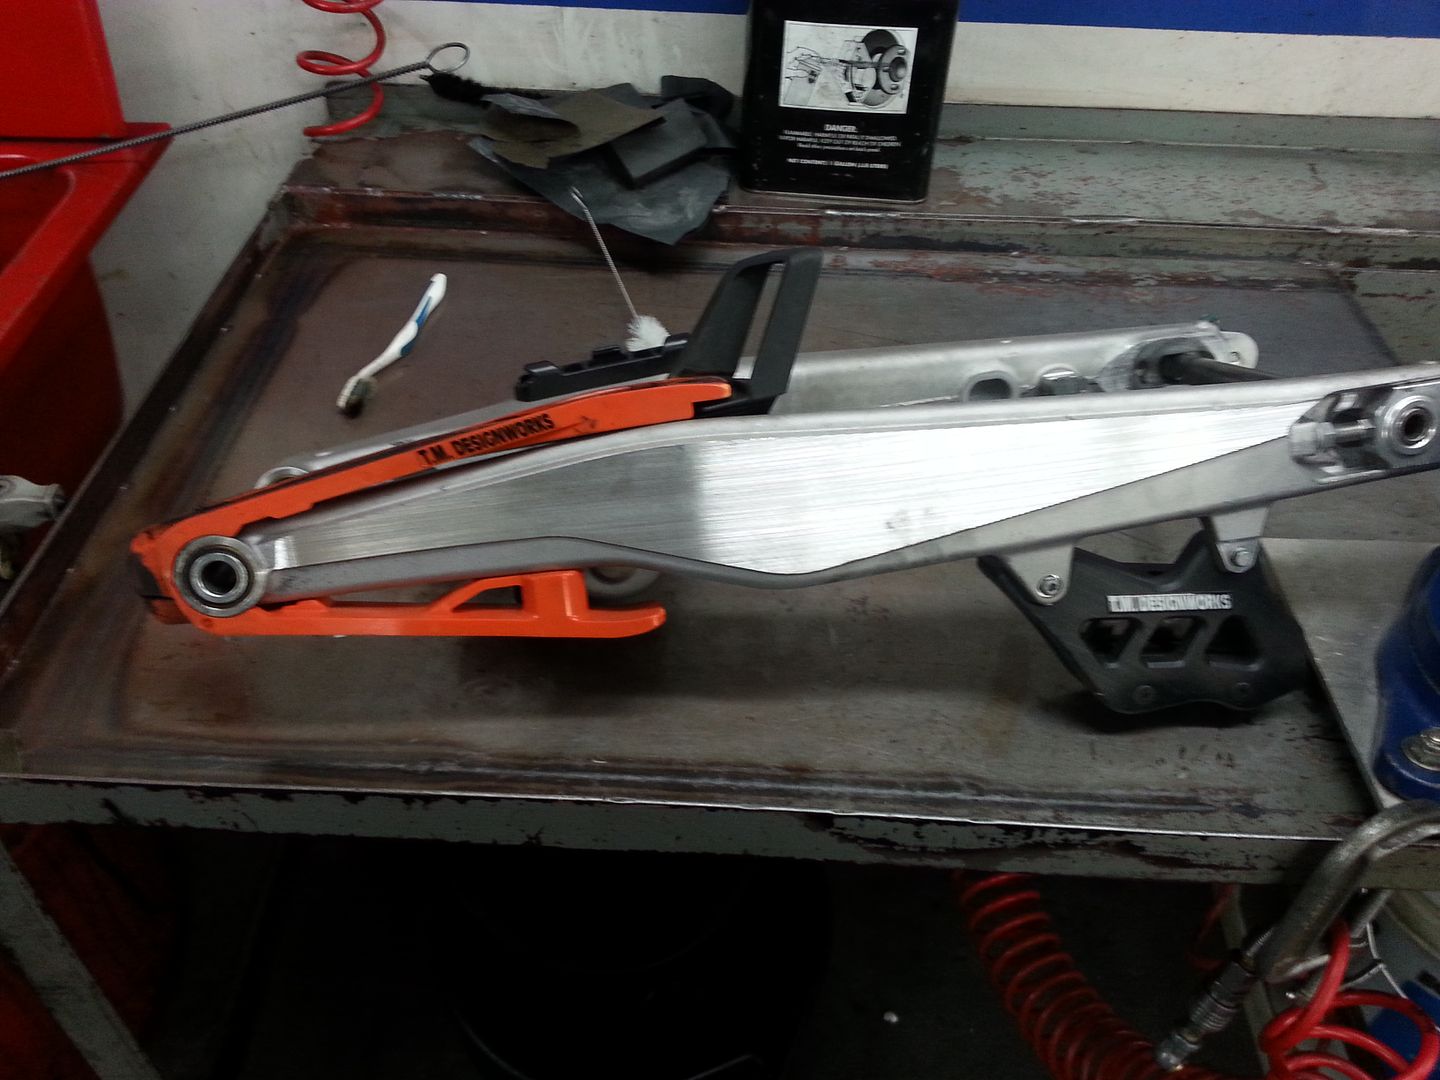
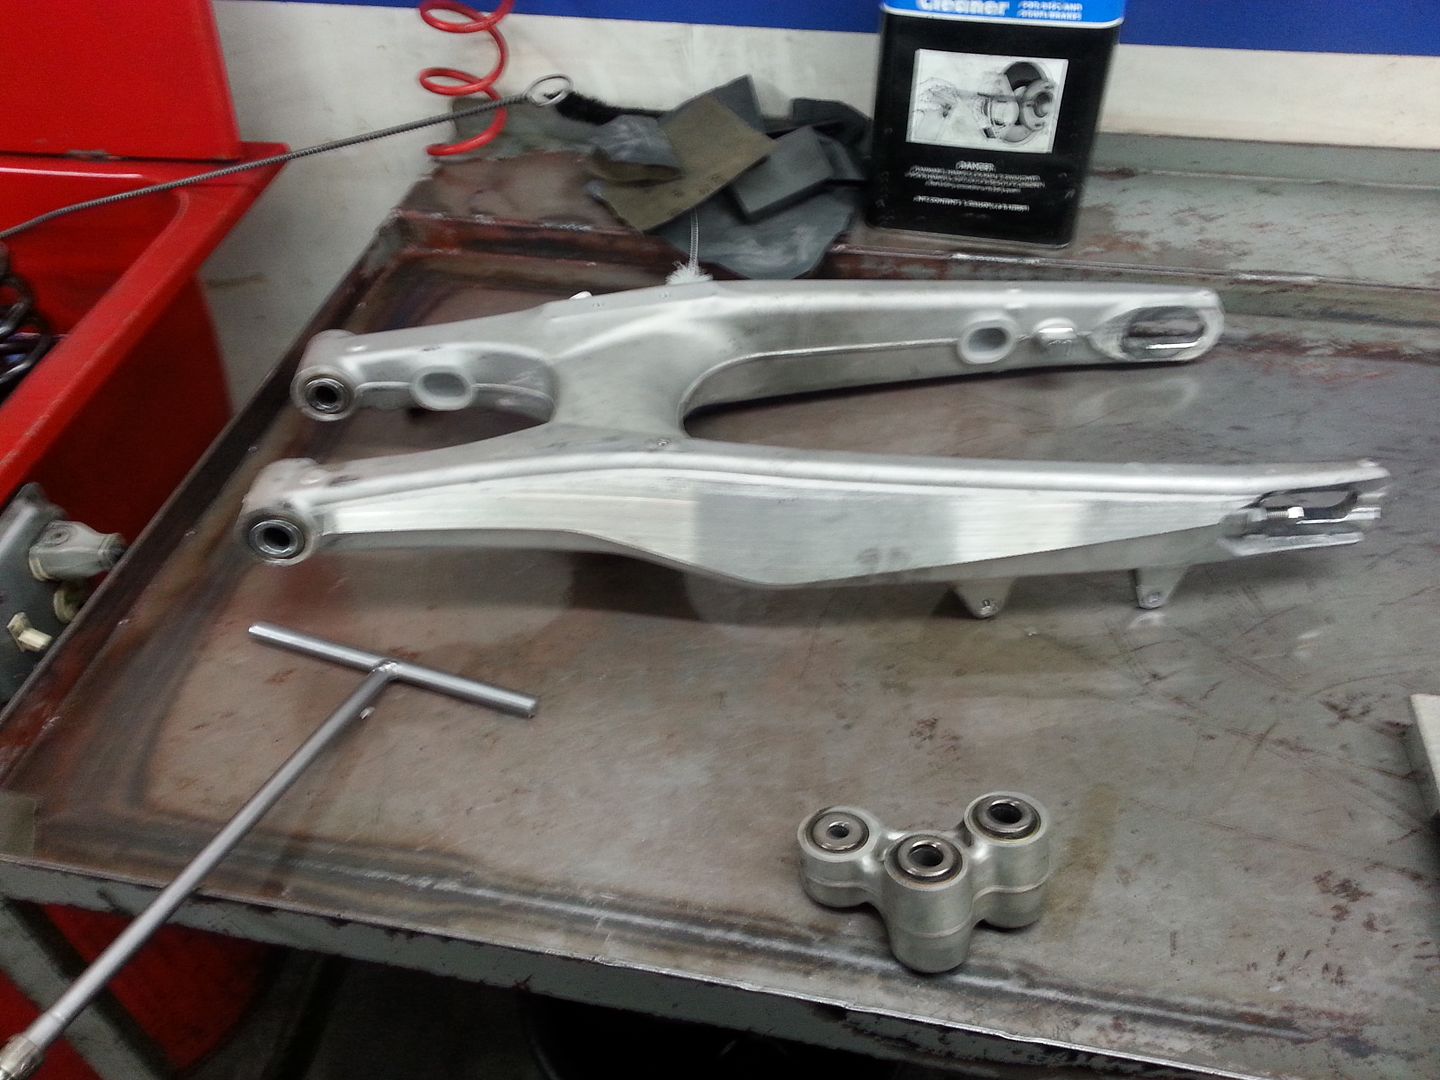
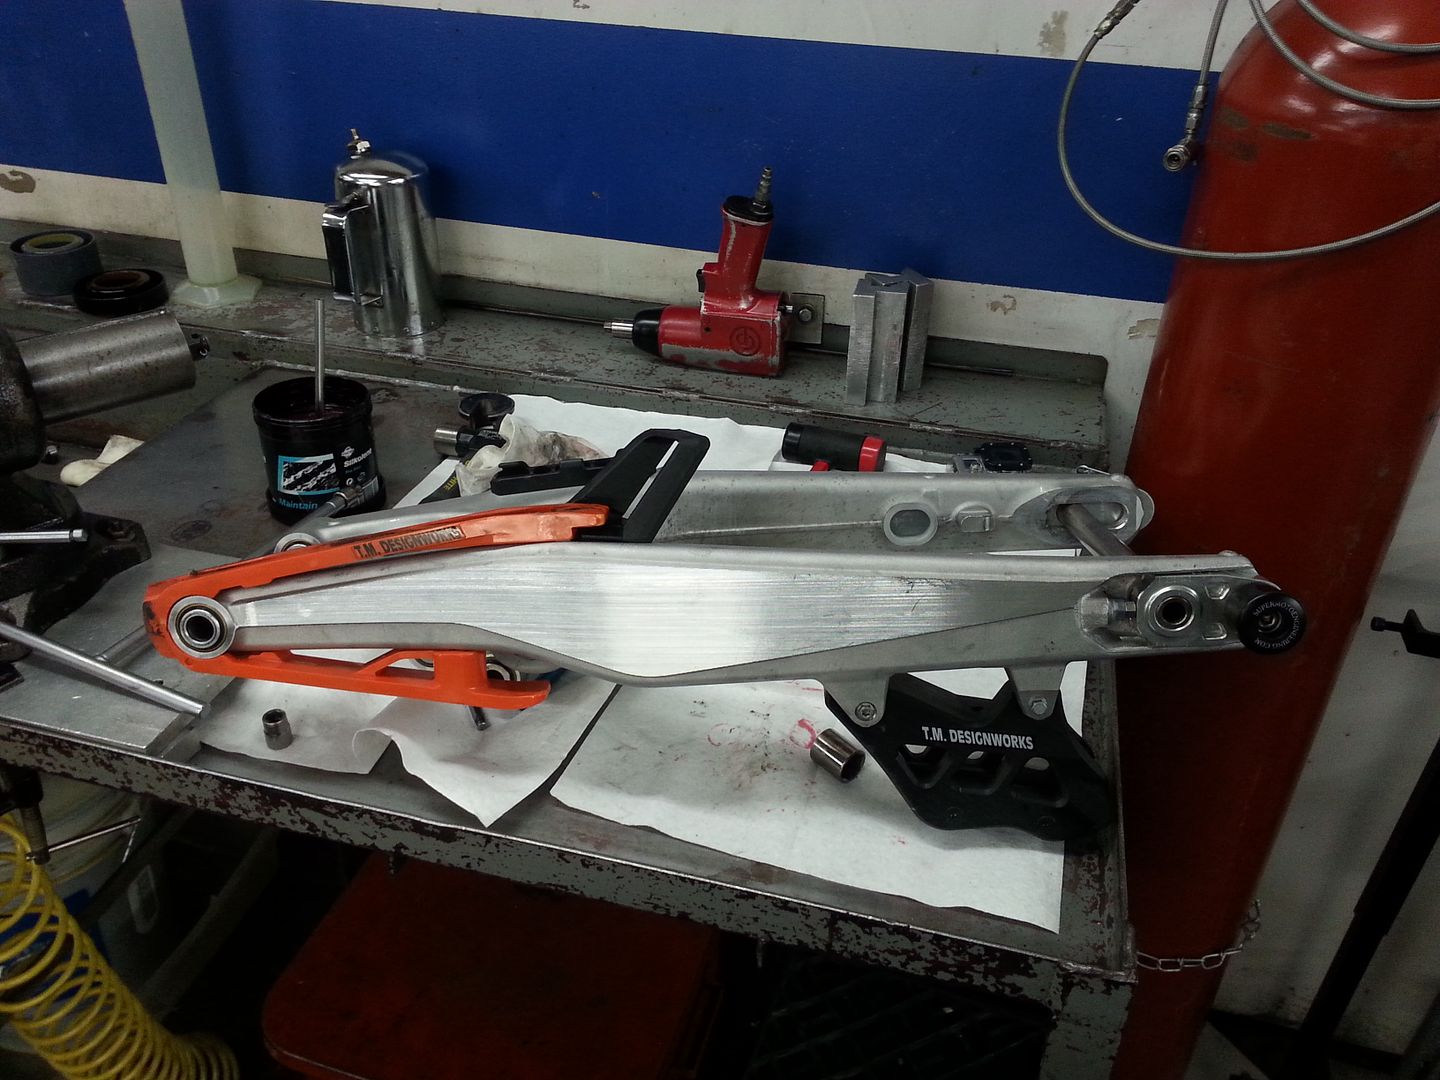
Swingarm time
This is pretty straight forward. Pretty much just pulling everything off the swingarm, cleaning it, greasing the bearings and putting it back together.
Here it is in all its glory
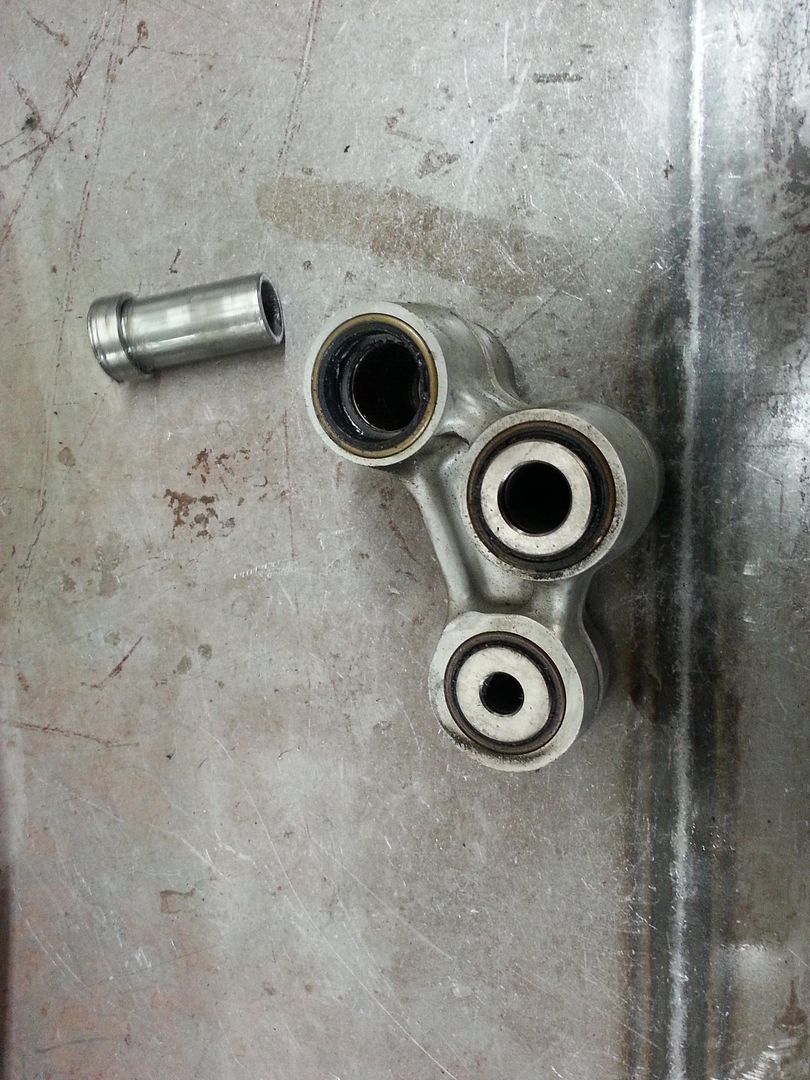
Everything off with the link
It didnt show well but luckily KTM used captured need bearings in most spots. The smaller of the three was not a captured bearing so it required special attention so the needles were not lost in the cleaning process.
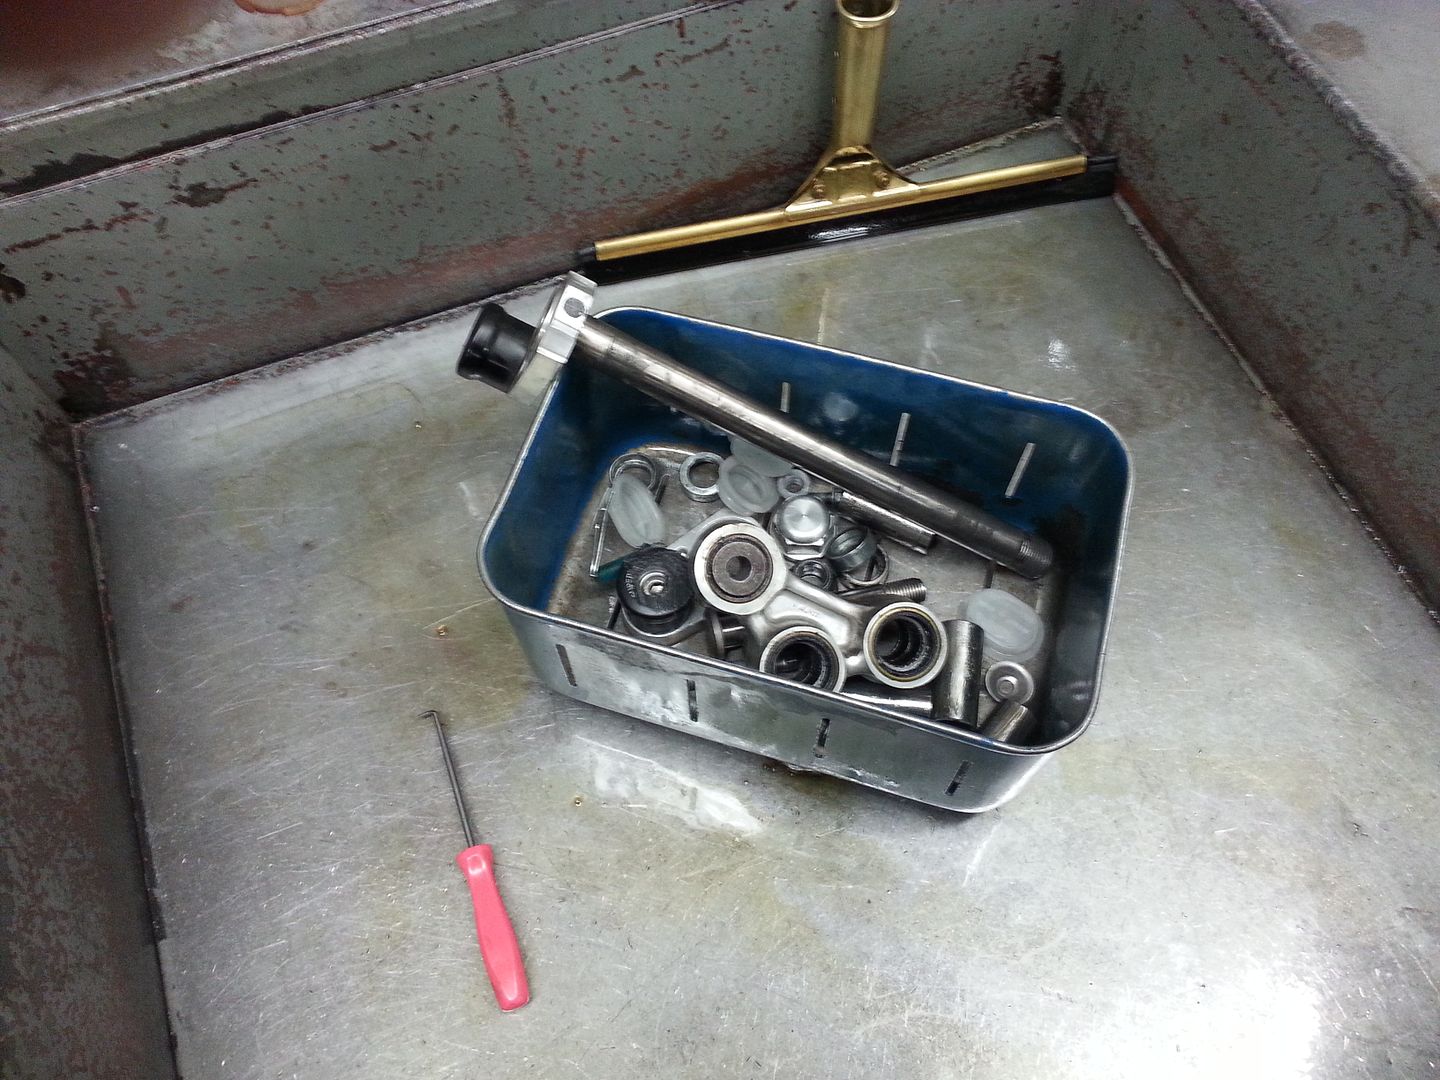
In the sink and ready to get cleaned
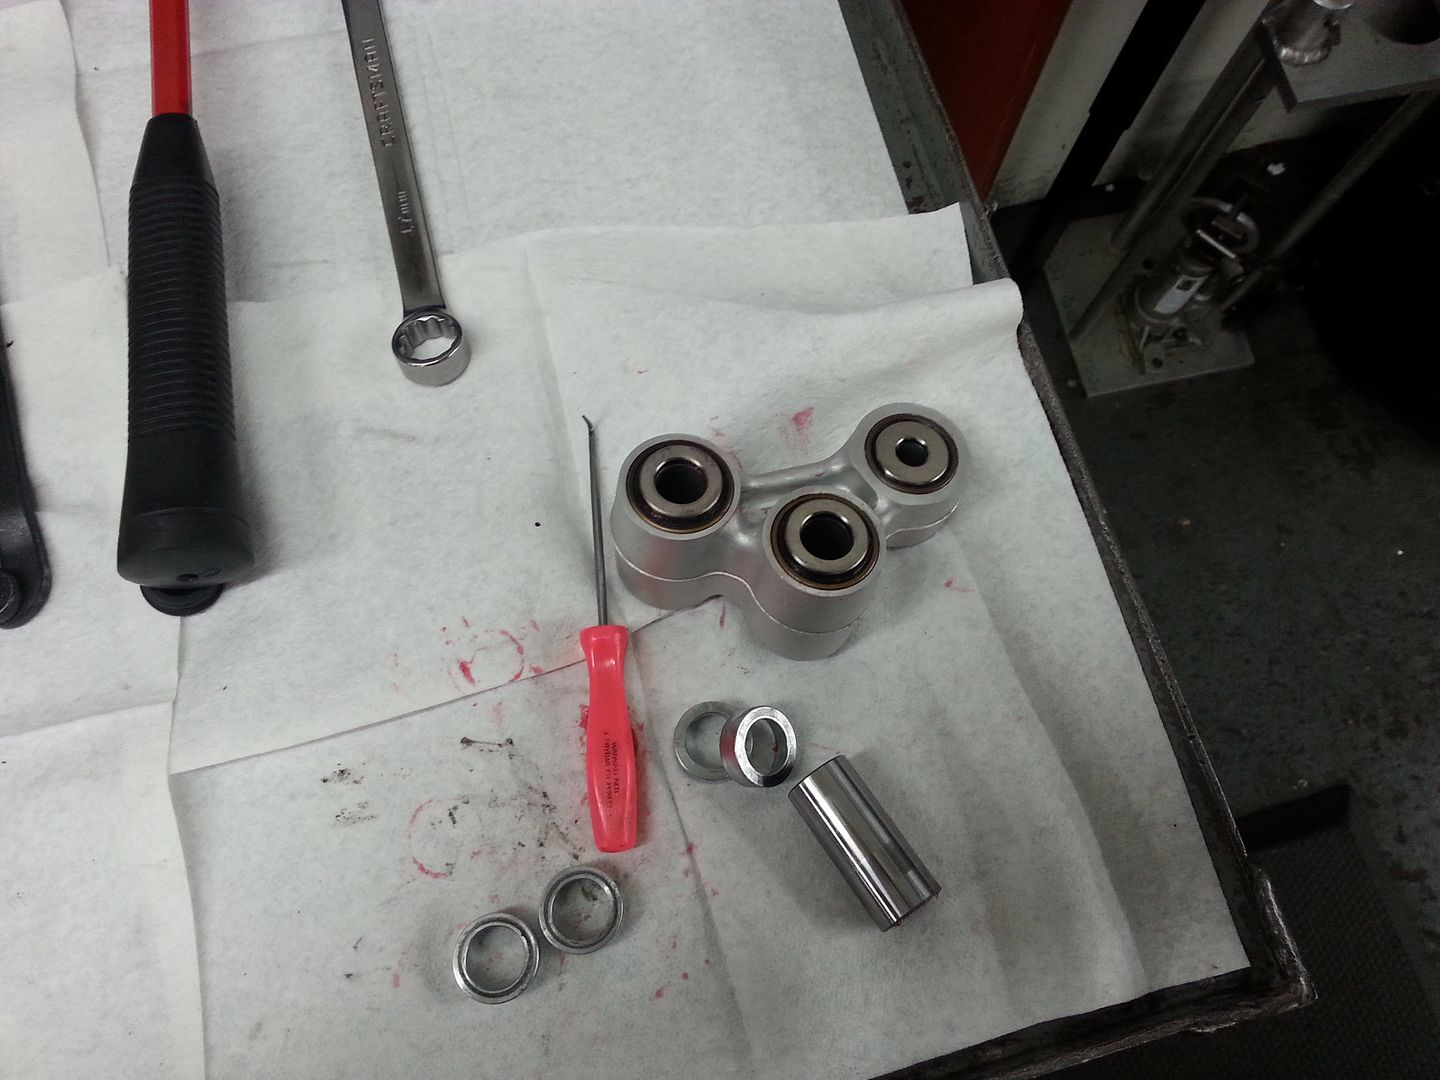
Getting greased
A little never seize on the chain adjustment bolts
Reinstalling the link and plastic parts
Swingarm complete
Almost tempted to let you guys do this to my WReck... just hearing what Pete comes up with as he dives further into the neglected hell would almost be worth the correspondingly high bill.
How much is the penalty if I offer to help?
That's cheating on the swingarm. The real fun is pressing all those bearings out and in. Expect the one at the bottom of the shock to "go" first. But really, don't expect it to go at all, because it's only a motard.
Cliff's Cycles KTM
NETRA enduro B-vet
Close your eyes, look deep in your soul, step outside yourself and let your mind go.
Thanks for posting this thread.
...I'll still cough up the cash to have y'all do it (and I do pretty much everything else to my bikes myself) but its good to see what gets done
Weren't u selling this bike or am I mistaking u for another member?
Ahh ok. Nice bikes though. Would someday like to try out a motard
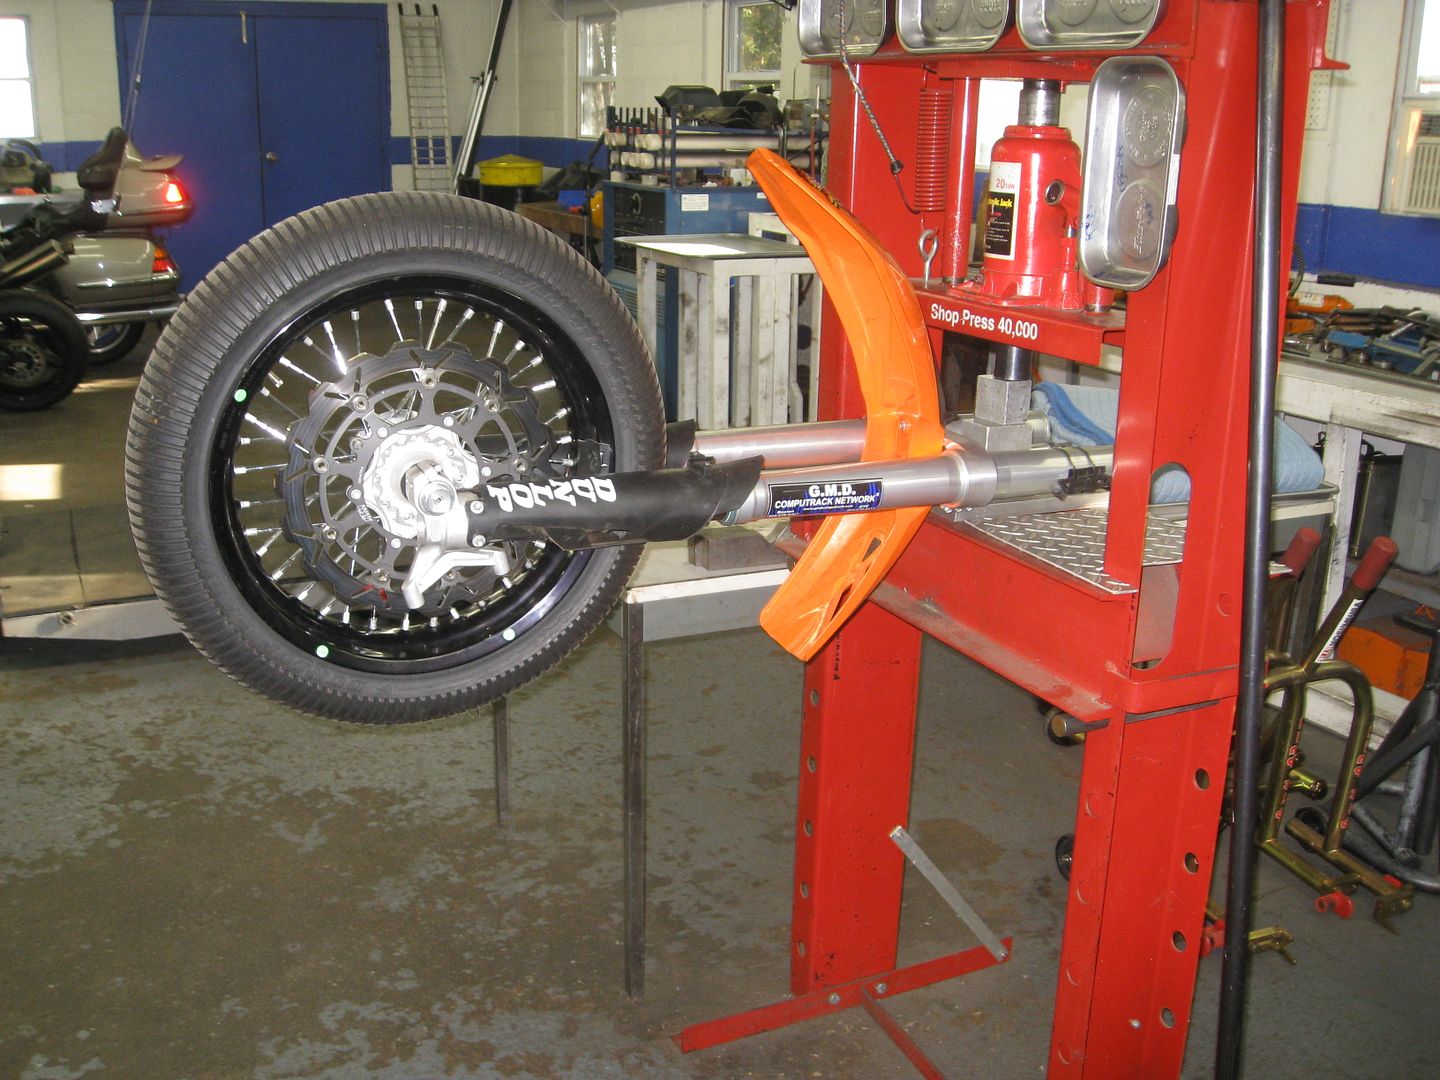
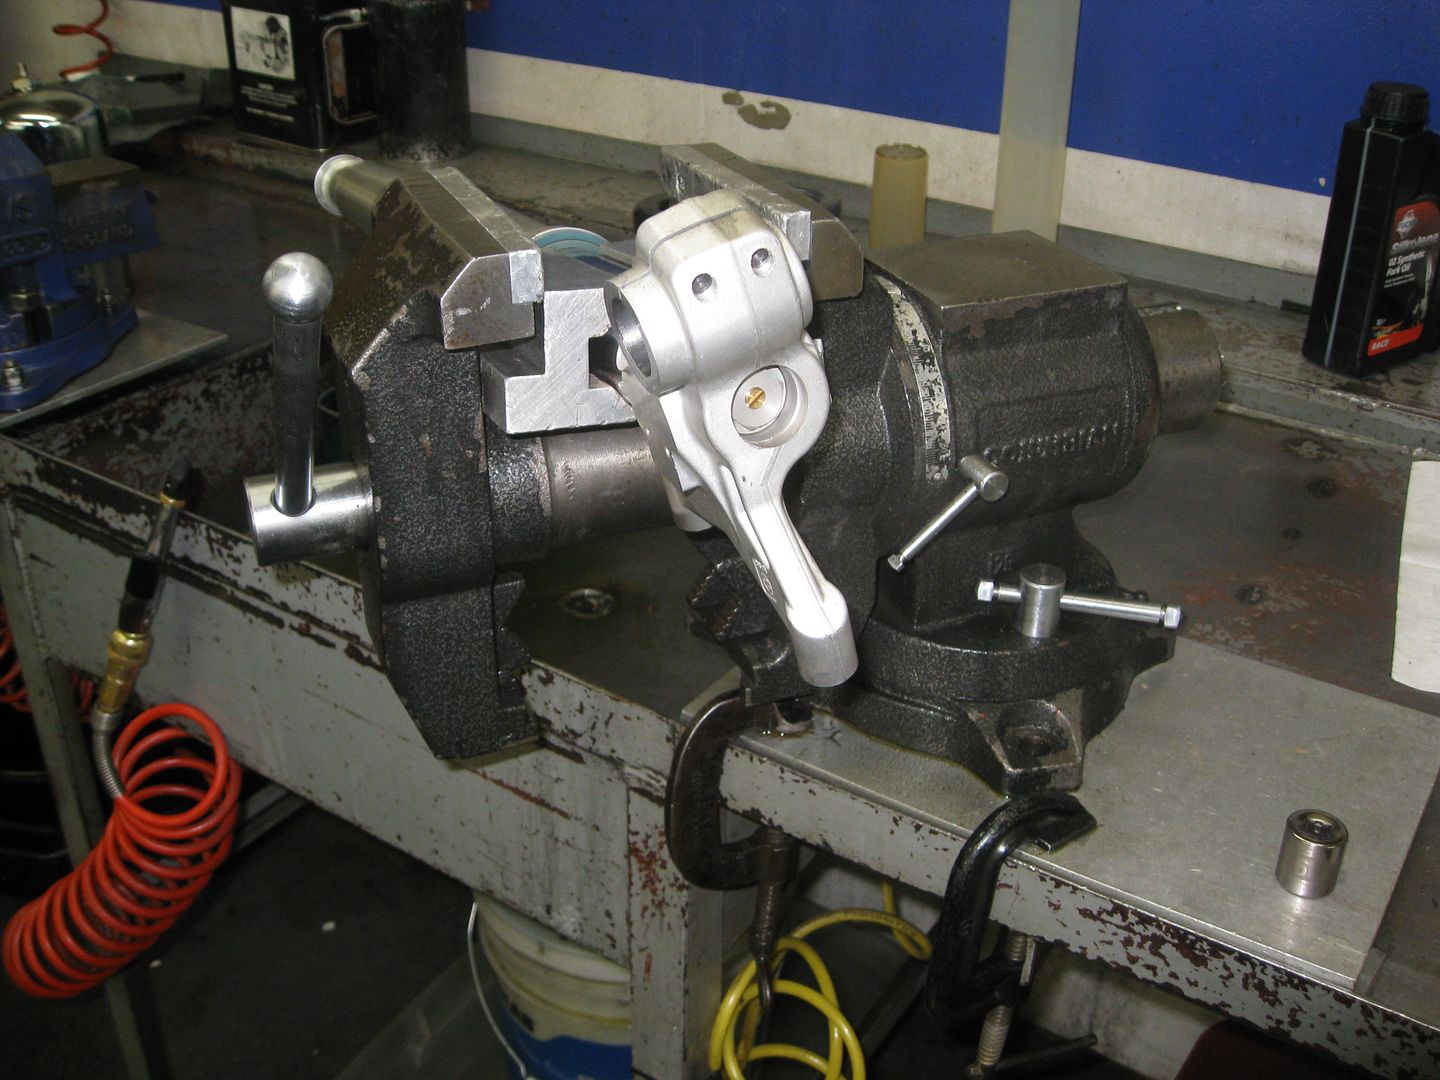
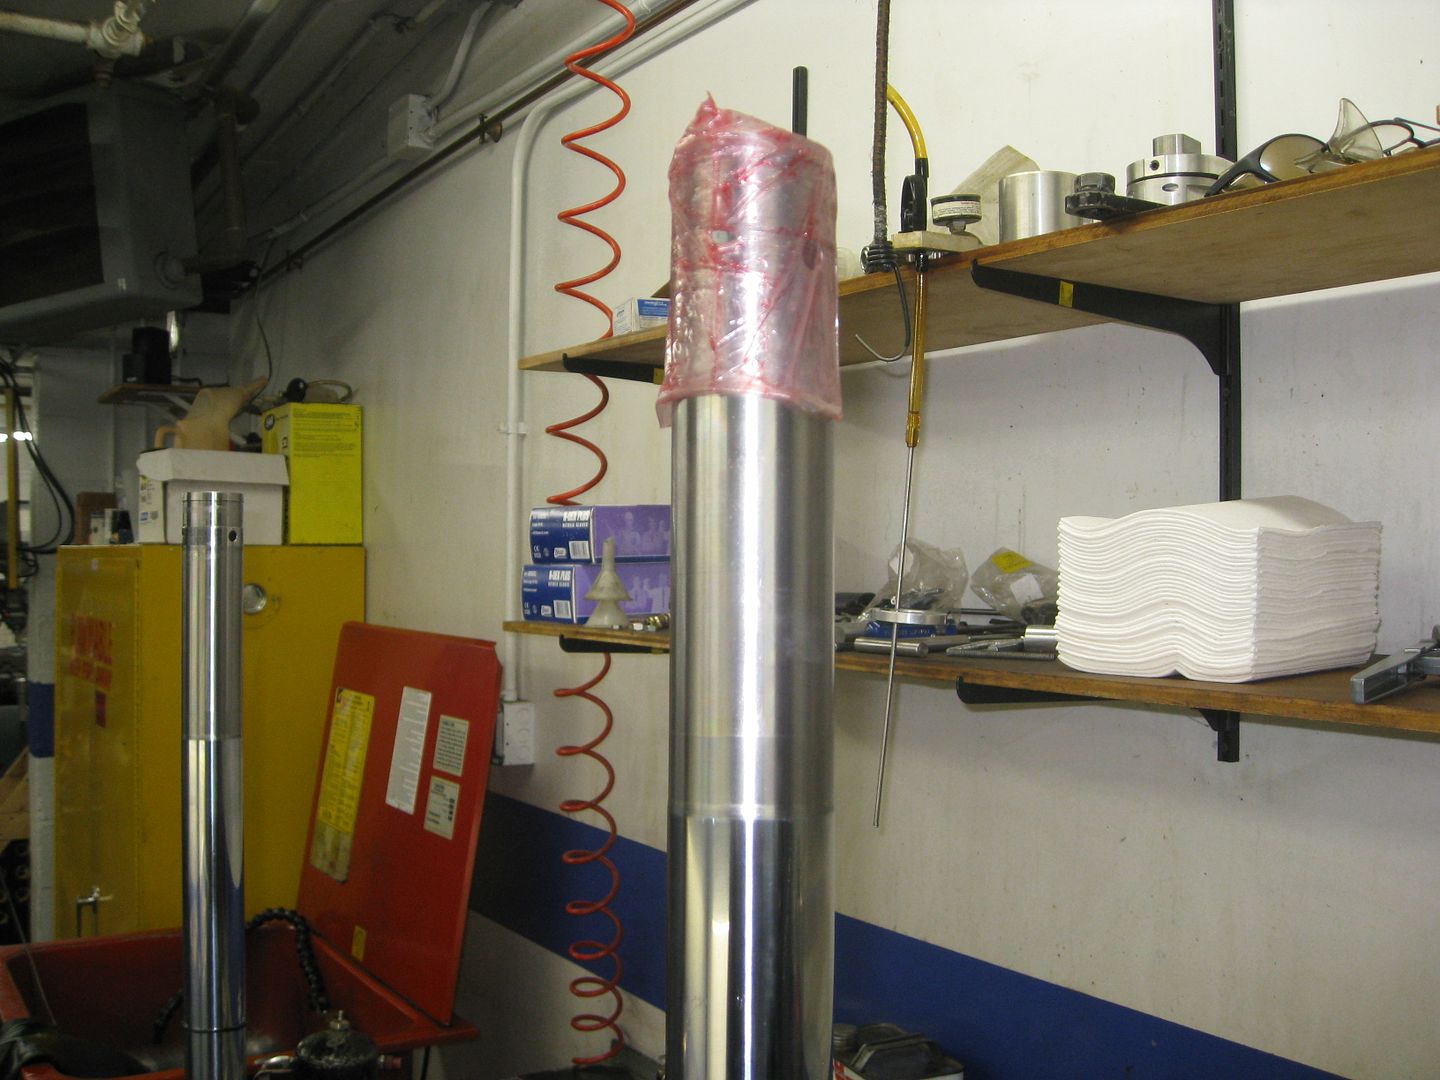
Did the front end this weekend. Took as many photos as I could but its a bit of a pain considering some of the steps come close to requiring three hands.
Here we go
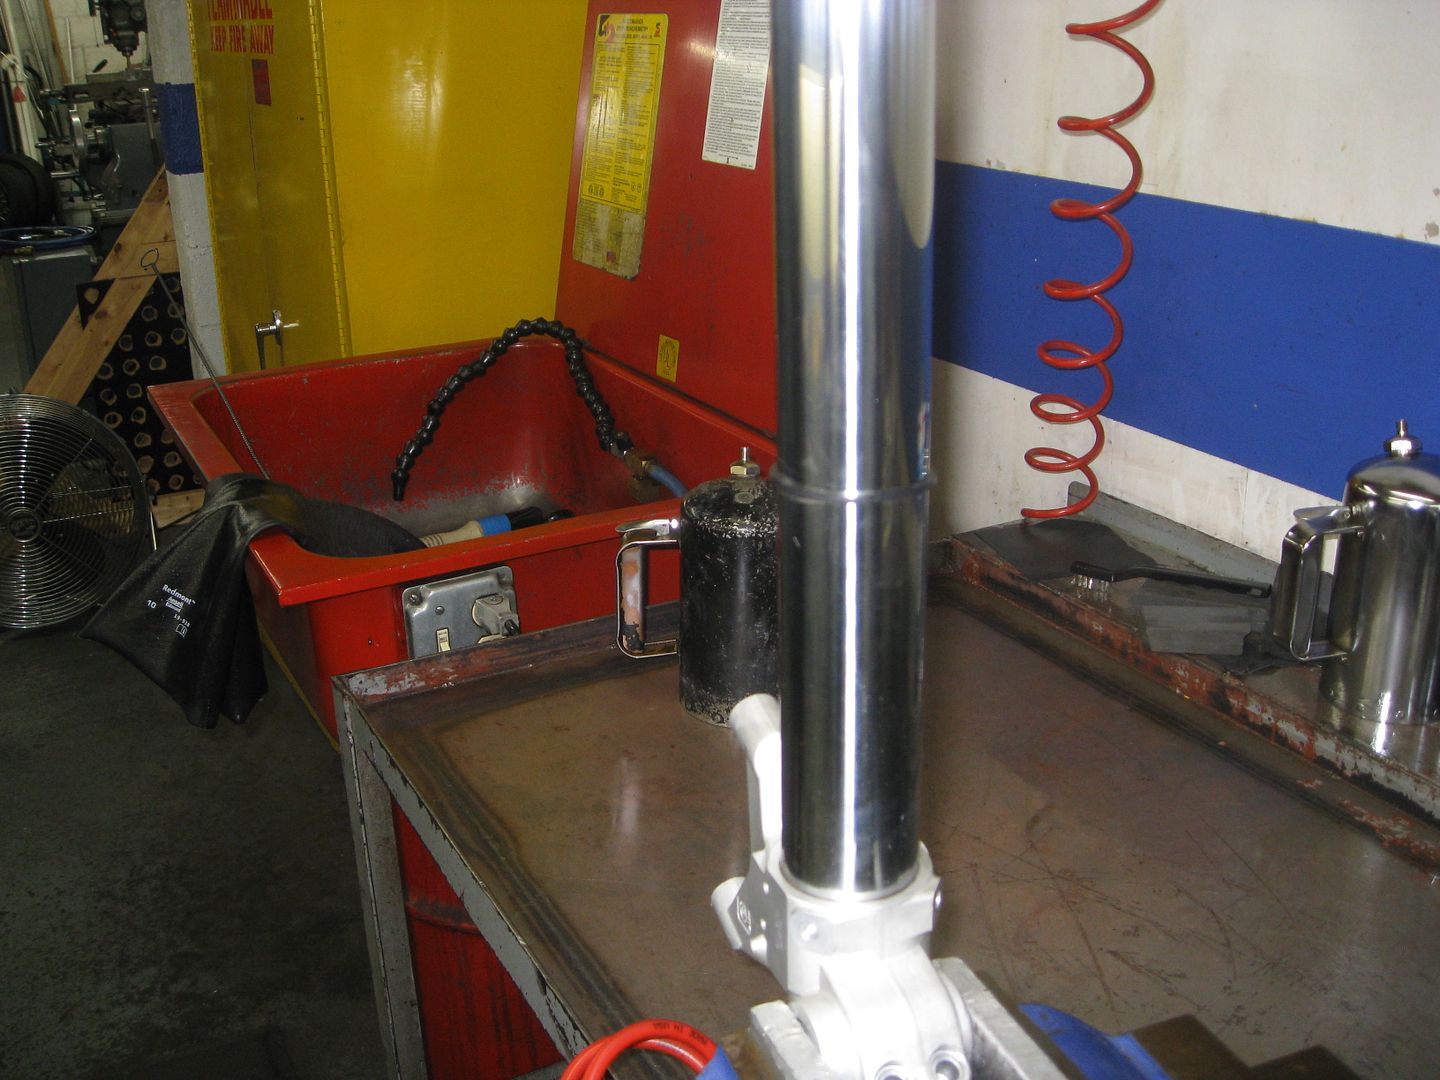
Front end off the bike from the previous break down
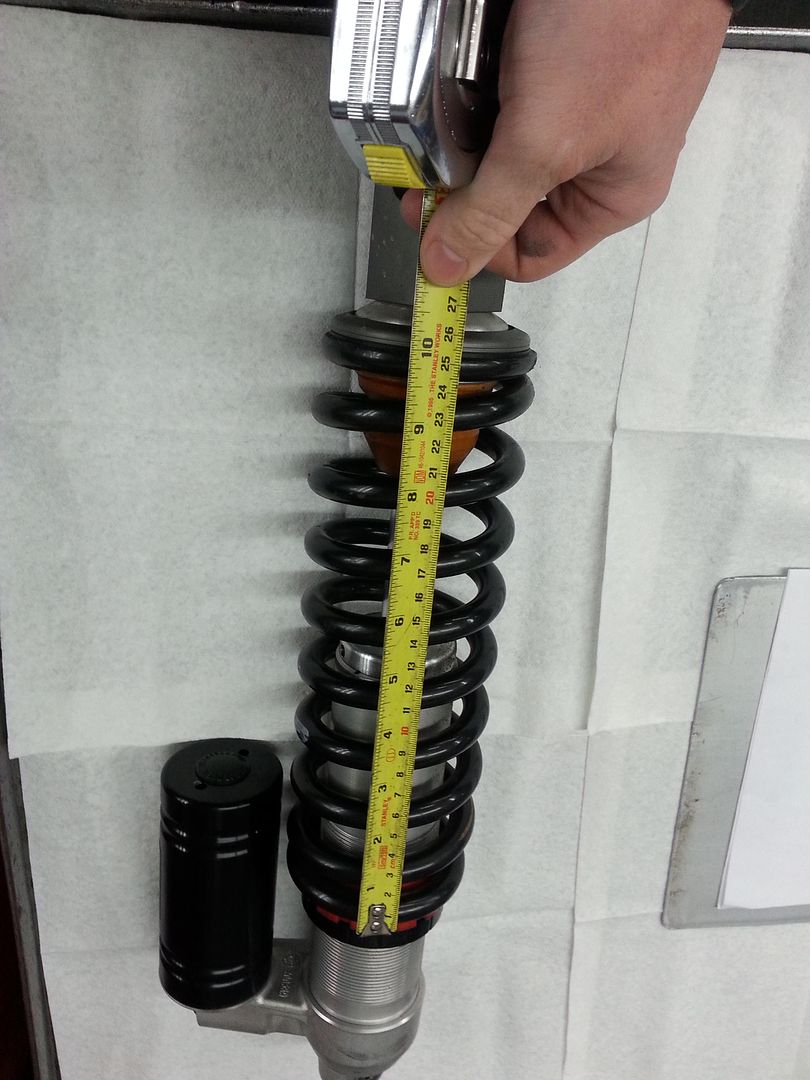
You should have taken a ride height measurement before this point but if you didnt this is your last chance to get the reference measurement so you can return the bike back to the geometry it had.
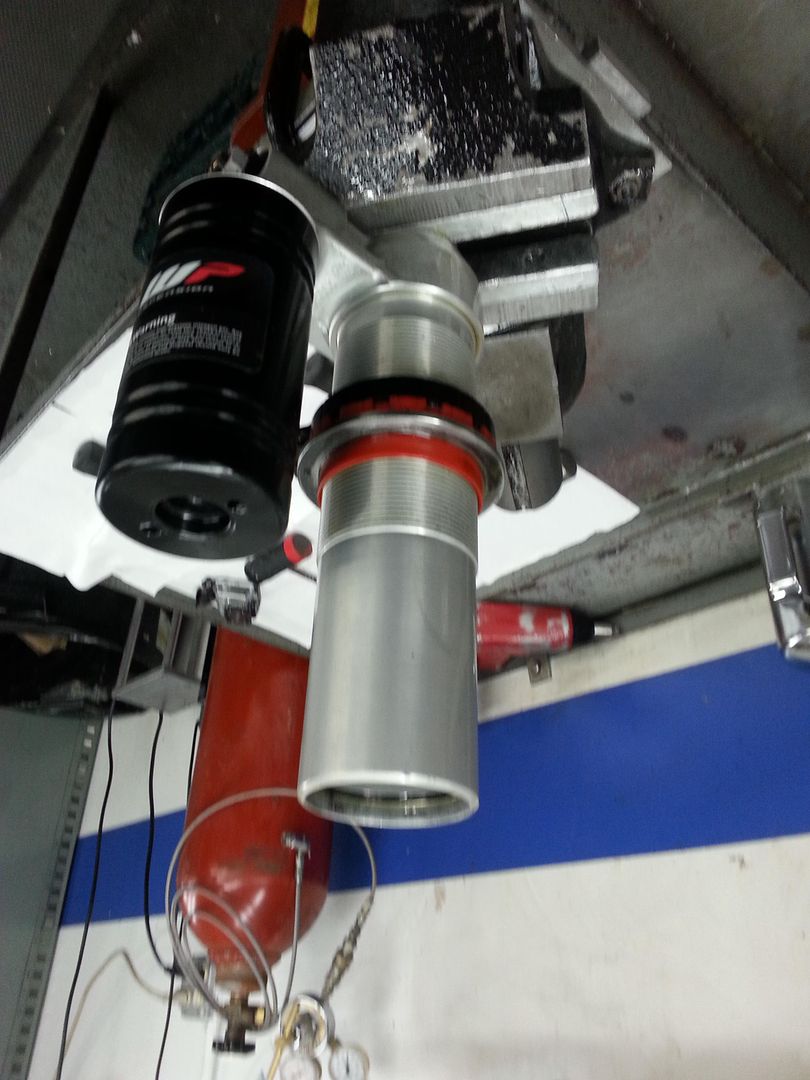
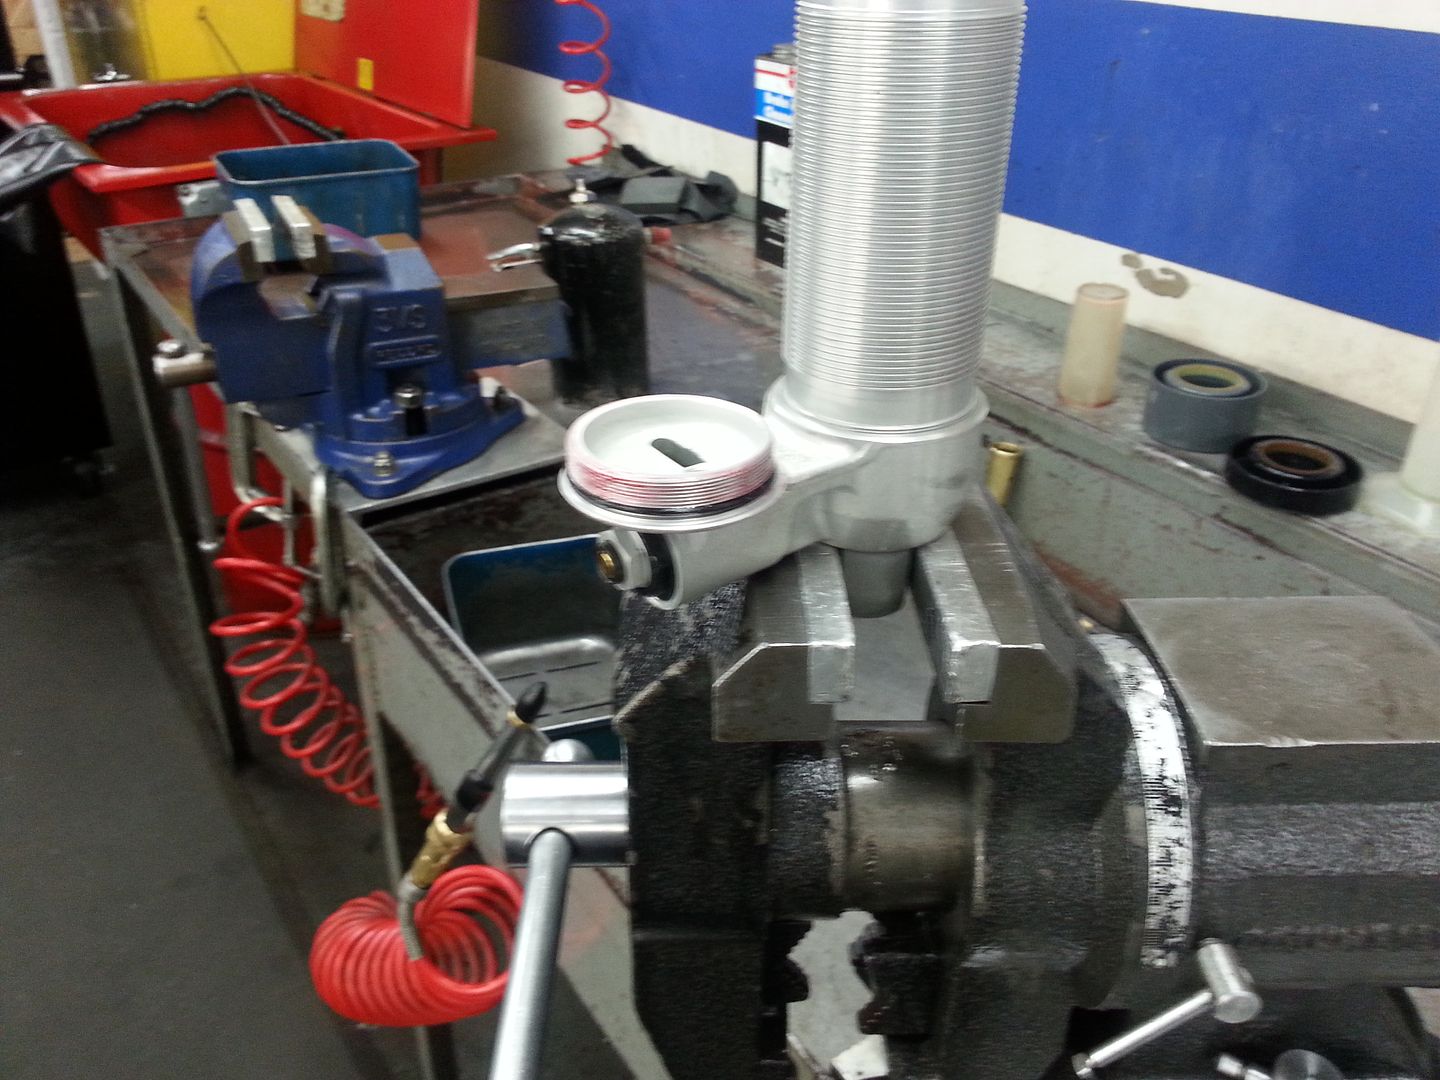
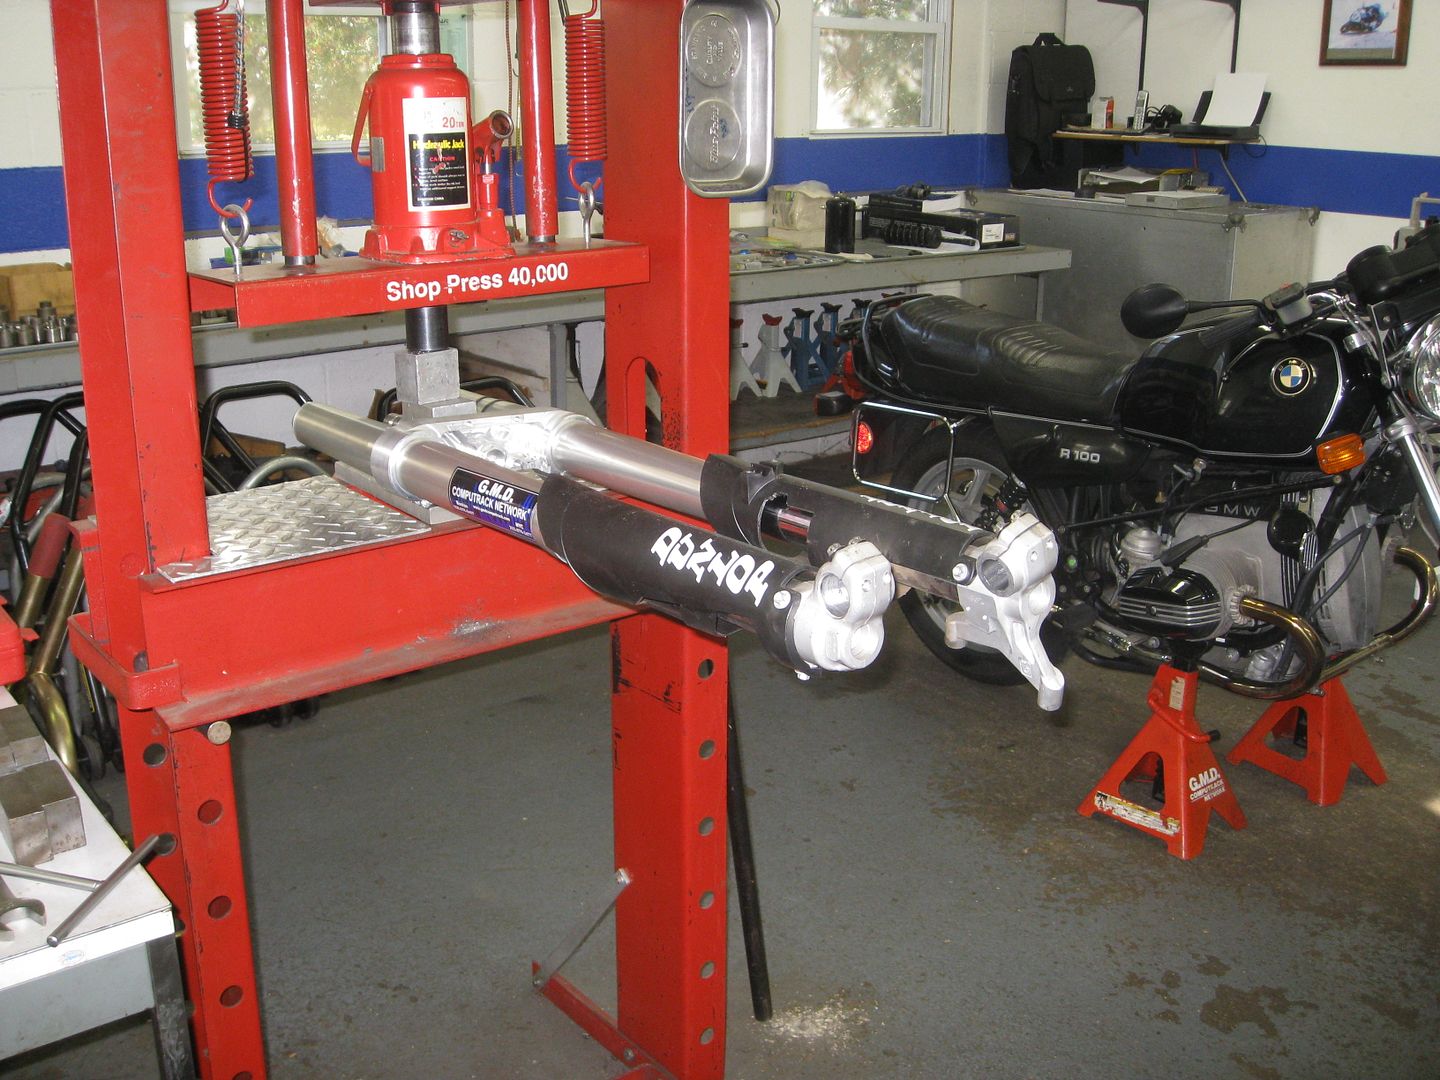
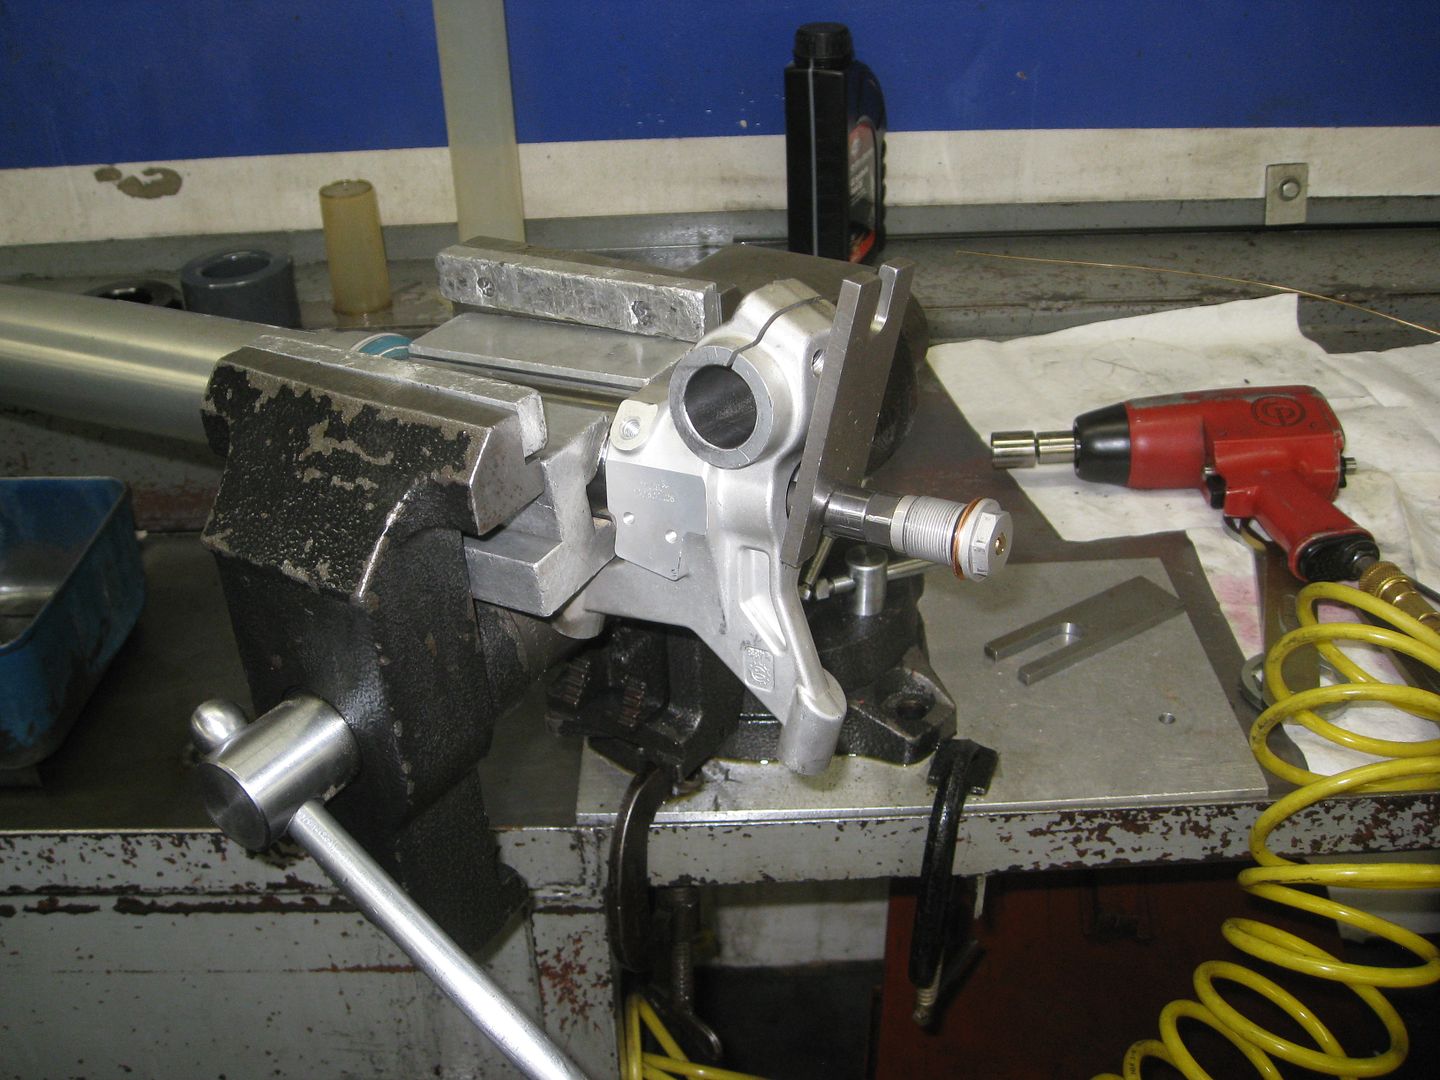
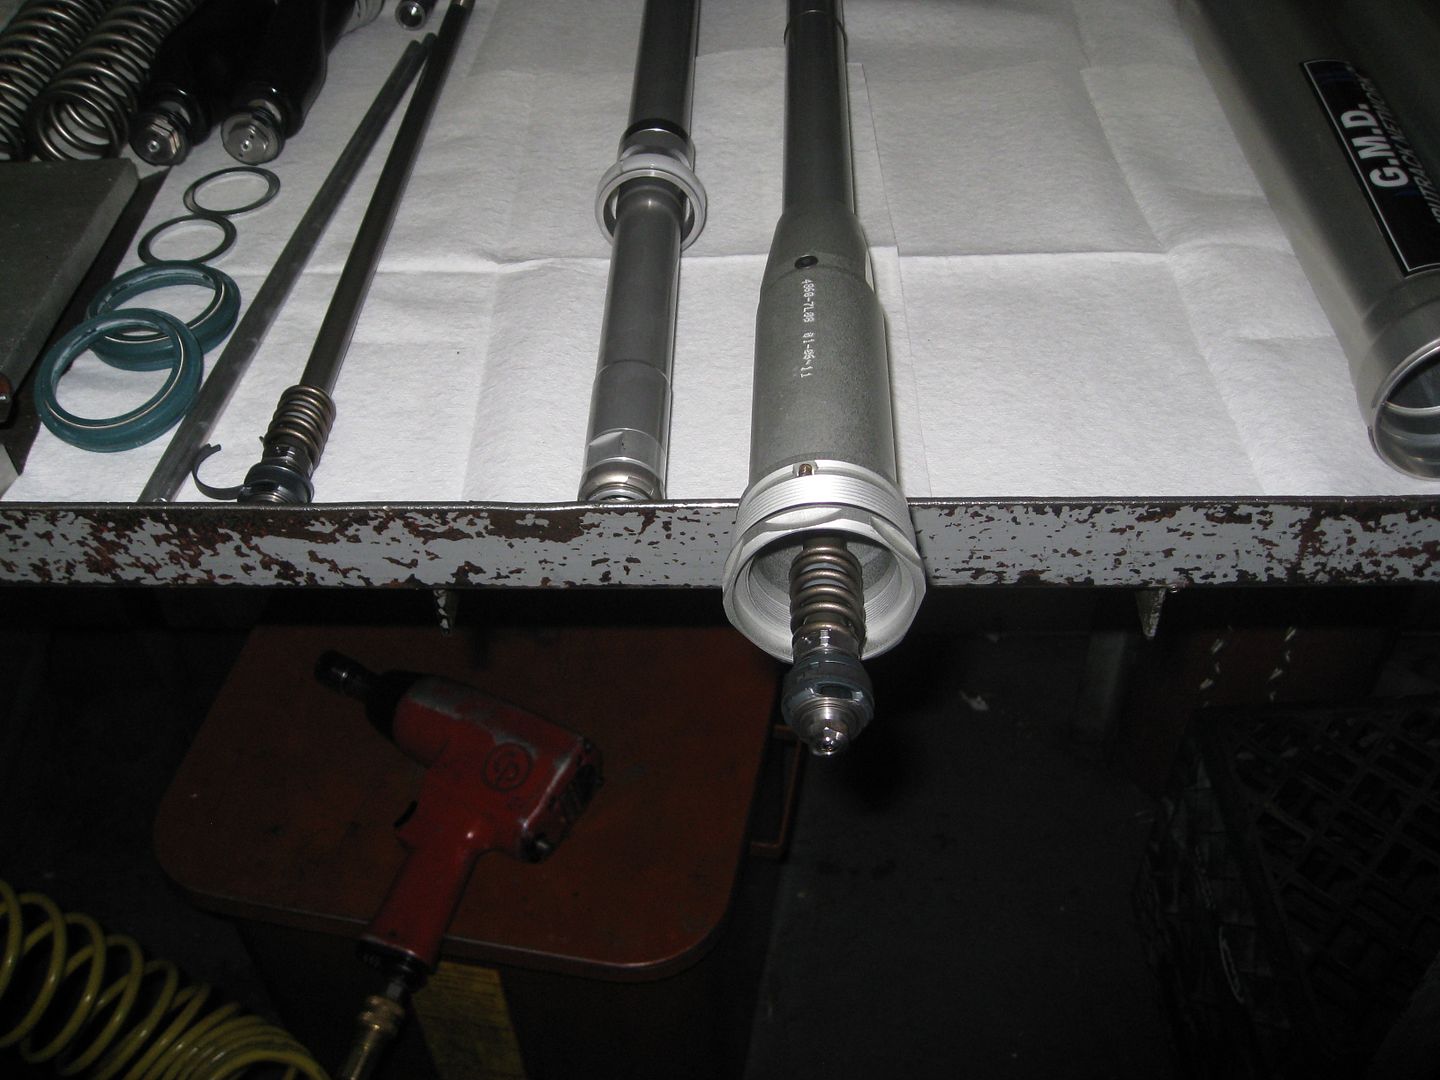
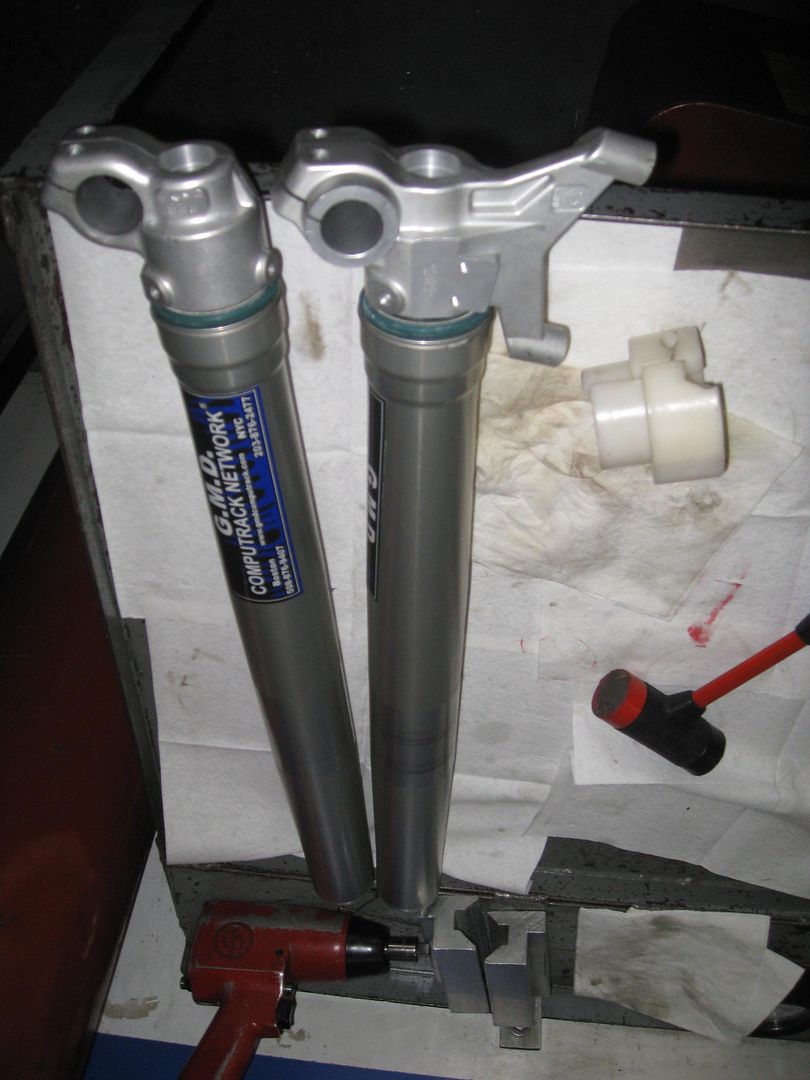
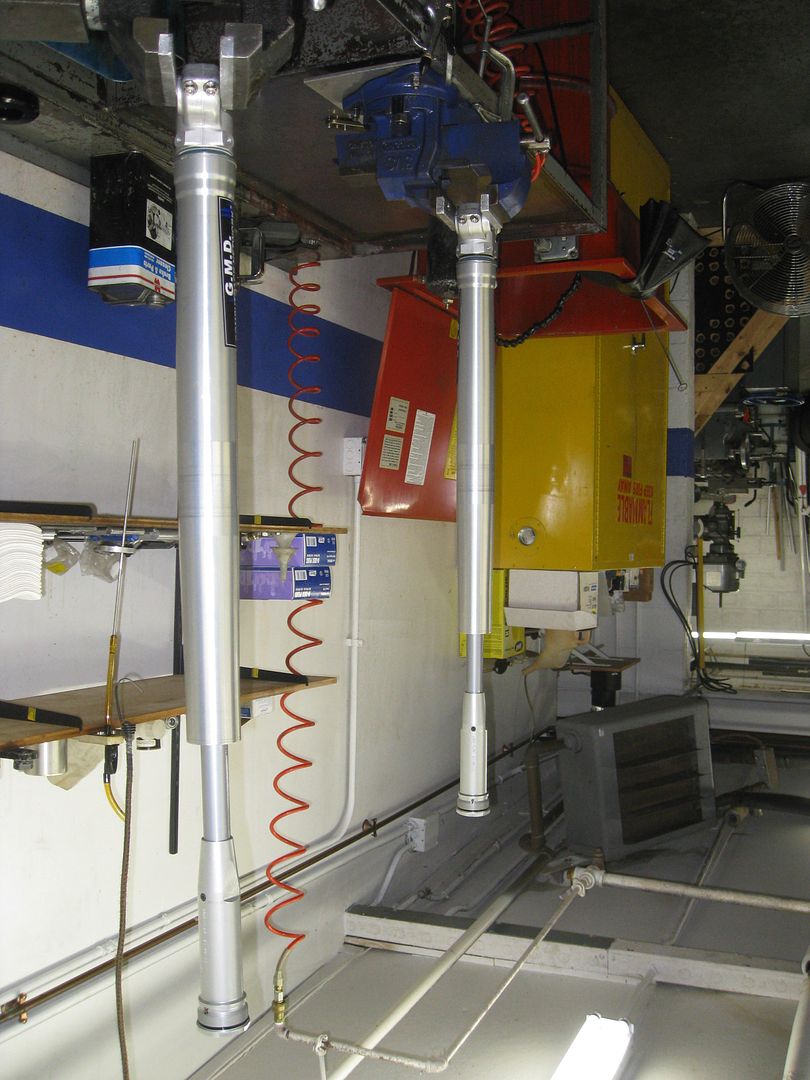
Forks on the bench and ready for a service
Document the settings
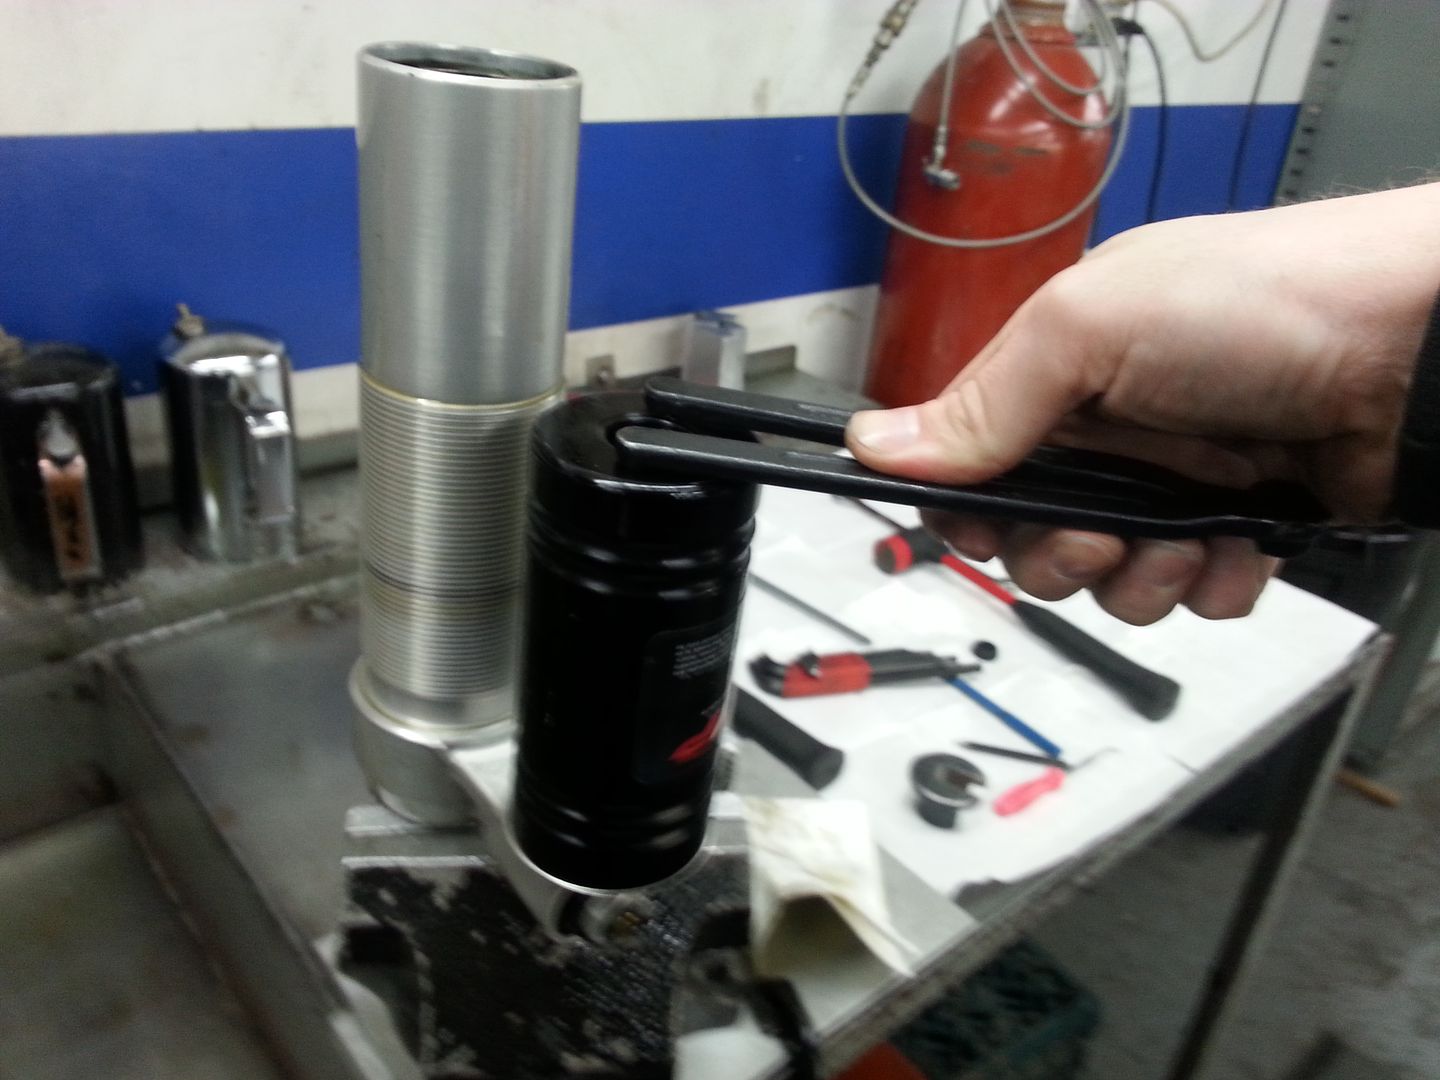
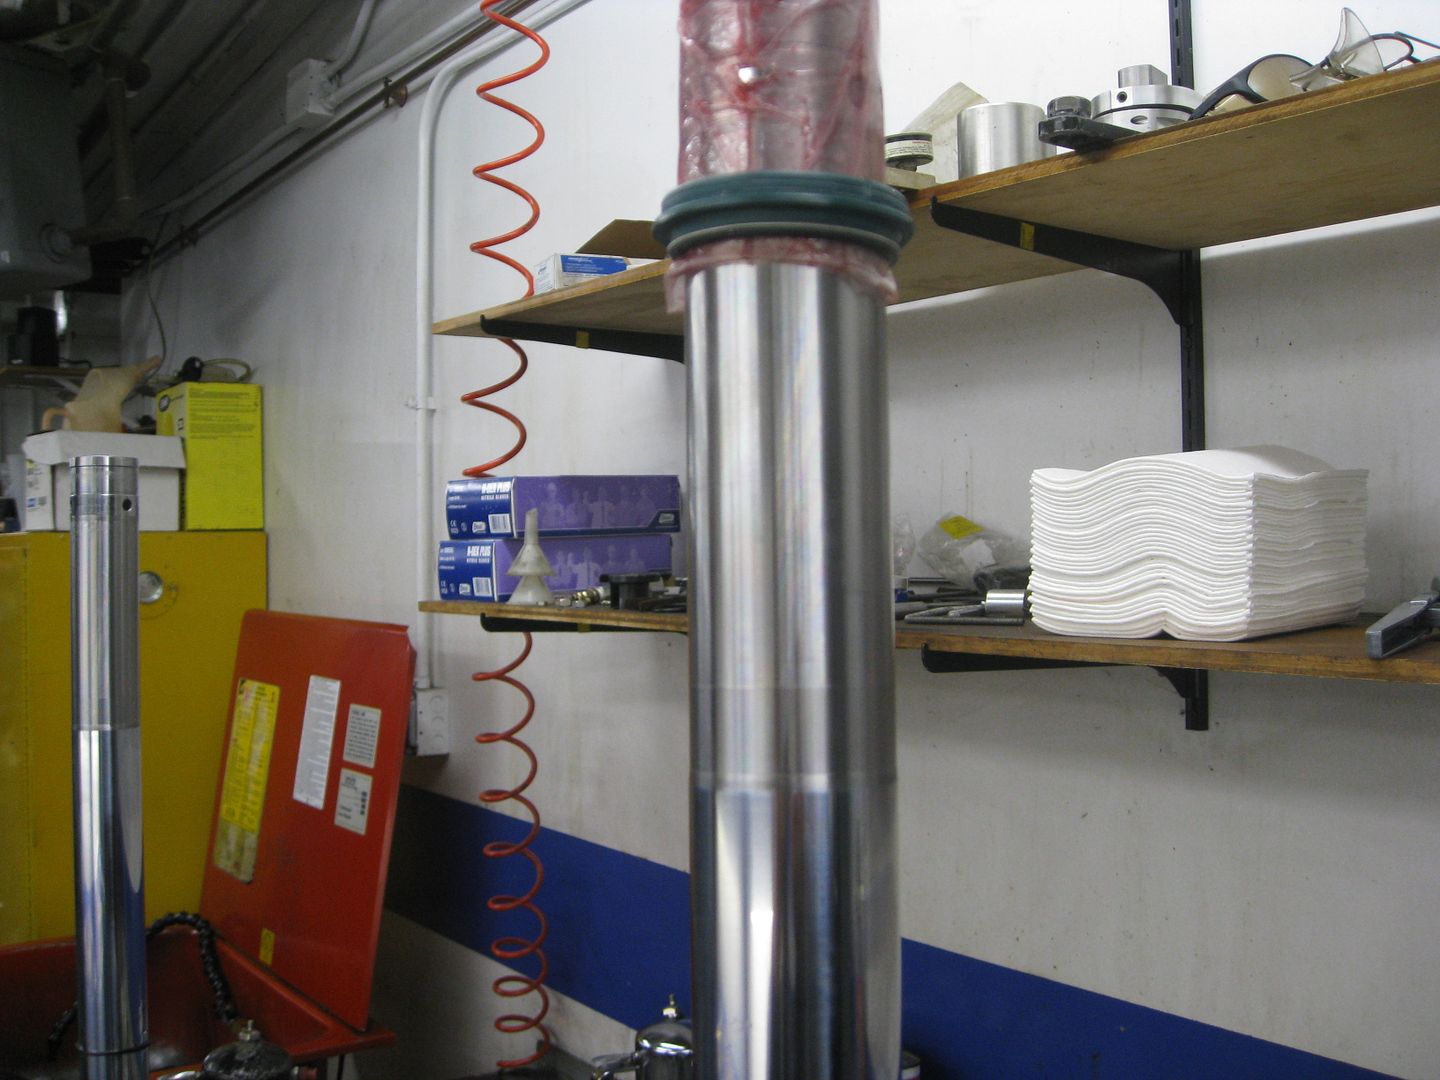
These forks have a pressurized bladder similar to a shock
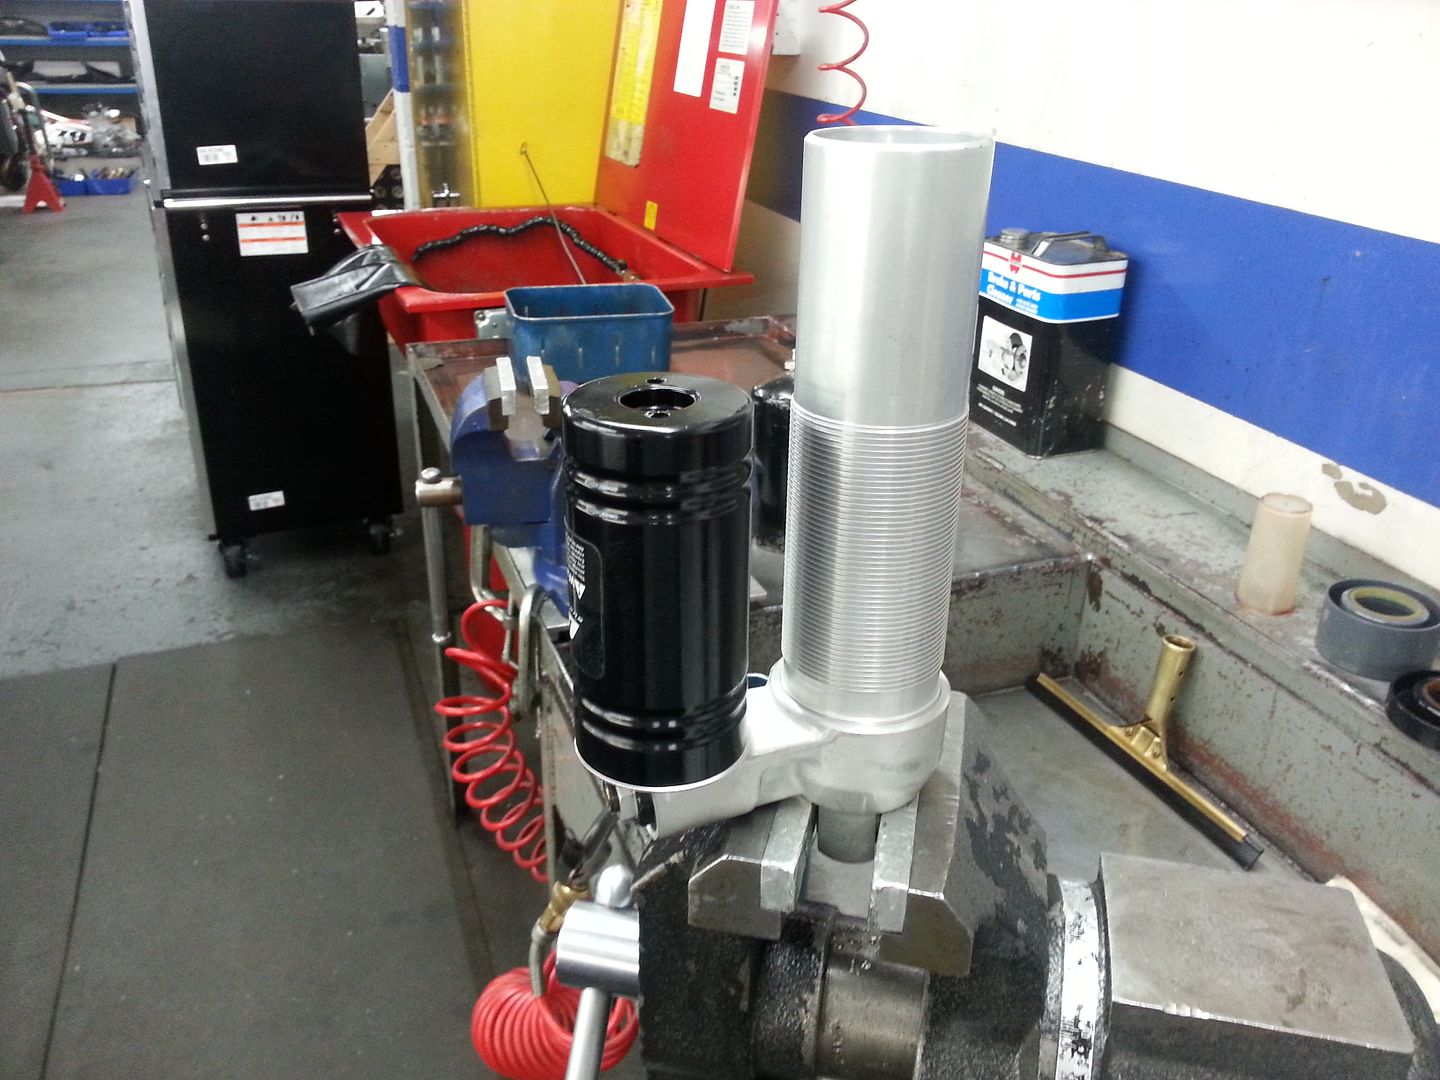
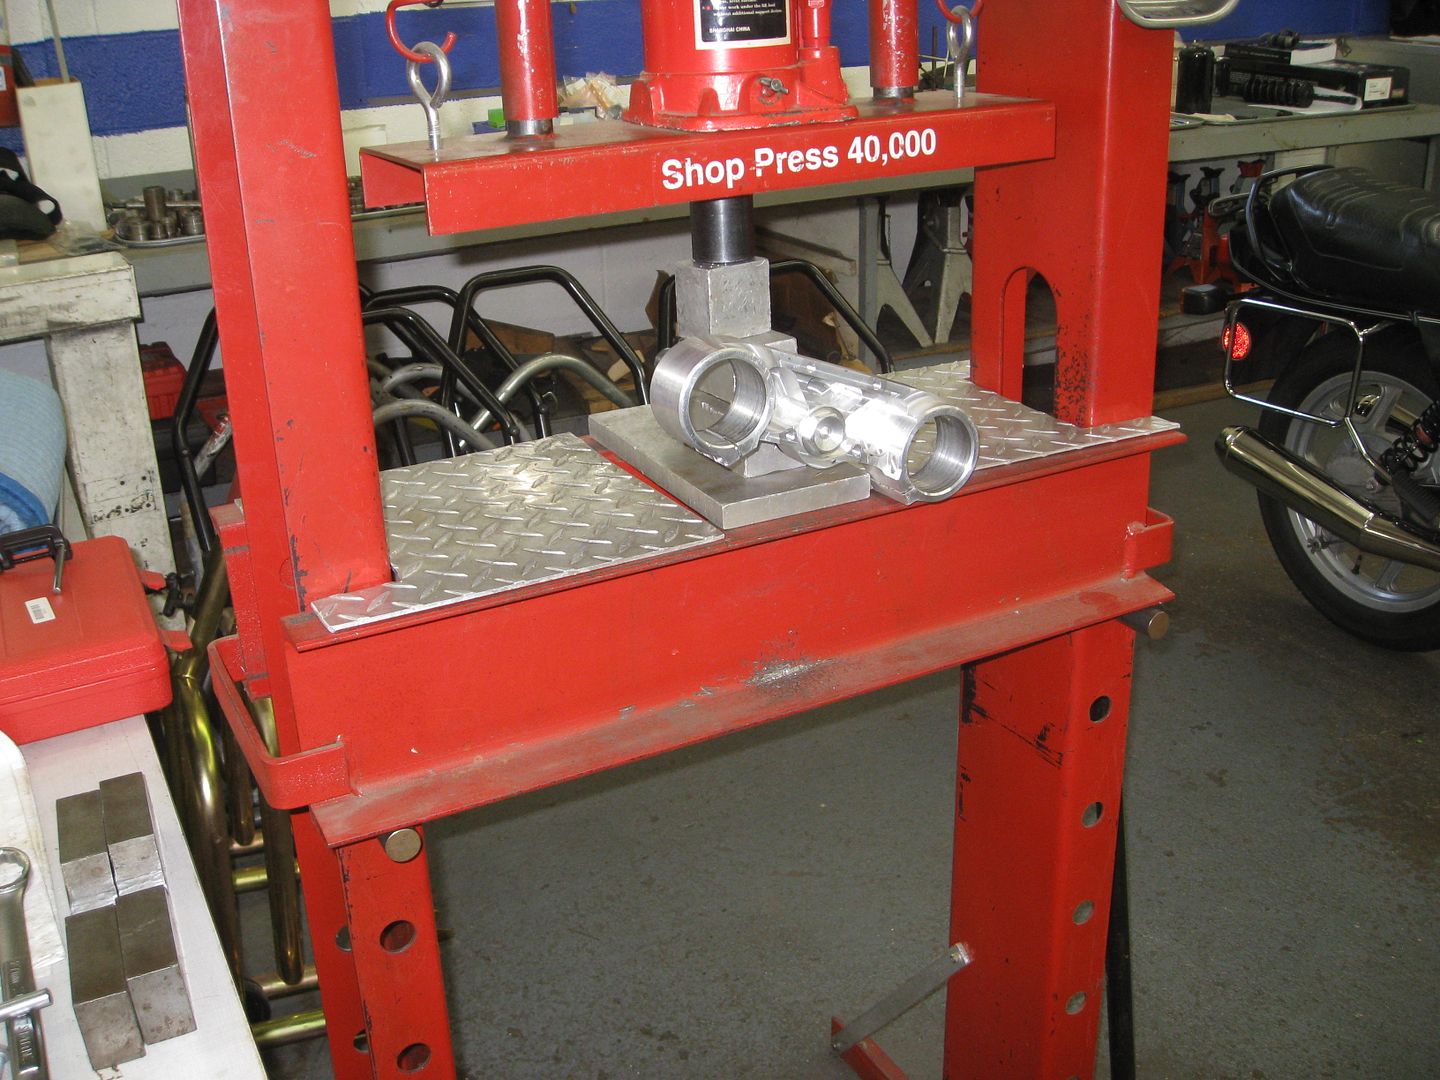
These are twin chamber forks so loosen the inner chamber but dont completely back it out before taking the cartridge out
Now for the outer chamber.
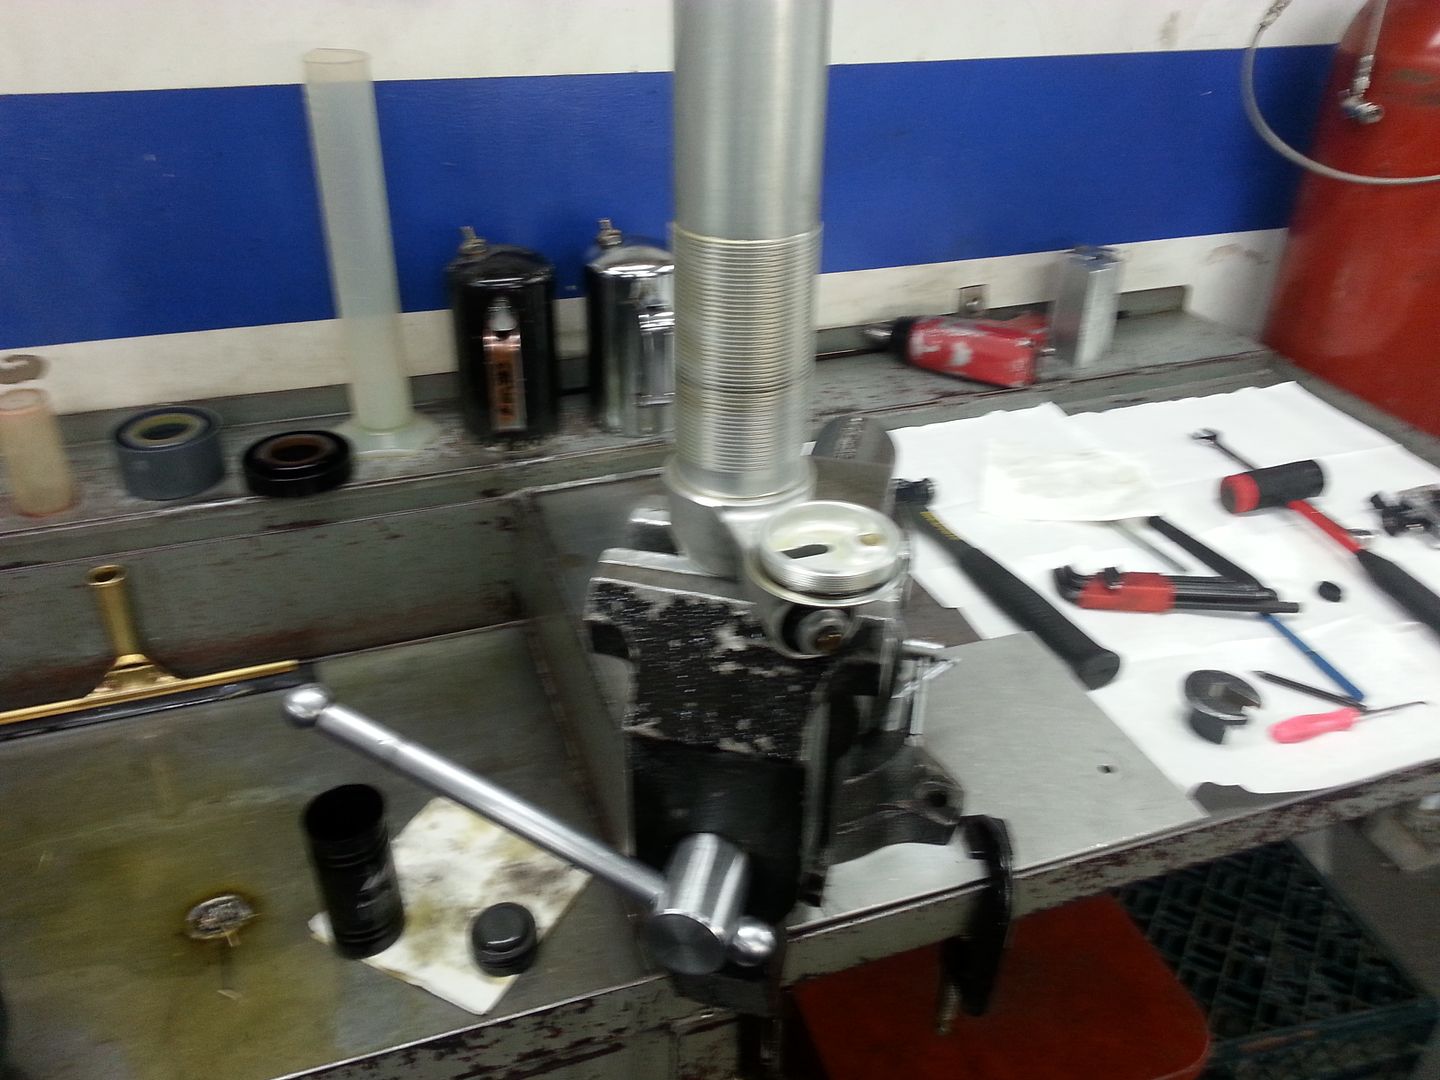
You should now be able to slide the outer tube down
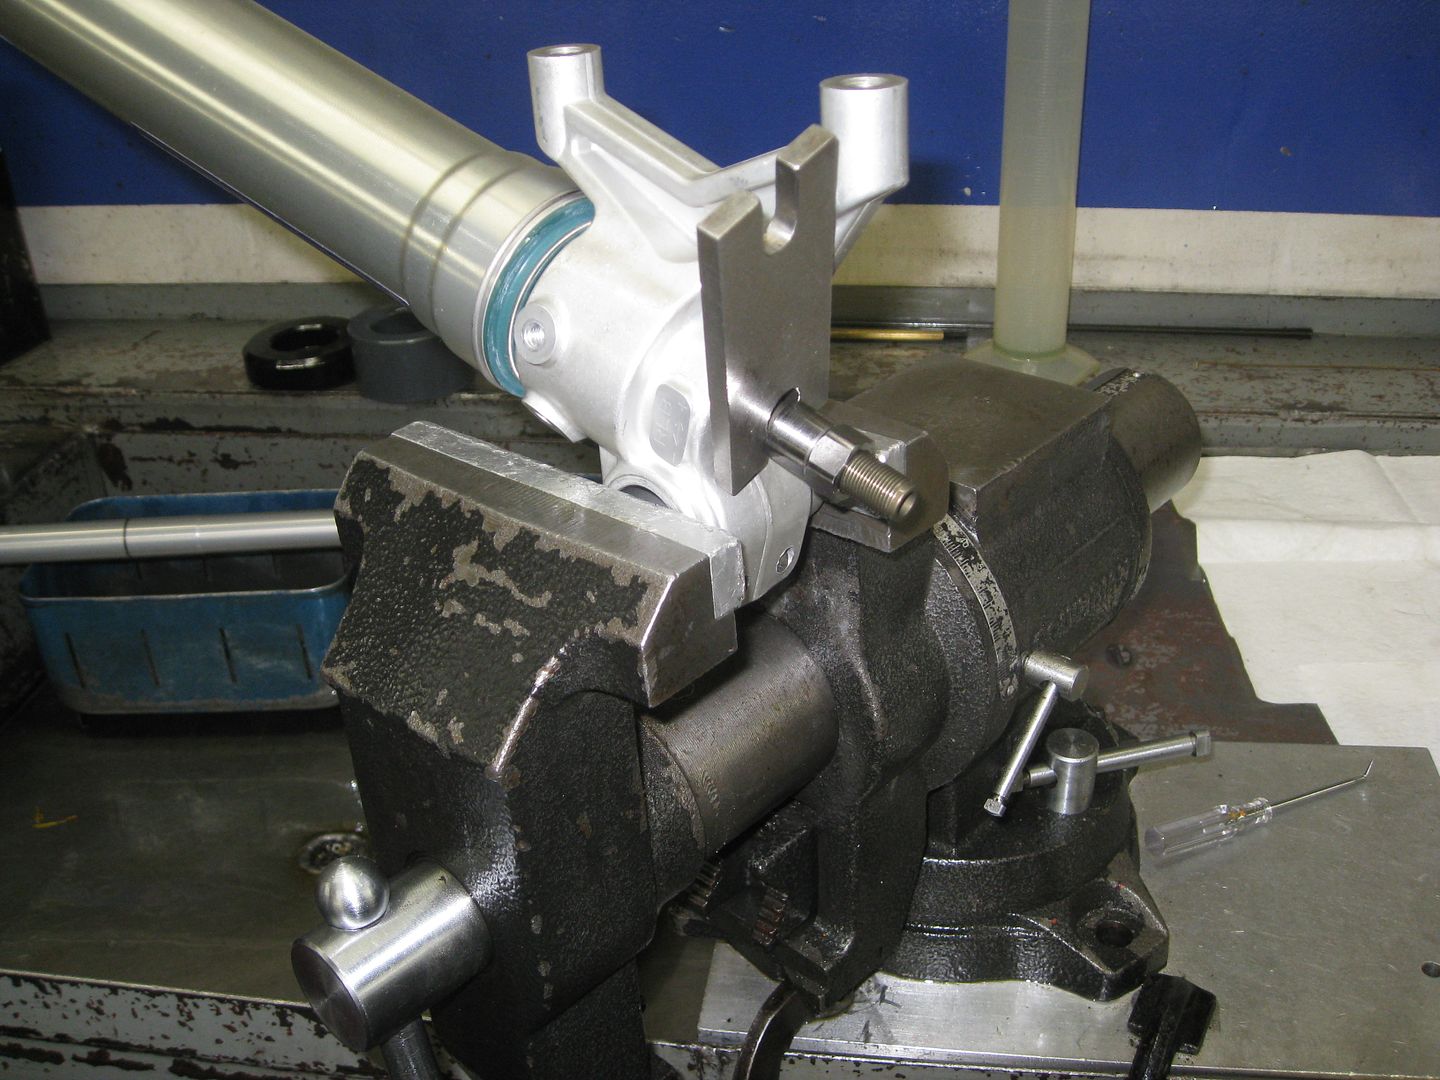
Now back out the the lower bolt
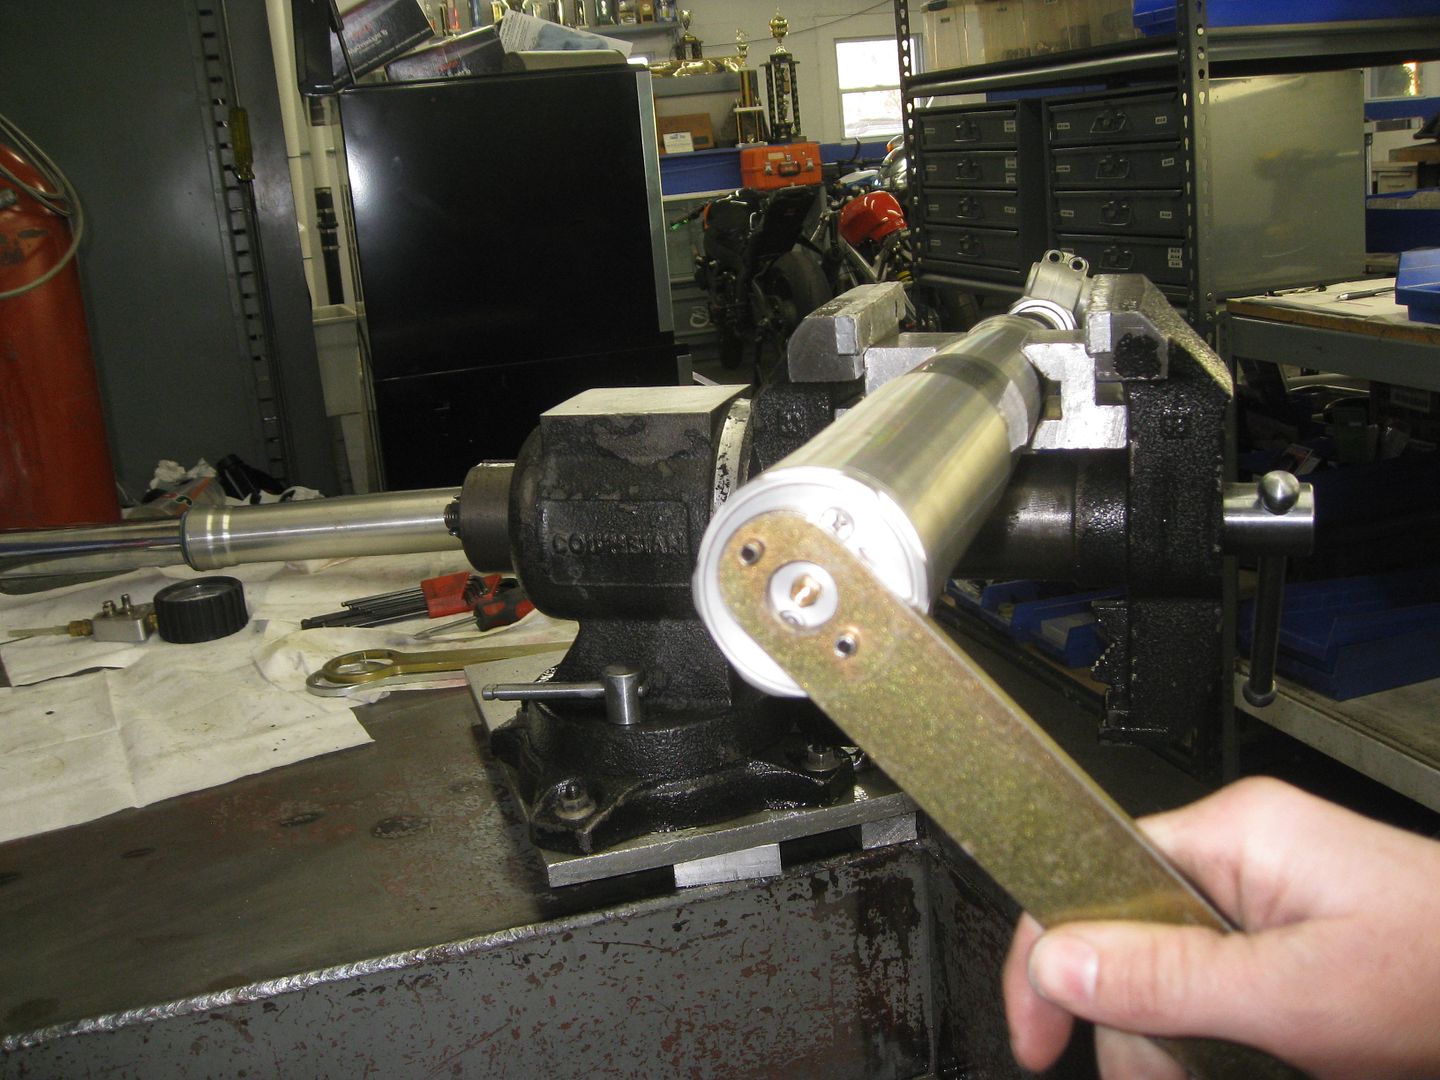
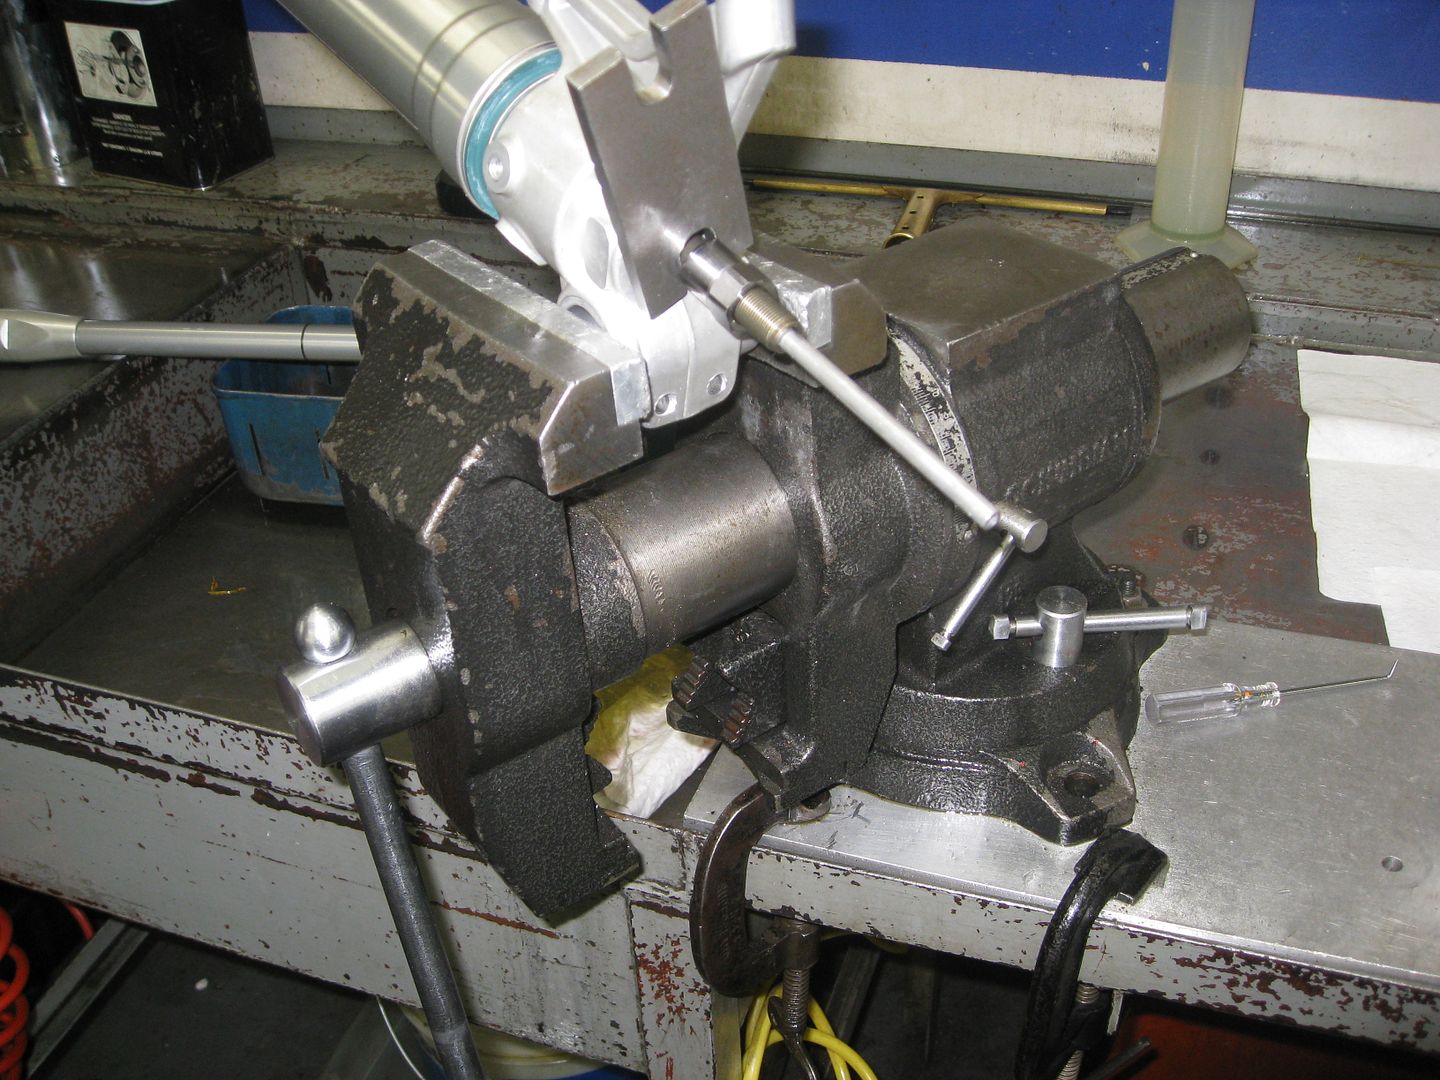
Now youll have to compress the spring so the metering rod sticks through the lower end of the fork and use the cartridge holding tool to hold it in place.
Now compress the spring and pull out the tool. Be careful here because if you slip it could fire the cartridge out of the top of the fork.
One free cartridge
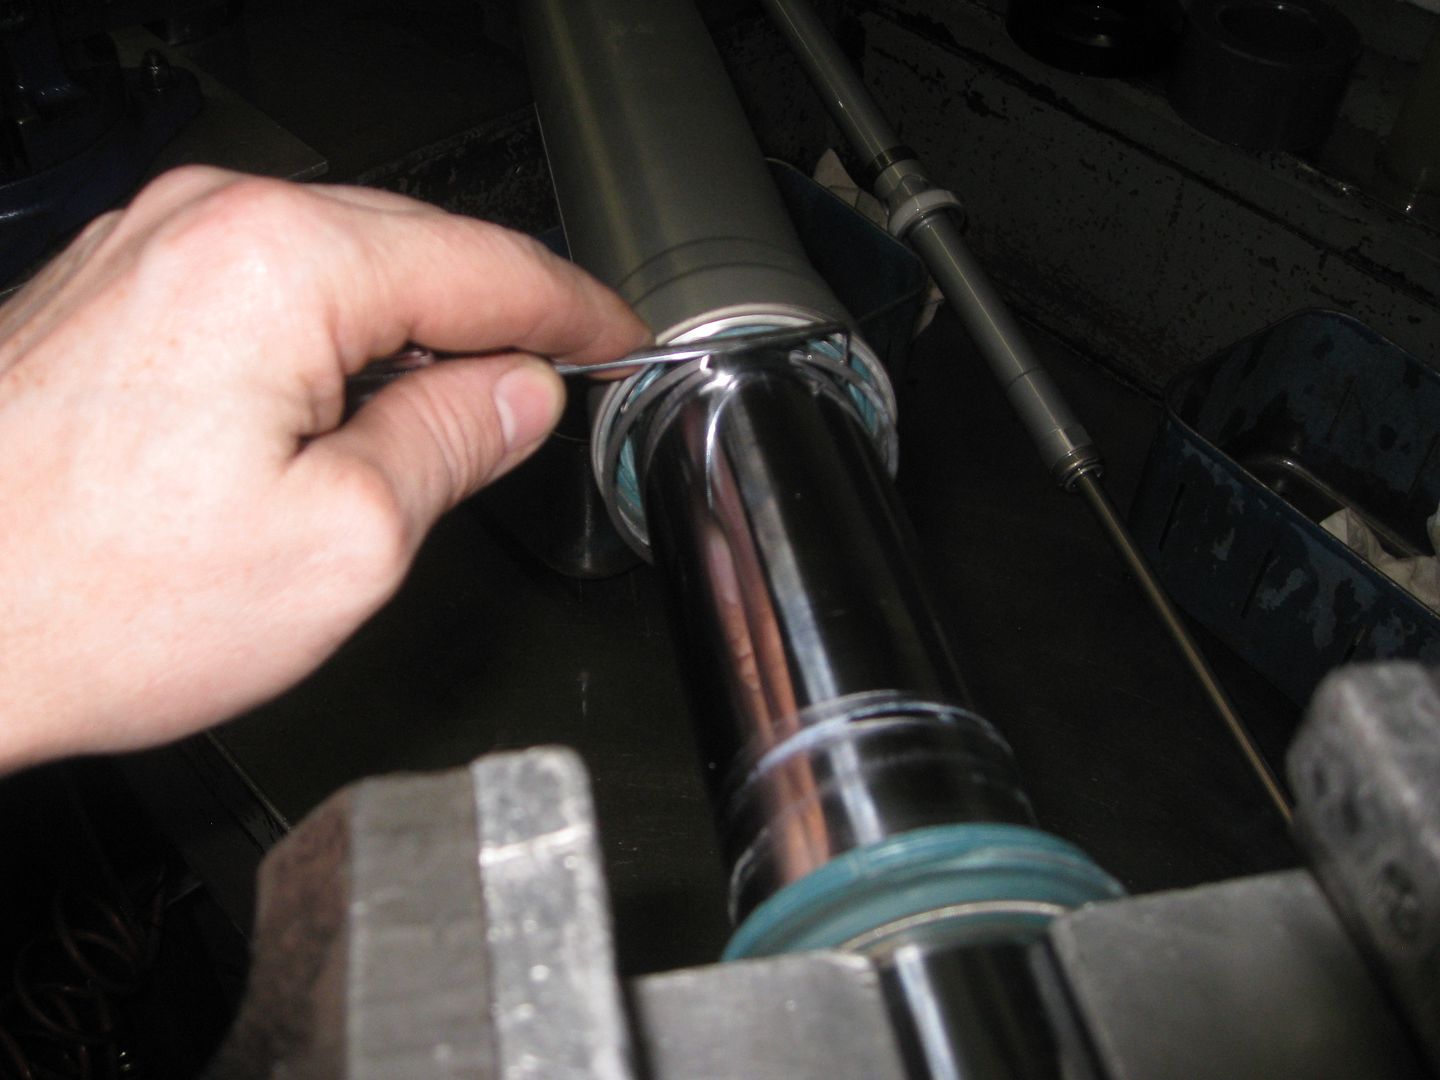
Now remove the dust seal and snap ring for the oil seal.
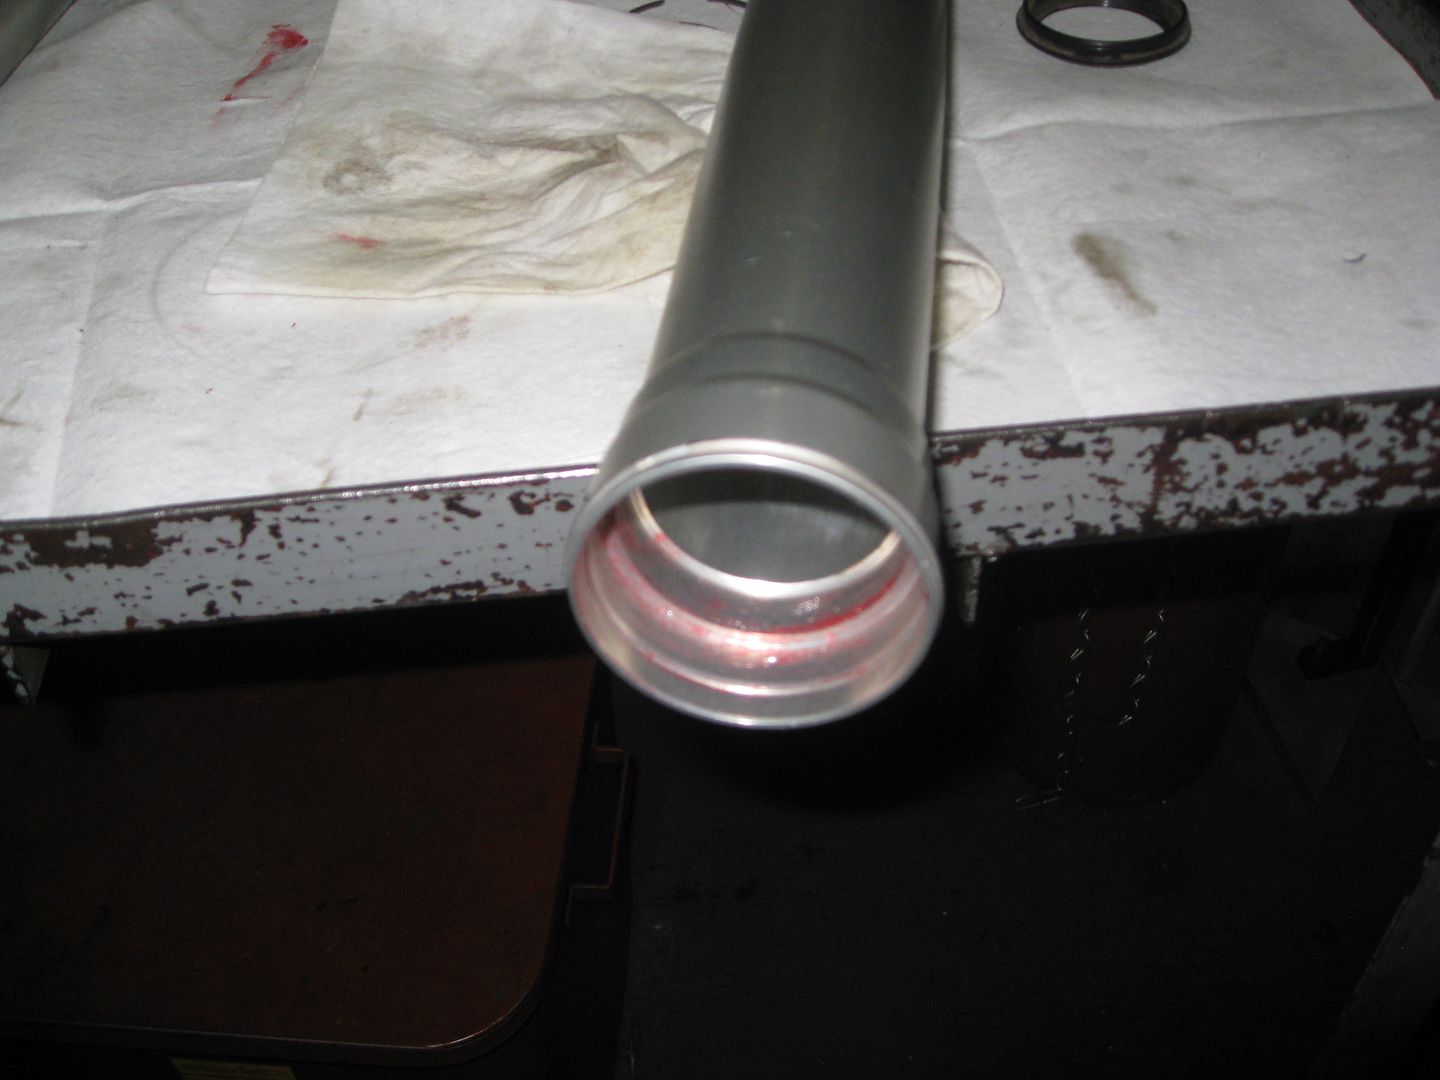
You should now be able to slide hammer the forks apart
On to the cartridge.
If you loosened the inner chamber before removing the cartridge from the fork then this come apart easy.
Remove the compression valving
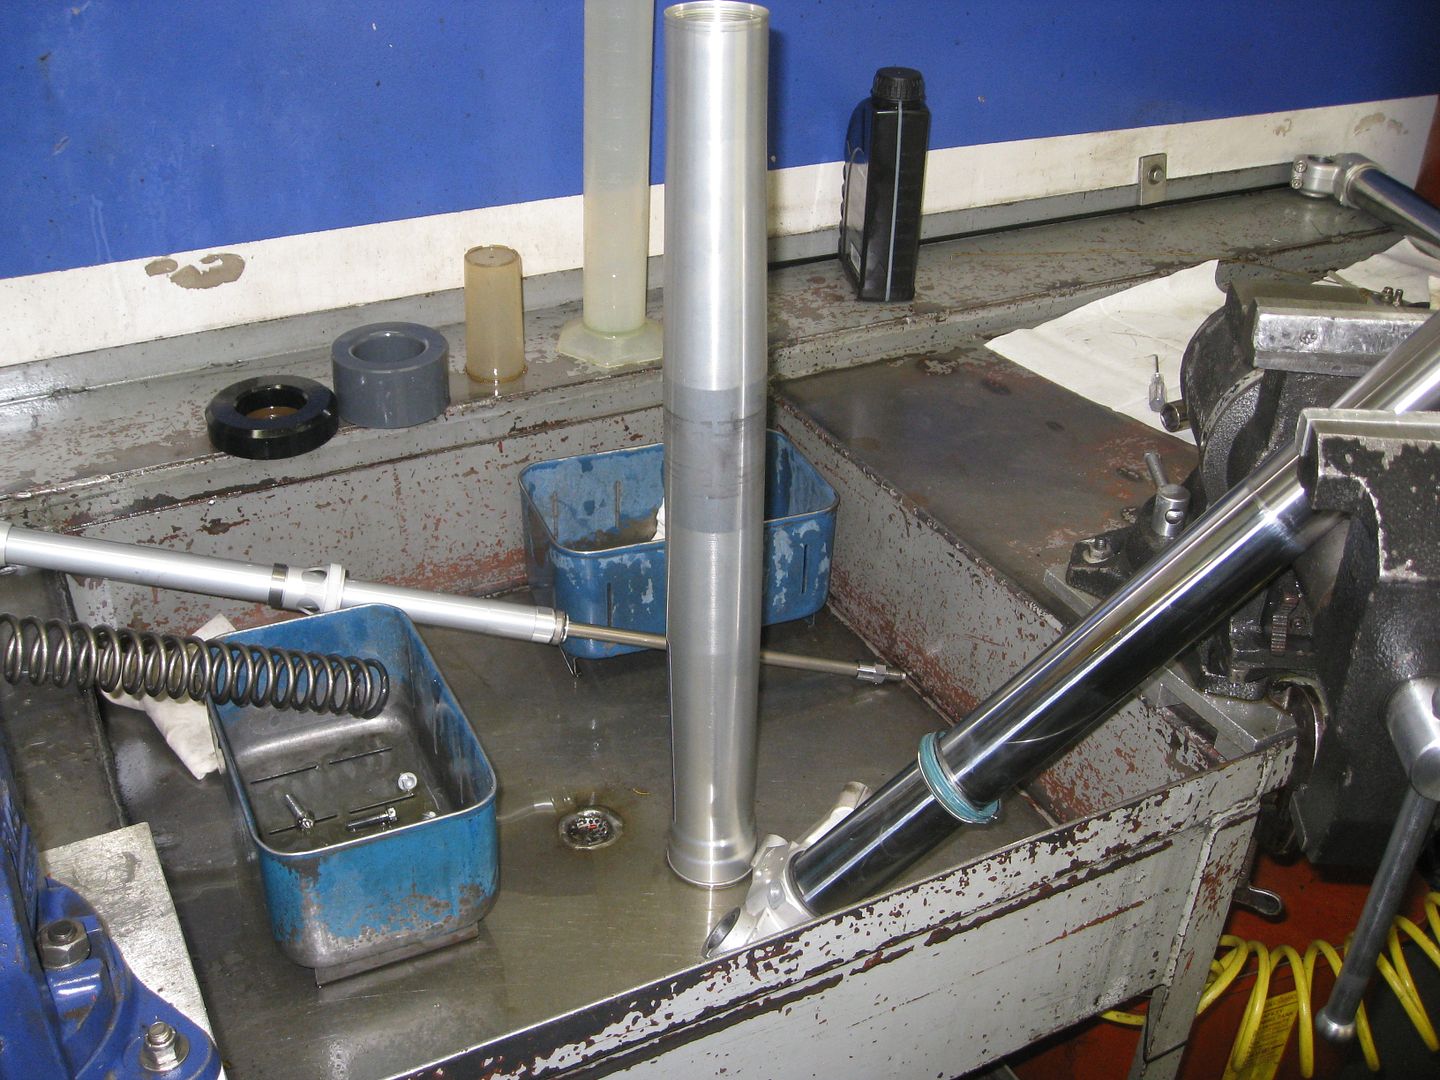
Time to go to the wash tank
Clean and ready for inspection
Reassembly time
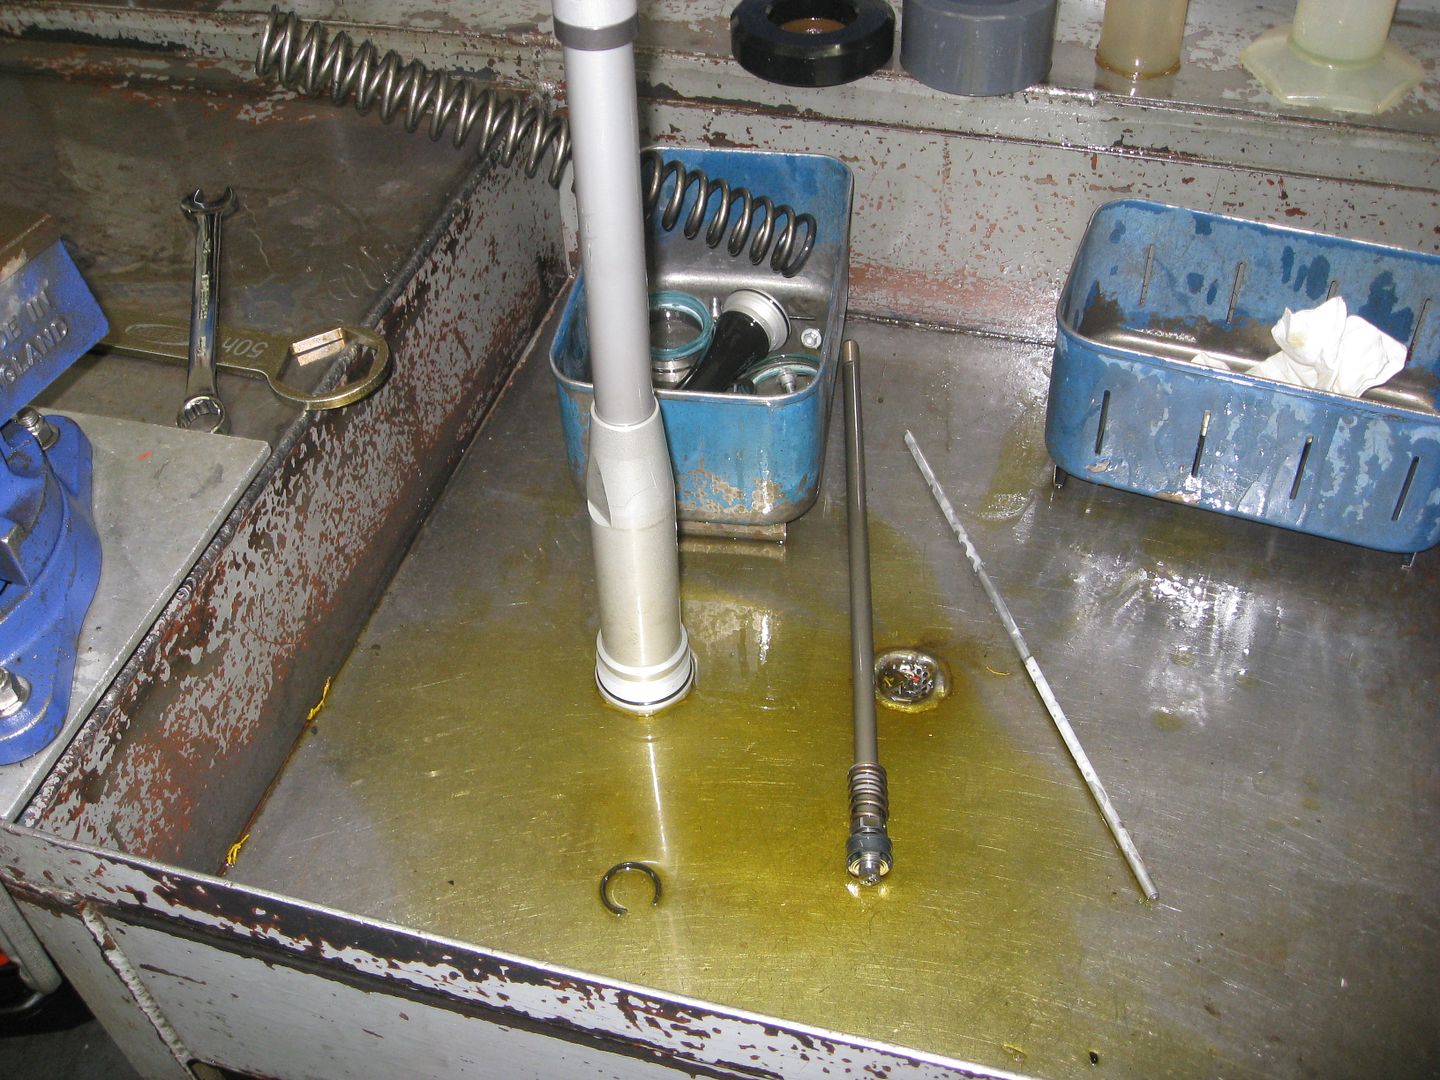
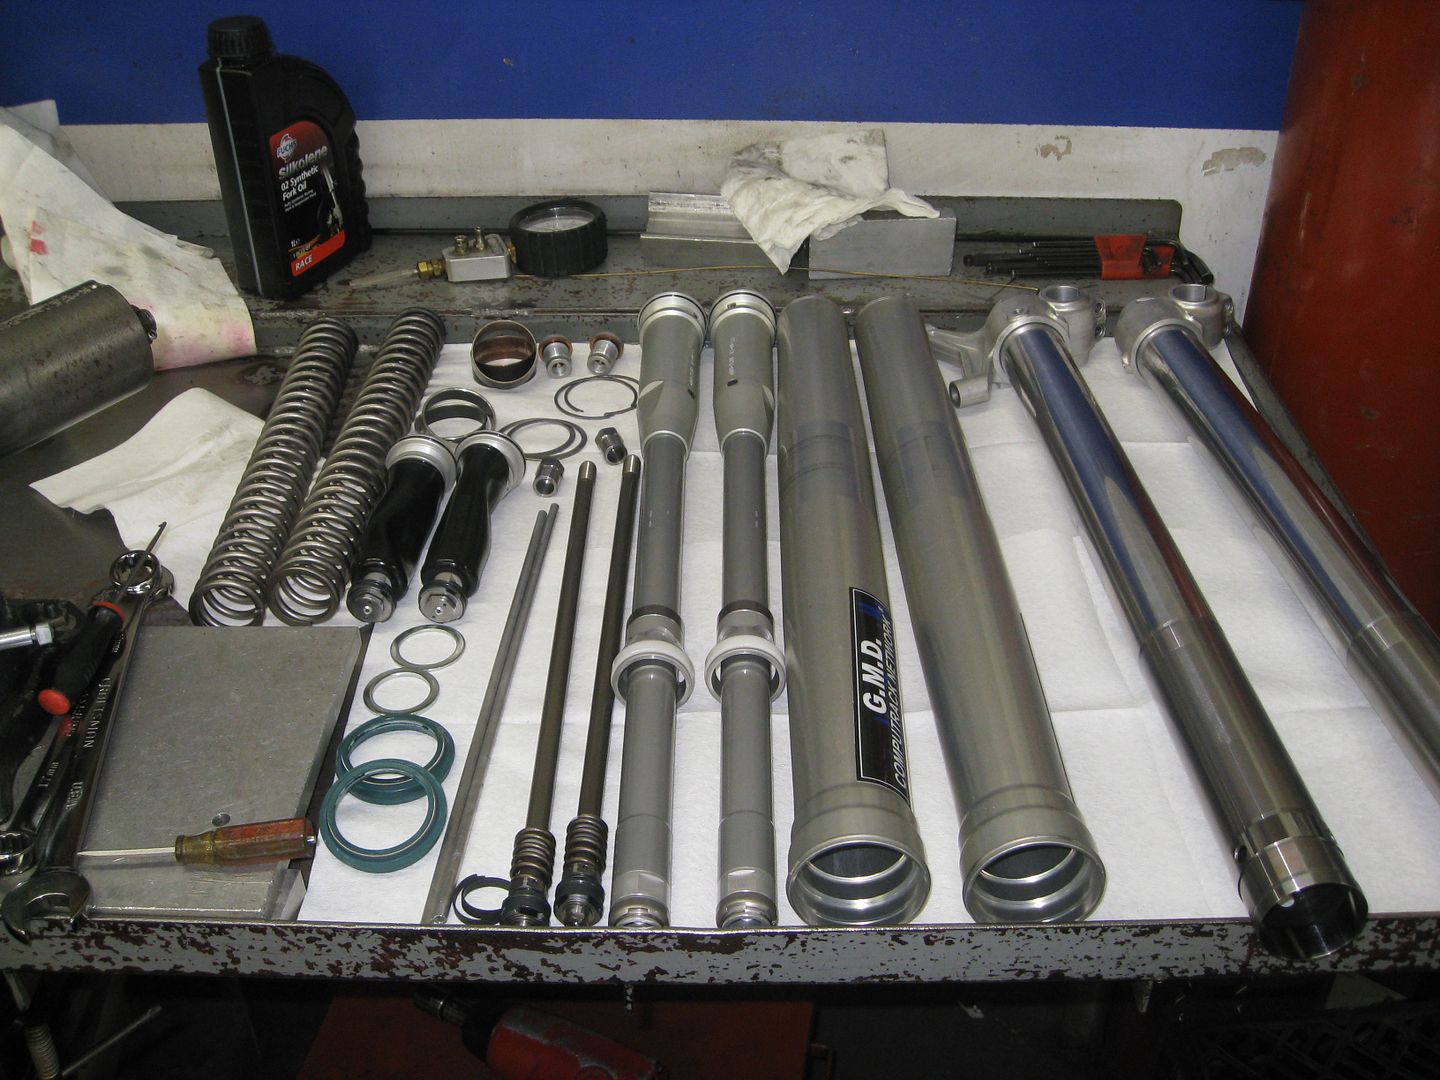
Lay everything out to be sure you have it all. Forks generally have pairs of everything
Cartridge assembly.
Put the rebound valving back into the chamber
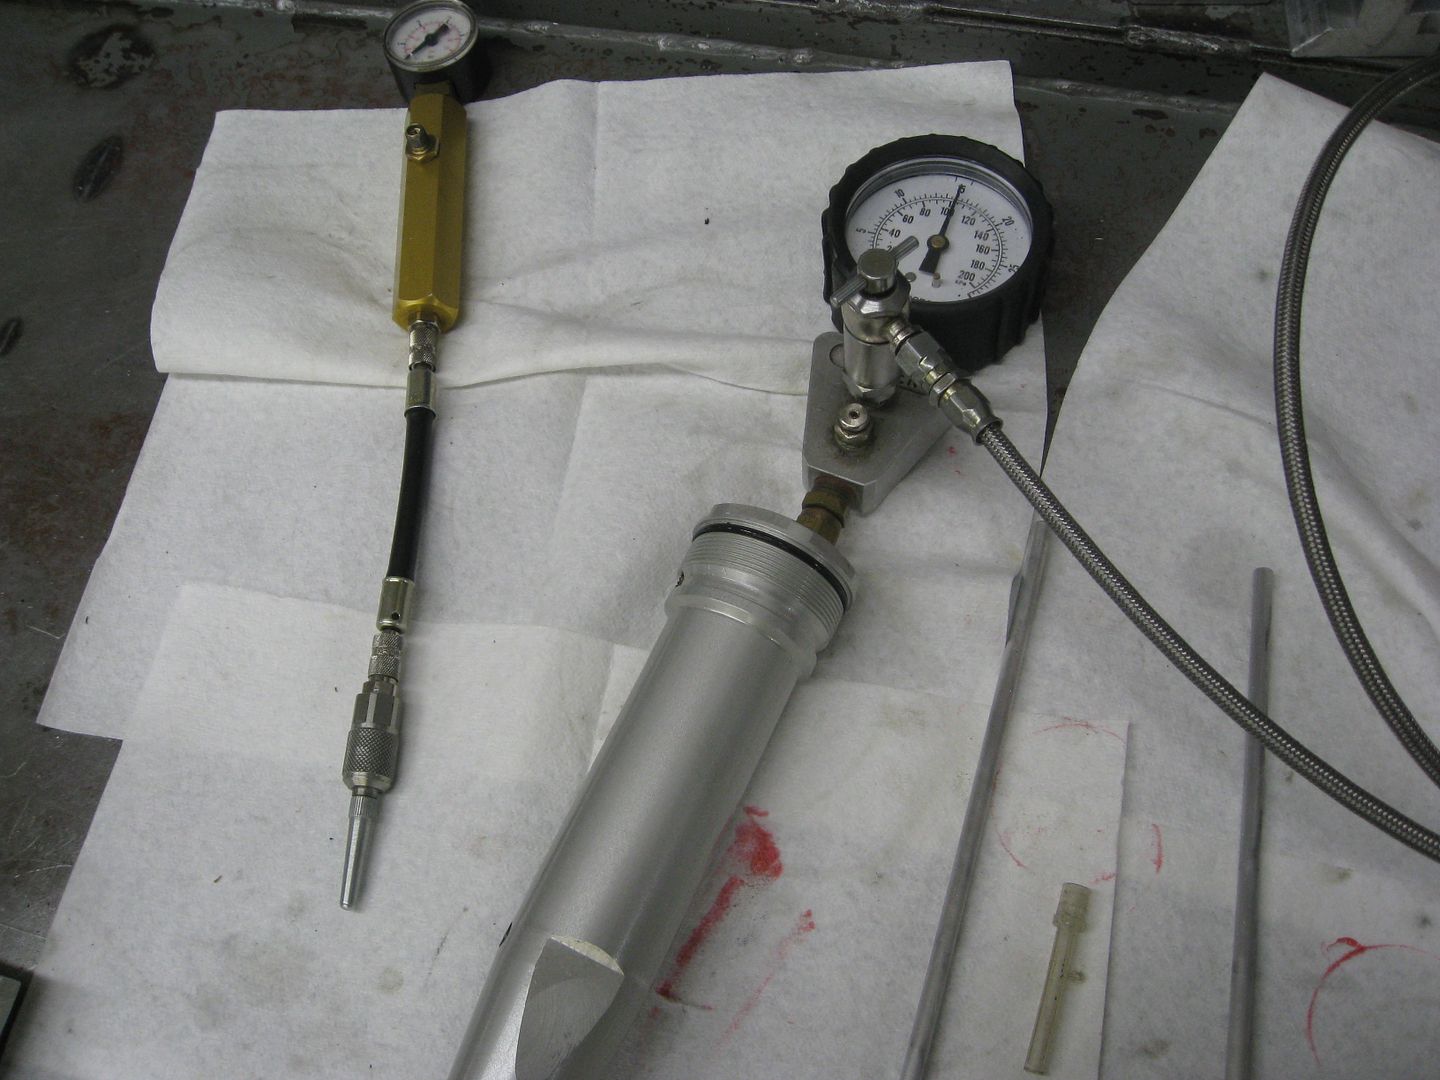
Fill with oil and bleed
Install the compression valving and pressurize
When done your cartridge should look like this
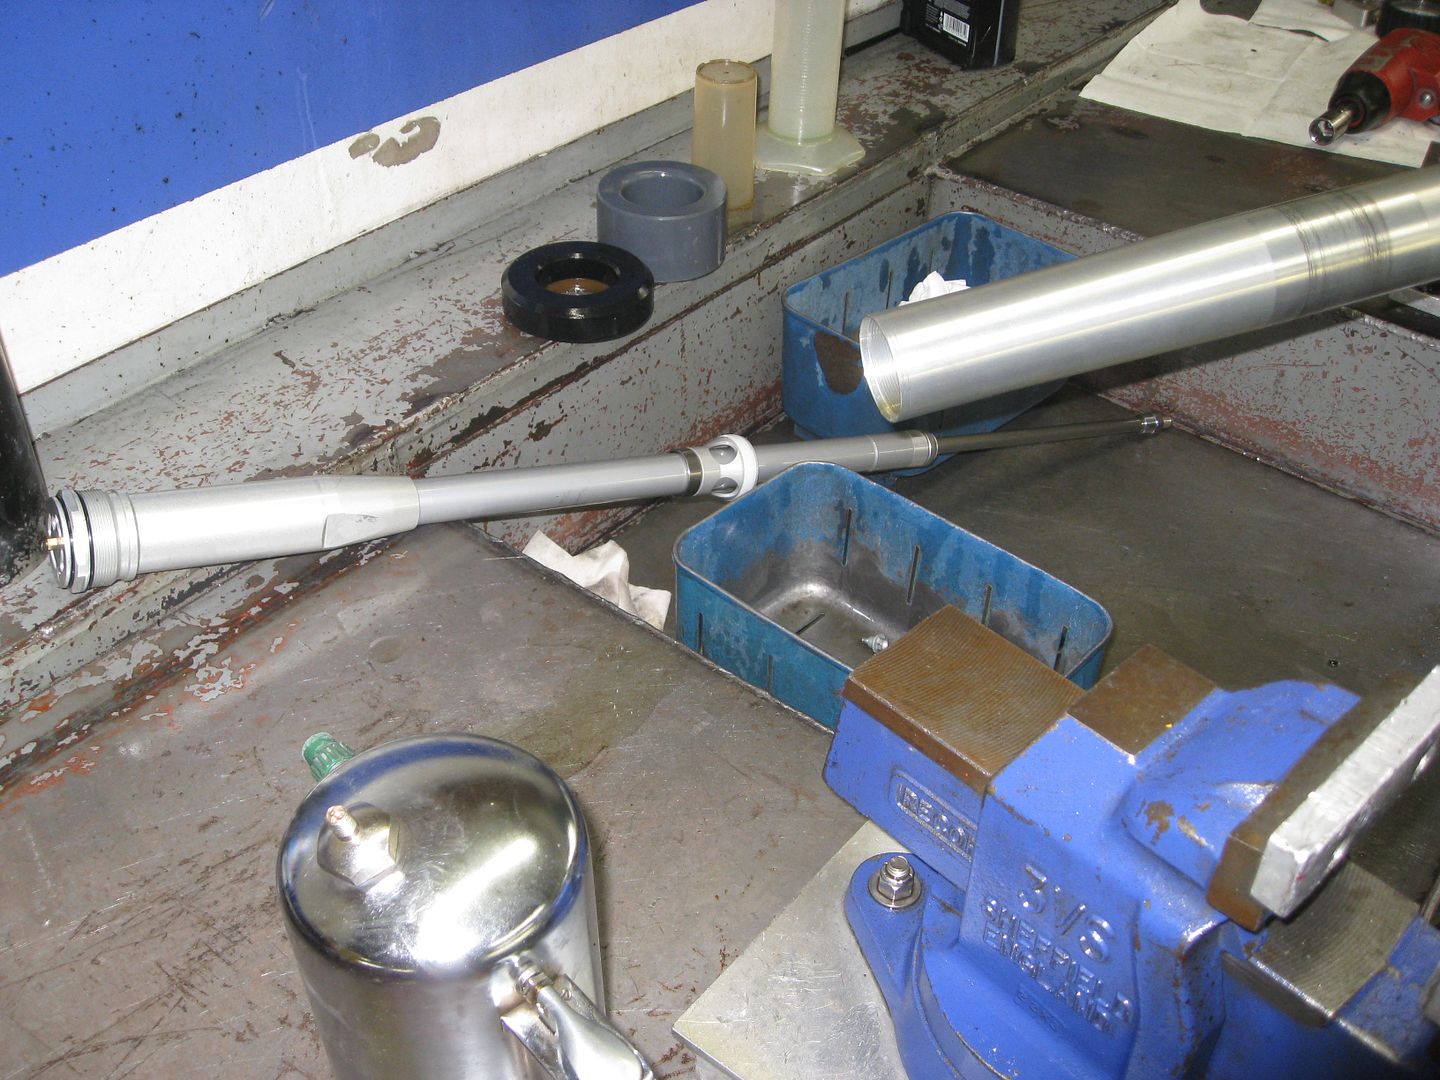
On to the outer tubes
Some seal grease
Inner tube ready for new seals
O-ring for a travel indicator
Time for seals and bushings
A little grease in the outer tube to help the bushings and seals slide into place
Drive the seals in using a seal driver and a soft faced hammer
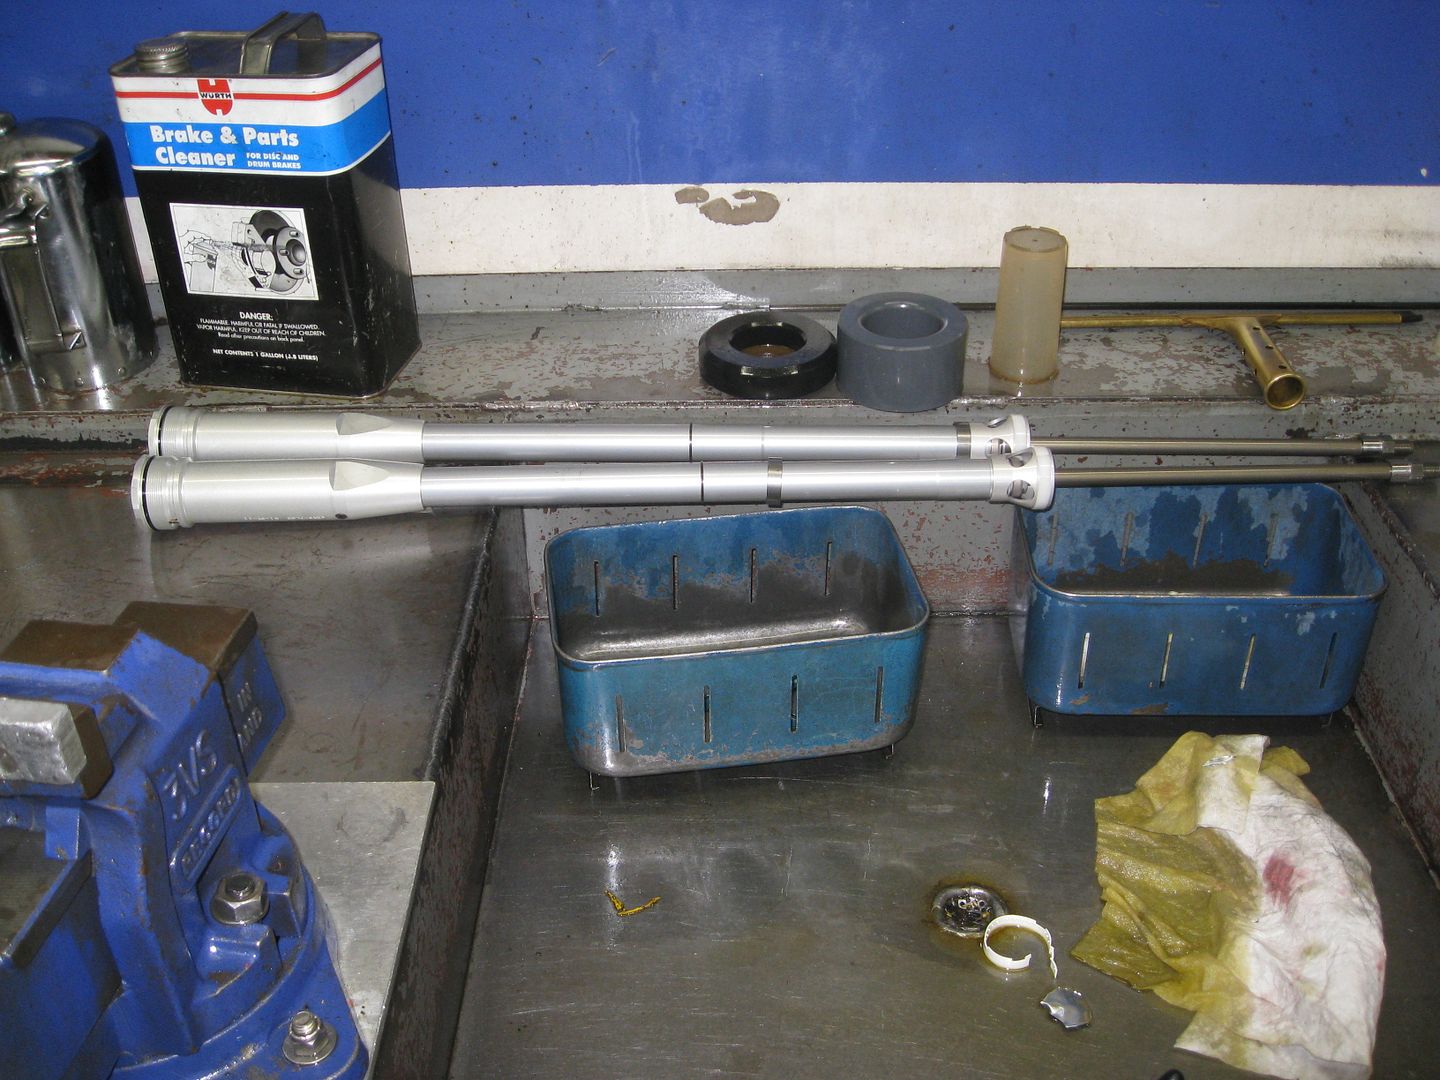
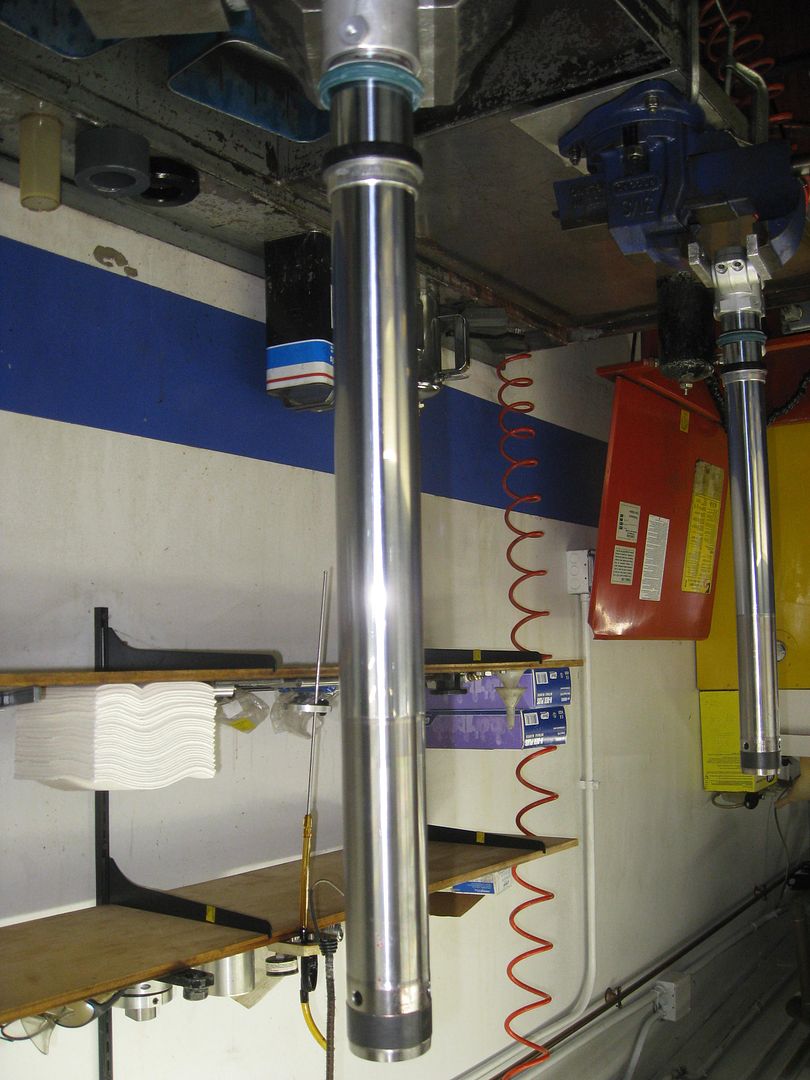
Ready to go
Assembly is pretty much the opposite what was done to disassemble
Now put a specified amount of oil in the outer chamber
Close the tube and set the clickers

My machinist also came out today. We are going to do a redesign of the top triple so it can incorporate the steering damper better and new top bar clamp to hold my lap timer and go pro.
If you need any one off parts contact him.
http://dbackdesigns.com/
https://www.facebook.com/pages/Diamo...07762669330809
I just saw someone recommending Diamondback Designs on WERA, is he local?
Also, first time I've seen that twin chamber pressurized setup. Kinda cool. How does it compare functionally to say, AK-Gas or similar pressurized cartridges for road forks? Looks like you've got a much larger diameter assembly to work with for starters?
Sorry I wasn't more sociable yesterday, you looked like you were on a roll, didn't want to interrupt.
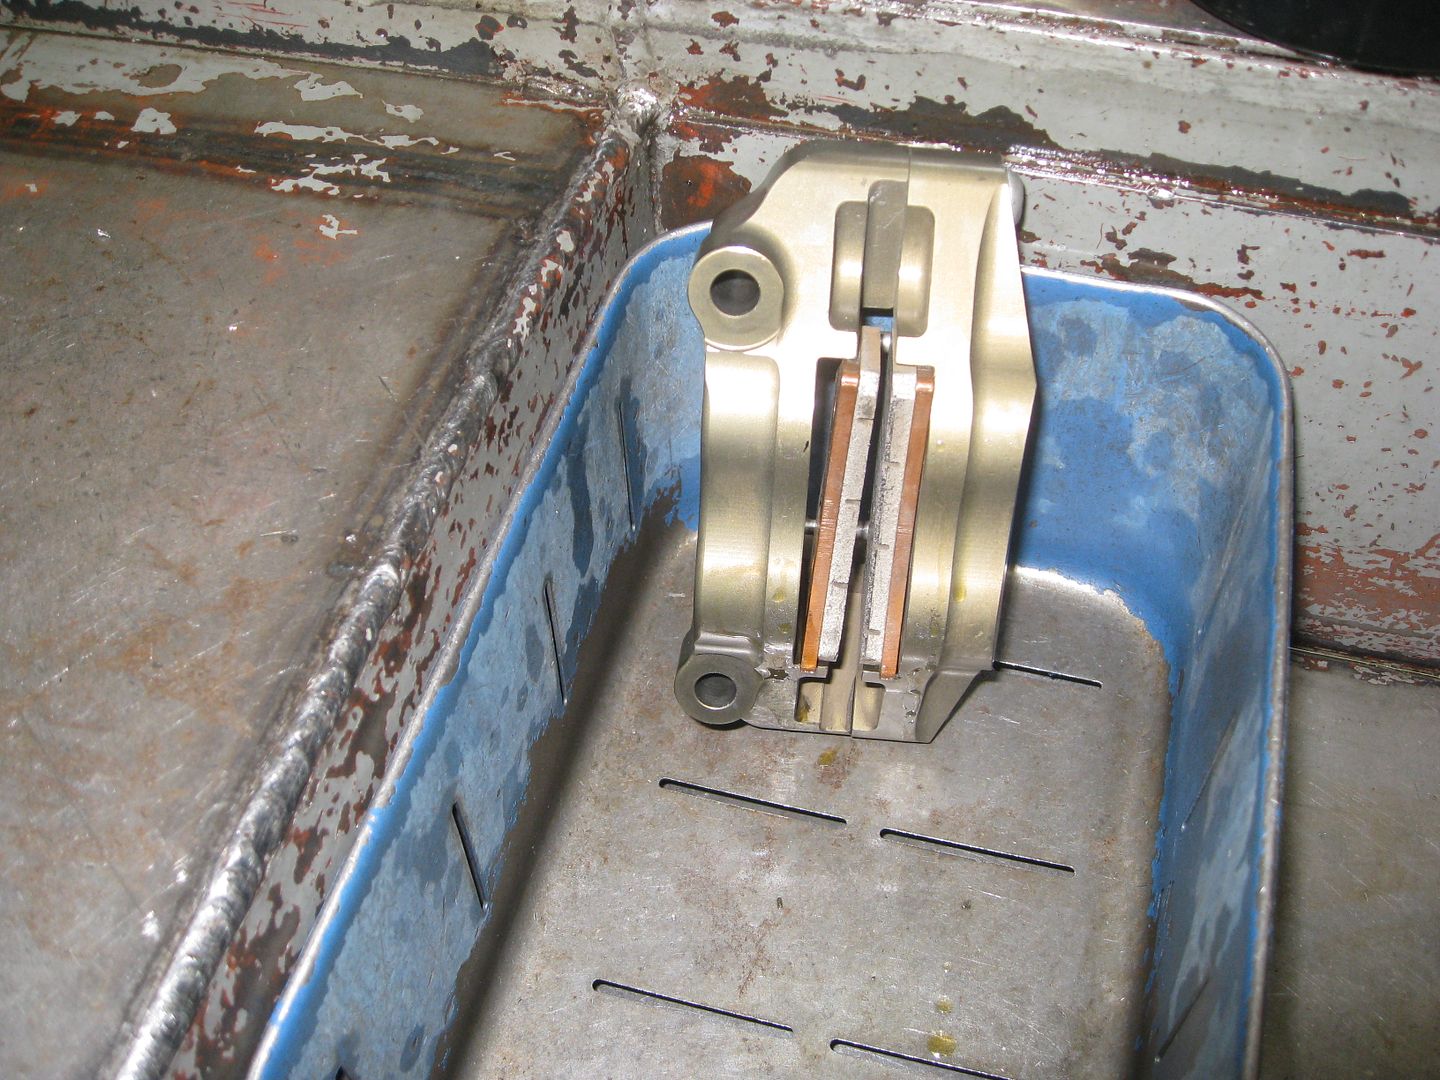
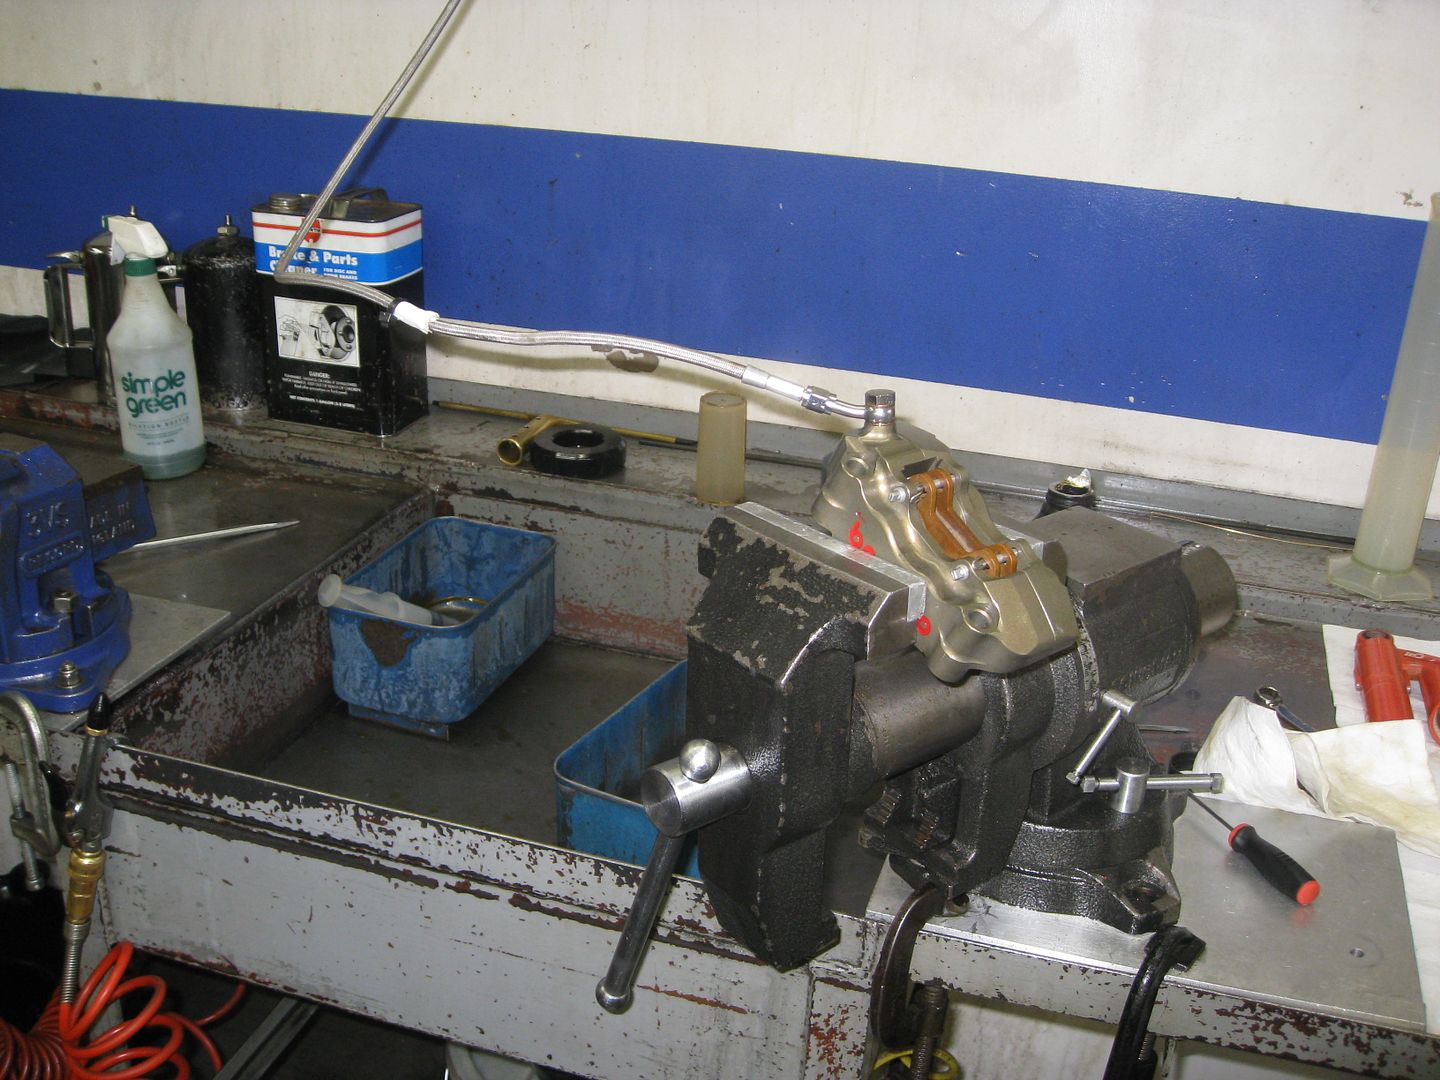
Today was one of my least favorite things to work on.
Brakes.
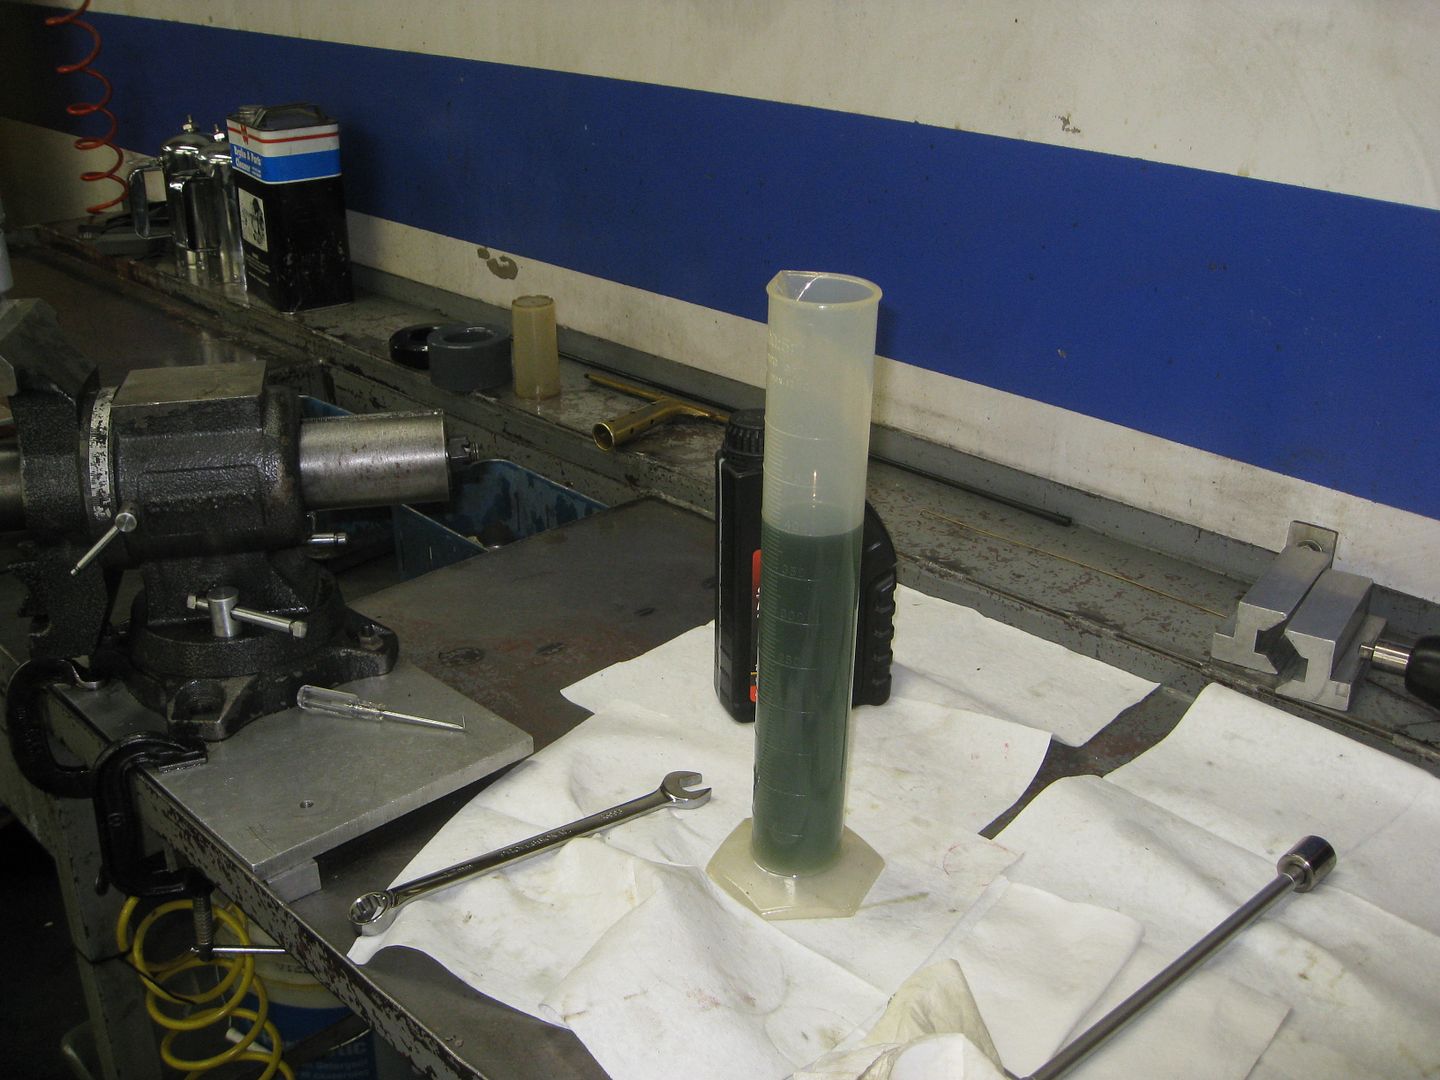
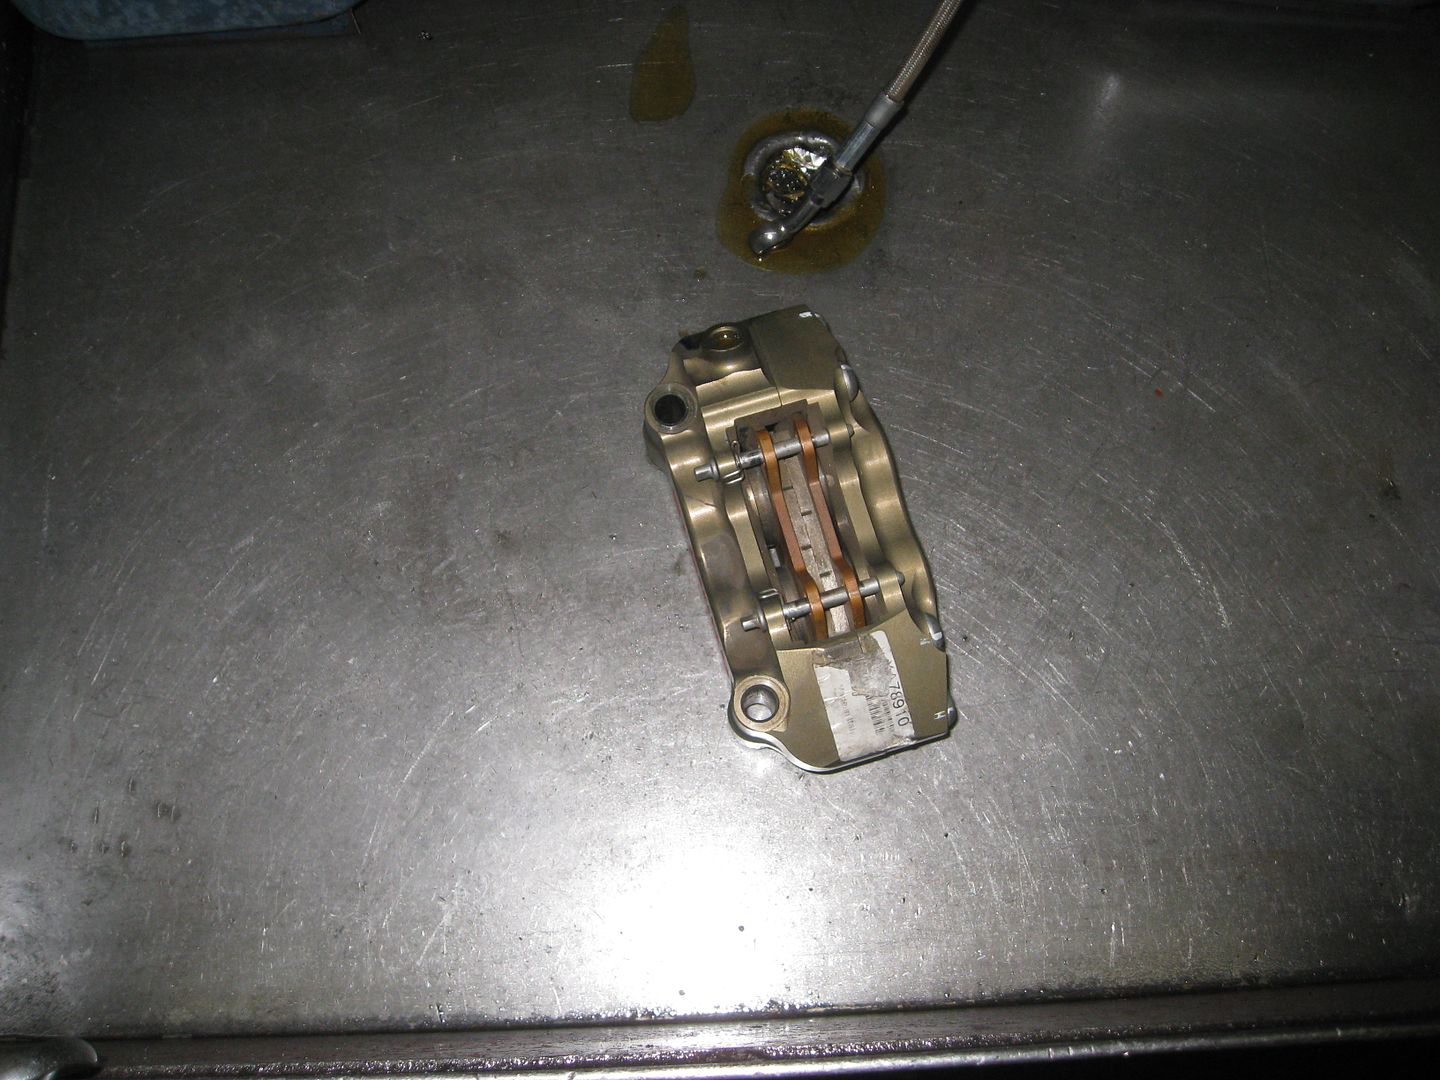
The caliper didnt need a rebuild but I wanted to change over the fluid.
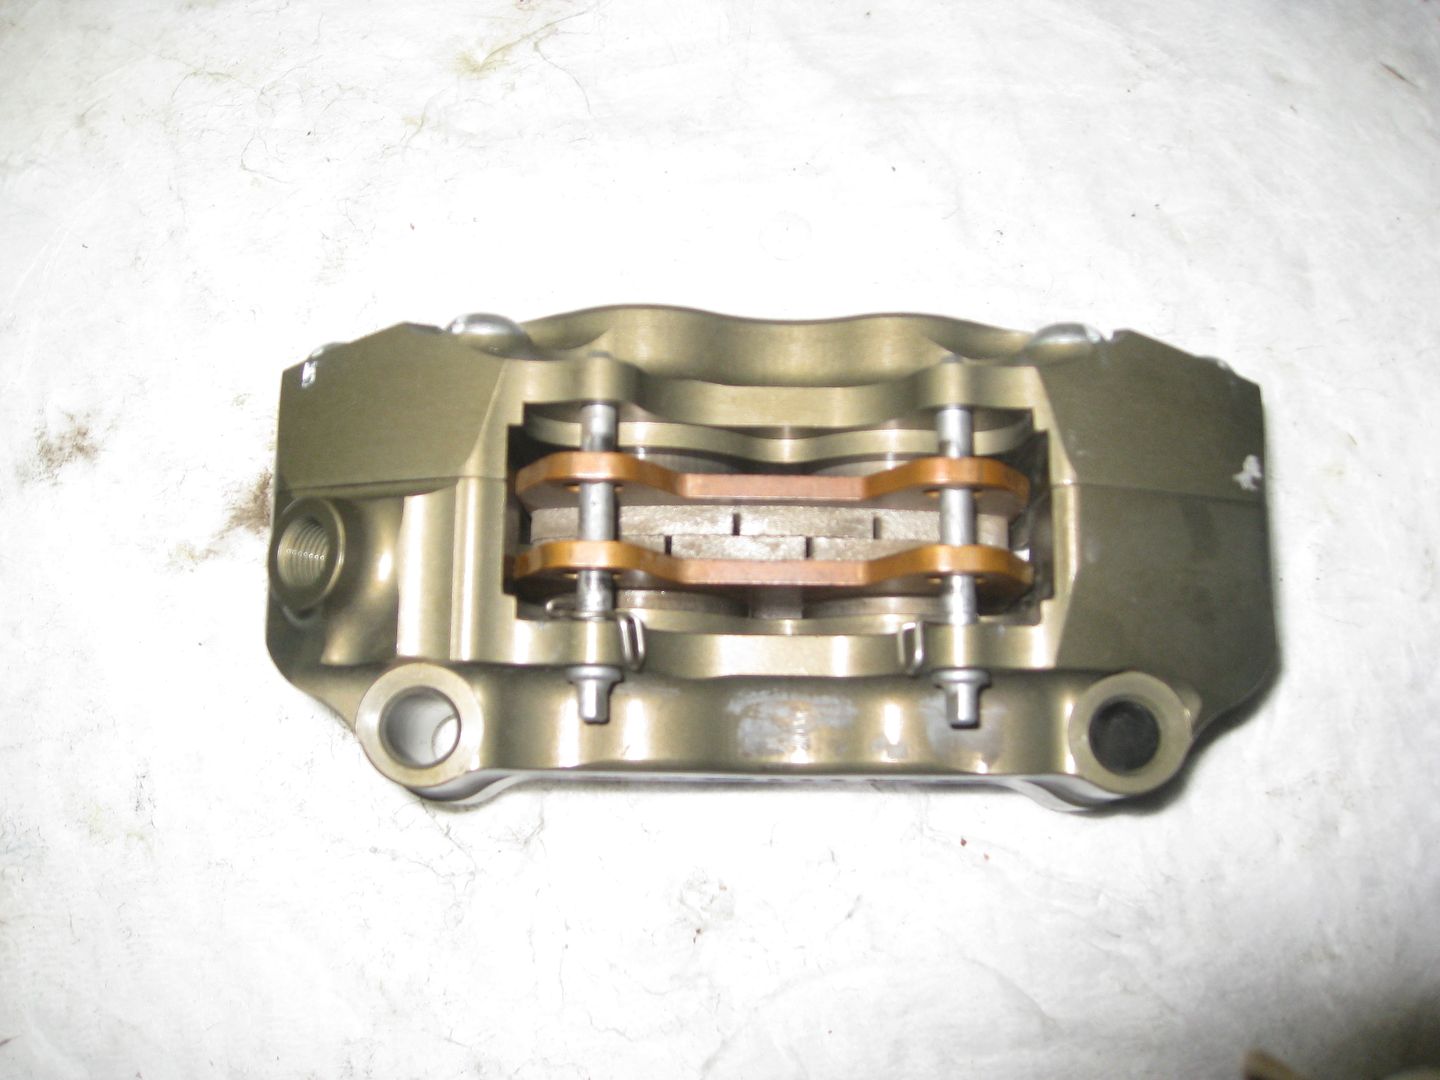
Sounds easy enough but look closely at the caliper
There is no bleeder. I cant do a banjo bleeder either because of clearance issues.
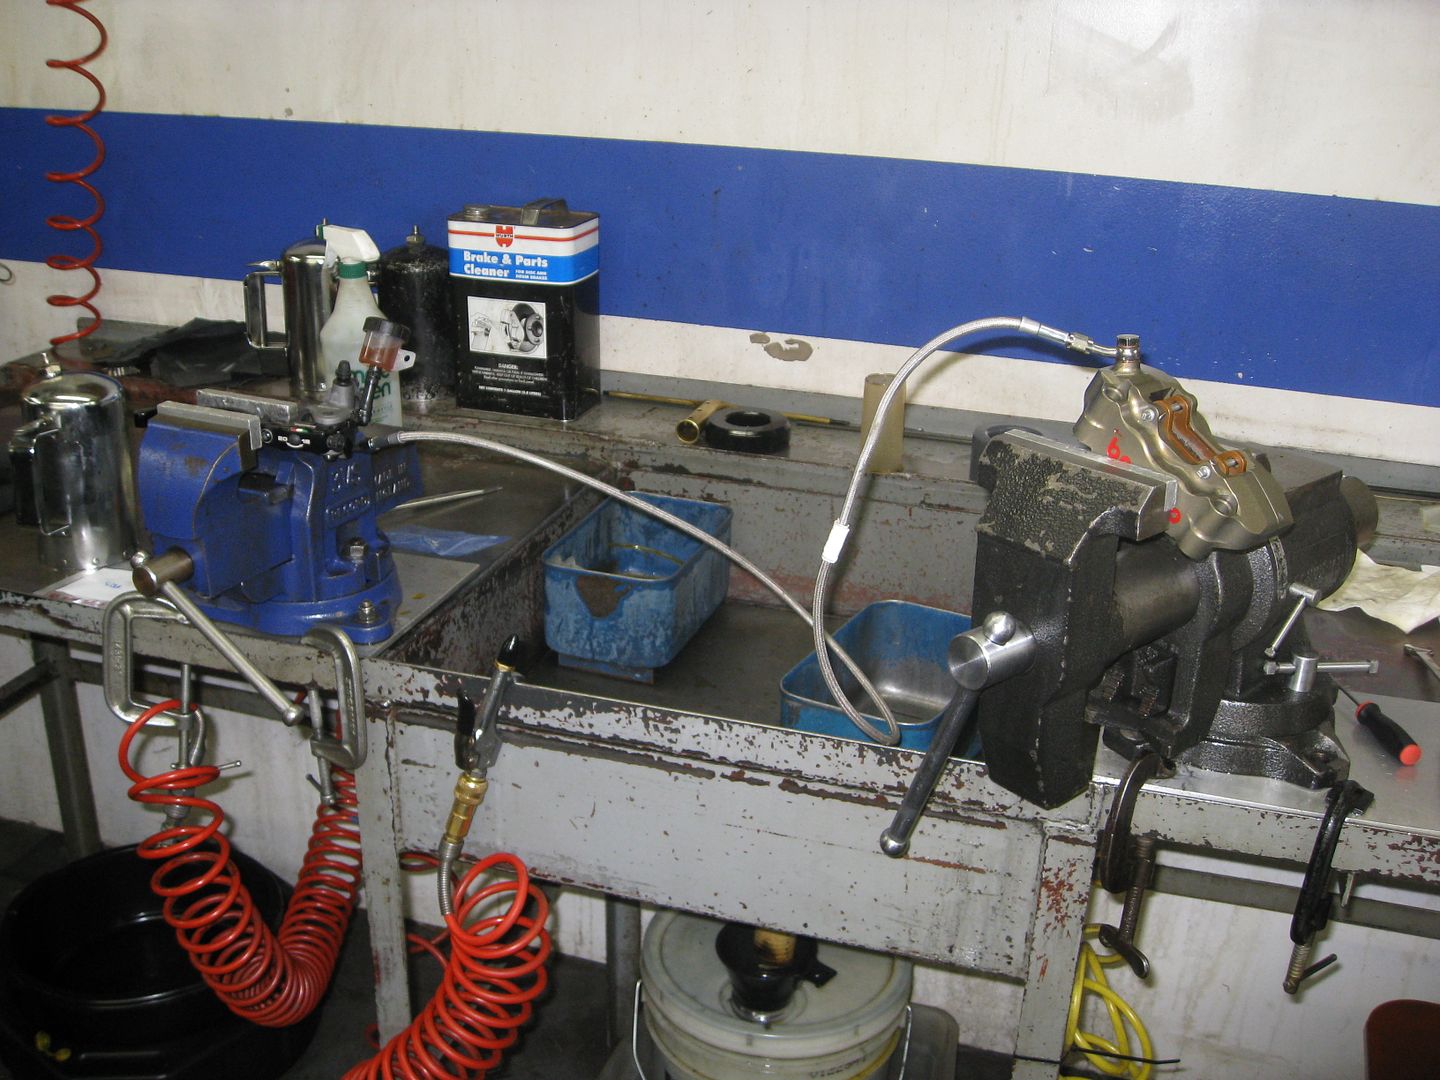
So the hose comes off.
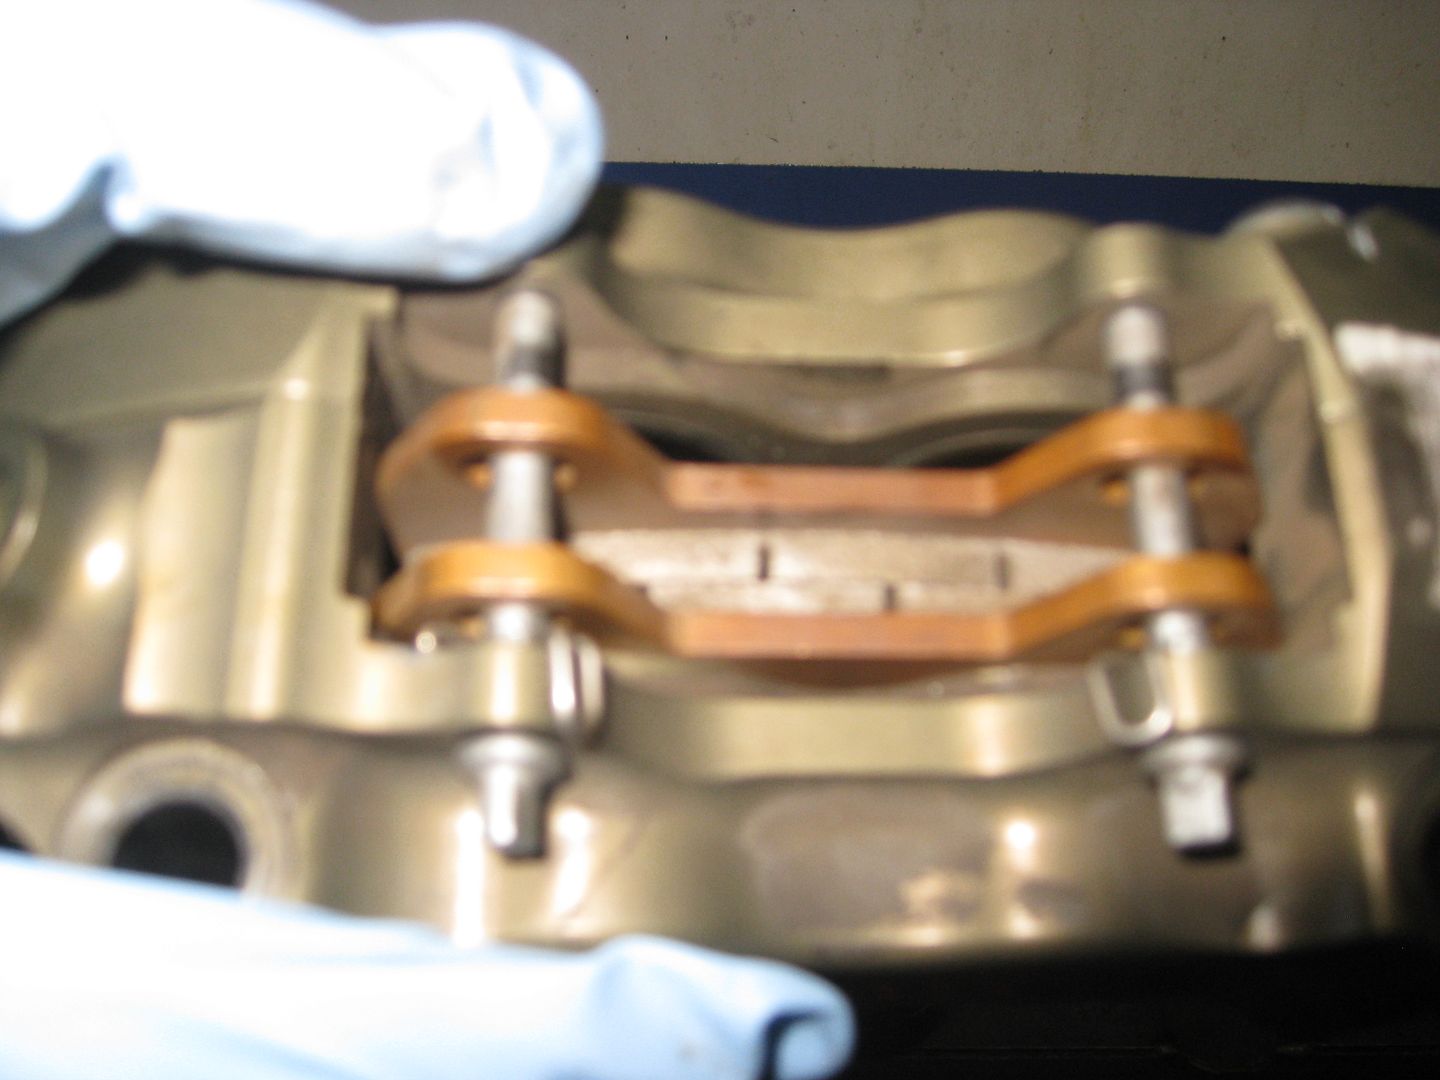
Time to push the pucks back in to get as much fluid out as you can.
Cycle it through a few times and then let any left over drain out
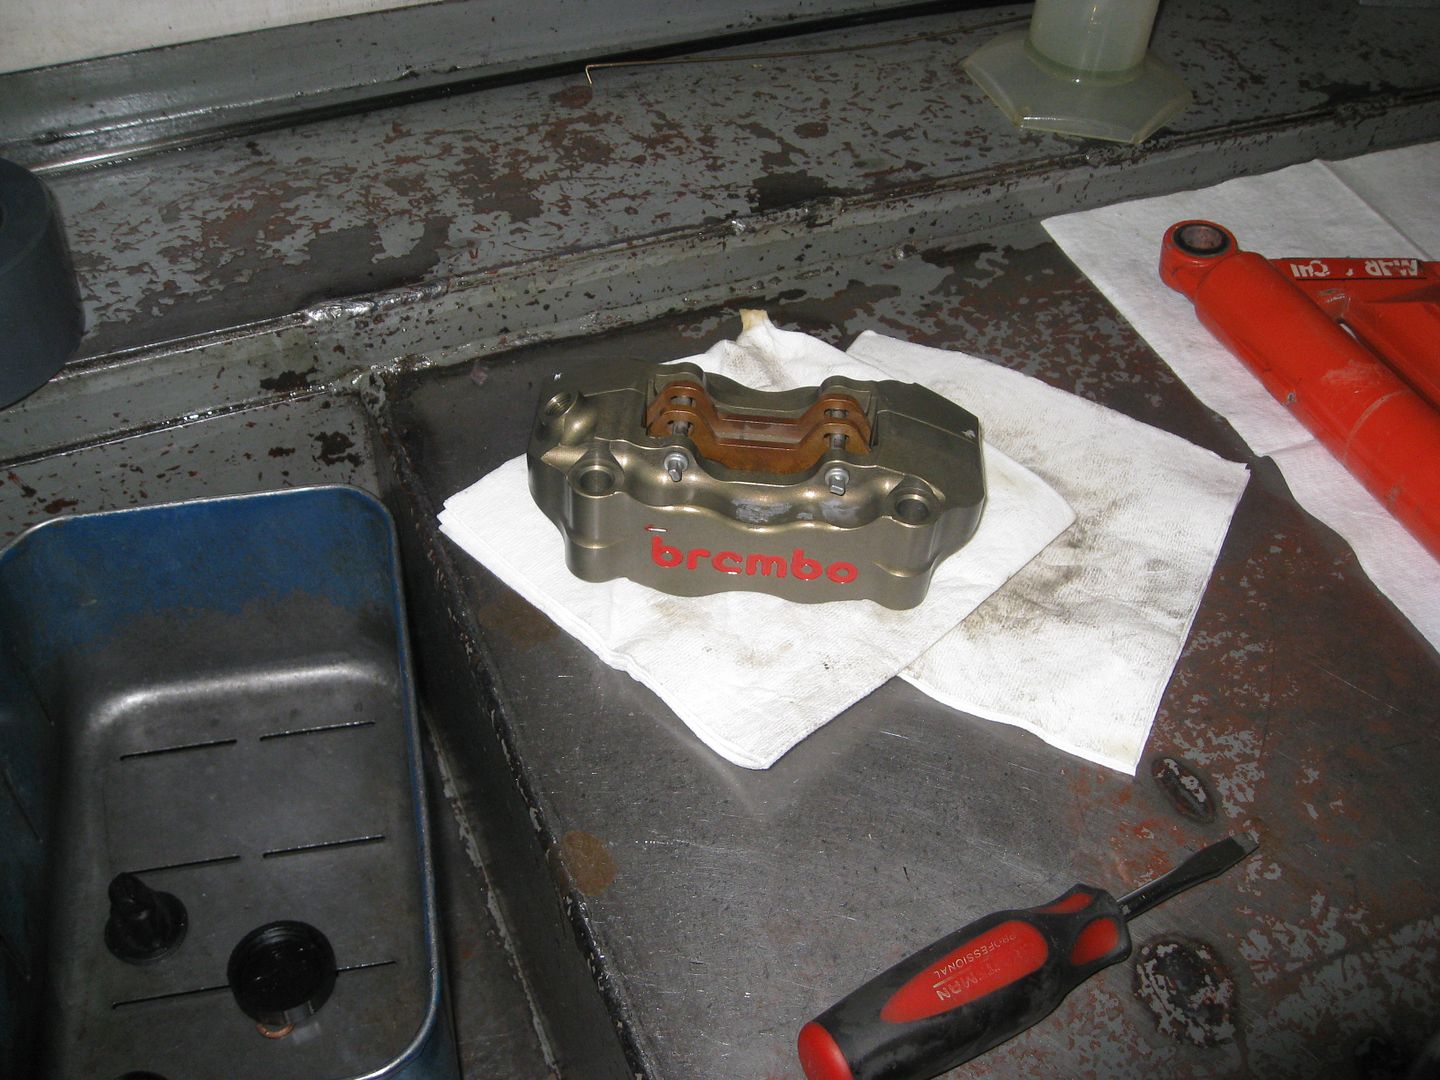
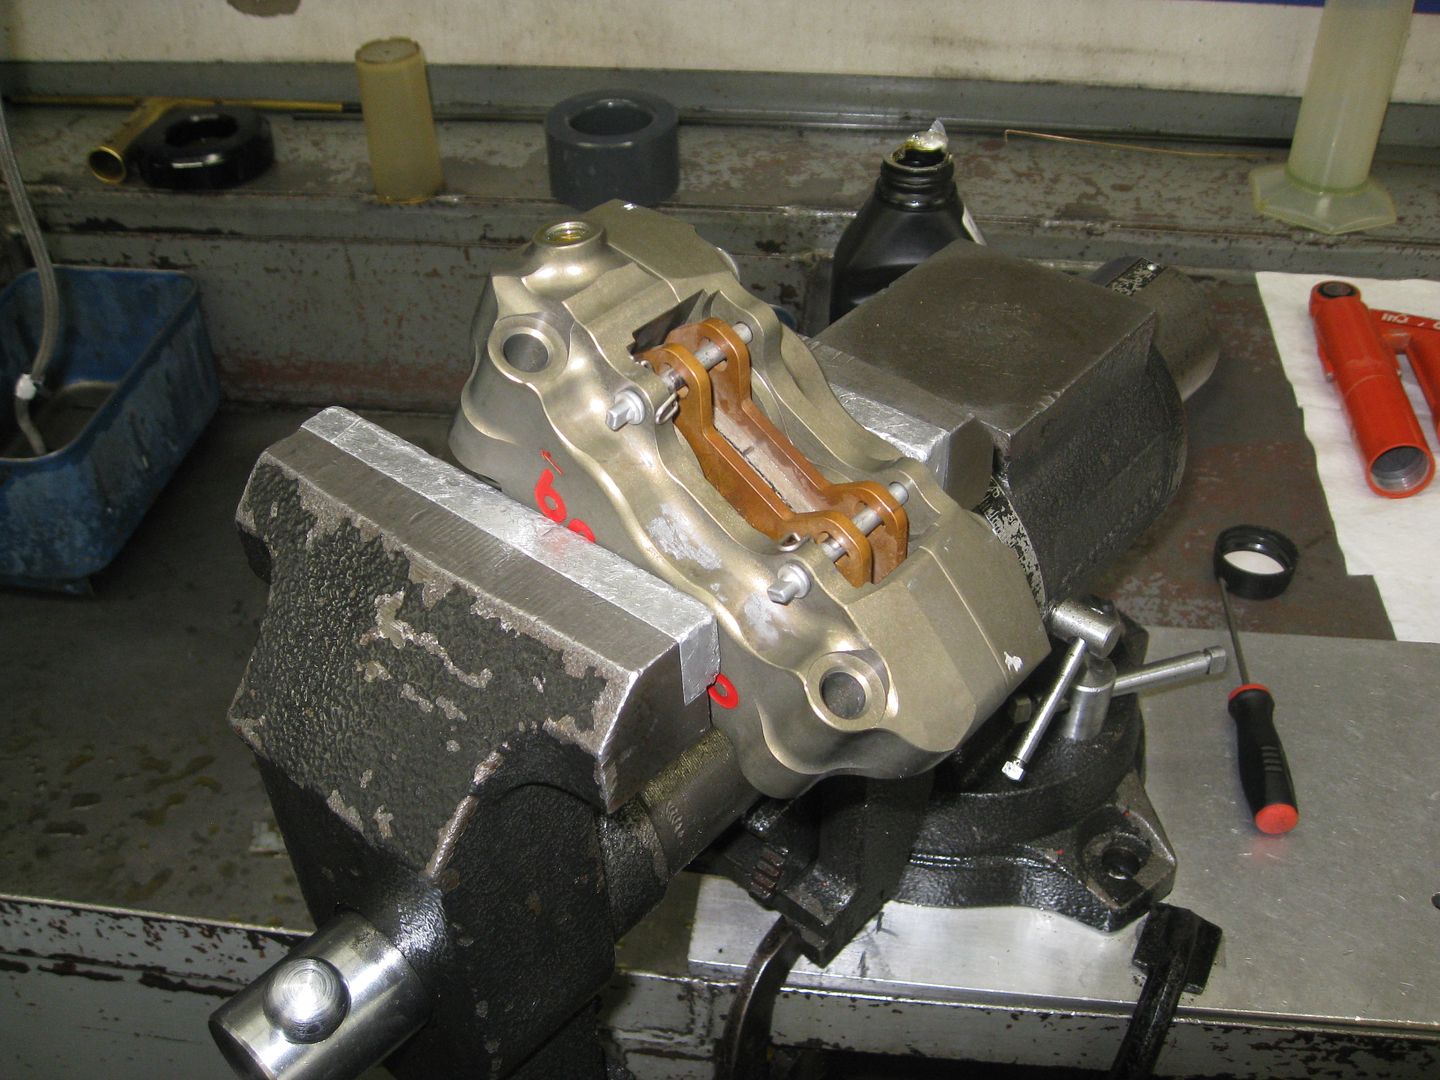
Time to clean up the caliper
No photo but you can also blow all the remaining fluid out of the master and brake line.
Now for the bitch of the system. Refilling the caliper.
With the brake pads installed blow air into the caliper to extend the pucks.
I dont have a vacuum bleeder or any other fancy brake tools so this takes a bit of time a patients. I do have an idea for next time that should make it easier
Now with the caliper full or close to full of new fluid reattach the brake hose and master.
Push the pucks in to force the fluid back up through the line and into the master cylinder.
If all has gone right then all that should be needed is a final bleed when the system is back on the bike. For me this will happen some time in March.
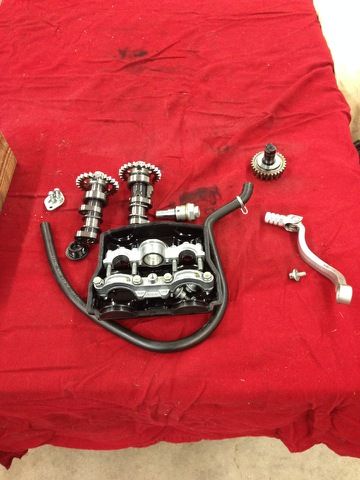
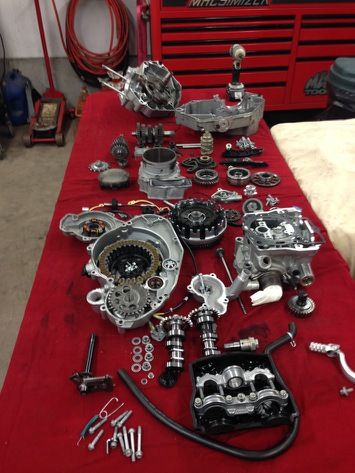
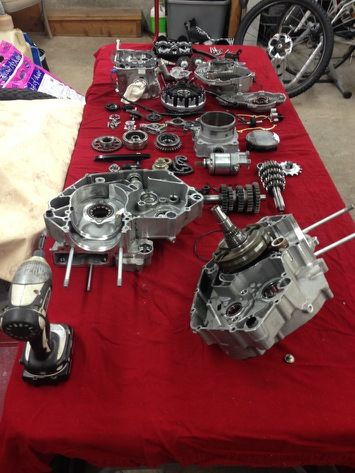
Not a lot to show but the motor has been dropped off to the builder today.
The plan is a high compression piston and a lightened and balanced crank. The head was in the plan as well but I dont have the money for it this year so its going to have to wait until next time. Ive asked my guy to take photos of the progress so hopefully Ill have some good stuff to share.
Nice posting. Mike from Diamond back has been doing all my stuff for years & does a great job
Adrenaline Cycle
Swansea,MA
Dyno Jet Tuning Center
Apparel
Fabrication
Powder Coating
Paint
Service
Engine service
Race Bike Prep
Used OEM Parts
Track bike rentals
ADRENALINECYCLEINC.COM
Like us on Facebook
[IMG]http://www.facebook.com/AdrenalineCycle1?ref=hl
 Posting Permissions

 Reply With Quote