0


Most of the parts arrived at the shop today so I figured I would share. Building a dirty toy is a bit less intensive then a race bike at least for me. Once I get going I should be able to complete it in a day. Longest part of the process will be valving the suspension for the woods. Its not hard just a bit labor intensive. Most of the other stuff is just straight bolt on.
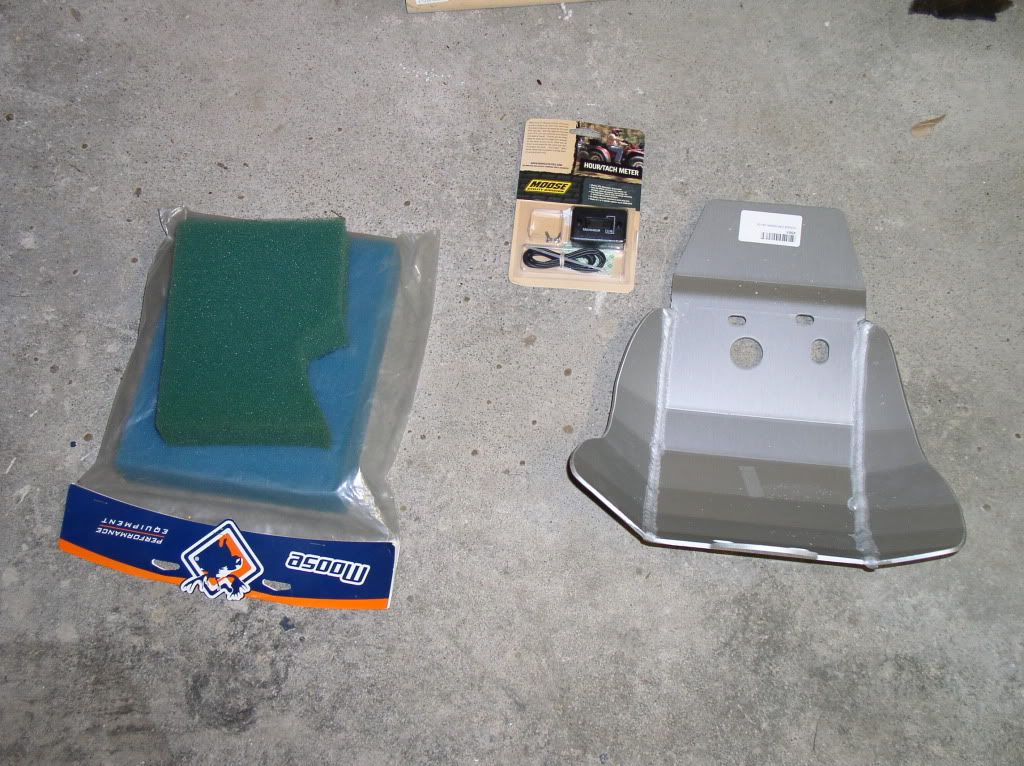
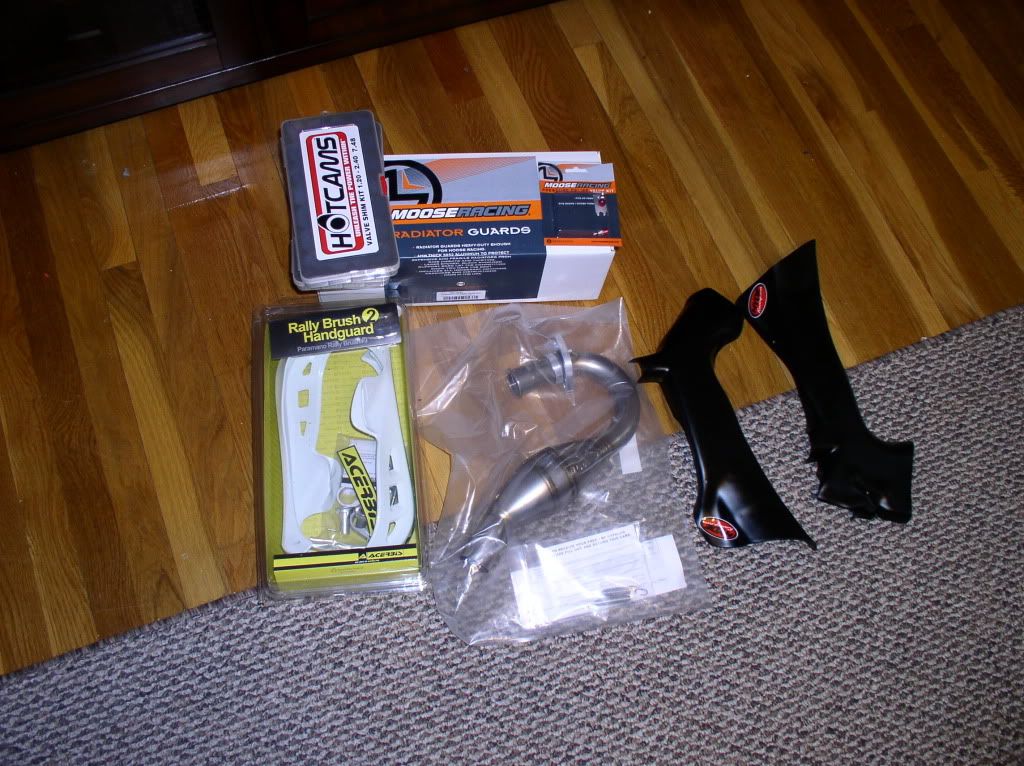
List of parts that are in...
Skid plate
Skid plate foam (not being used)
Hour meter
FMF ti megabomb header
Moose radiator guards
Acerbis backbusters
Fork air bleeders
Hyde racing frame guards
Hotcams valve shims
Currently waiting for the rear disc guard to come in. Should be here by the end of the week. Also waiting on the FMF factory 4.1 muffler which is on back order. Hopefully in by mid March.
Future orders will be a scotts damper probably with their triple clamp. Im just waiting to determine which bar bend I will want.
Depending on weather this weekend I might be able to get the majority done except for muffler and damper set up.
Nice looking exhaust.
Originally Posted by union

...aka CHEAP!
and looks good thus far, can't wait to see the rest
Instead of starting a new thread and clogging up the system Ill keep going here. When everything is 100% complete I can repost it all under one post if need be.
I was going to do it all at the shop on the lift but when I looked at what I was doing I figured it was just as easy to do it at home. Now the lift can be used for customer projects
Tonight after work was the break down. I love working on dirt bikes. They are so simple. Took about 60min including taking time out for the photos and to locate some of the tools that are floating around.
Click for the slide show. (if anyone knows how to make it unclicky let me know)
Next steps will be setting up the suspension for the woods, jetting the carb and putting it back together with the new parts.
Nice bike. Nice stand too. What year is the 250?
Last edited by Rambunctous; 02-25-10 at 09:24 AM.
Here's mine.
Took me 3 hours to put it back together.
New suspension done by C-Cycle,
New White Bro's exhaust
ROX handlebar riser
Tightened the cam chain
New sprockets/chain
New air filter (K&N)

looks good, I might do a thread when I am bored as my yz looks pretty different from when I got it last summer. Just putting new adjustable triple clamps on and some other junk
LRRS #399
MX #505
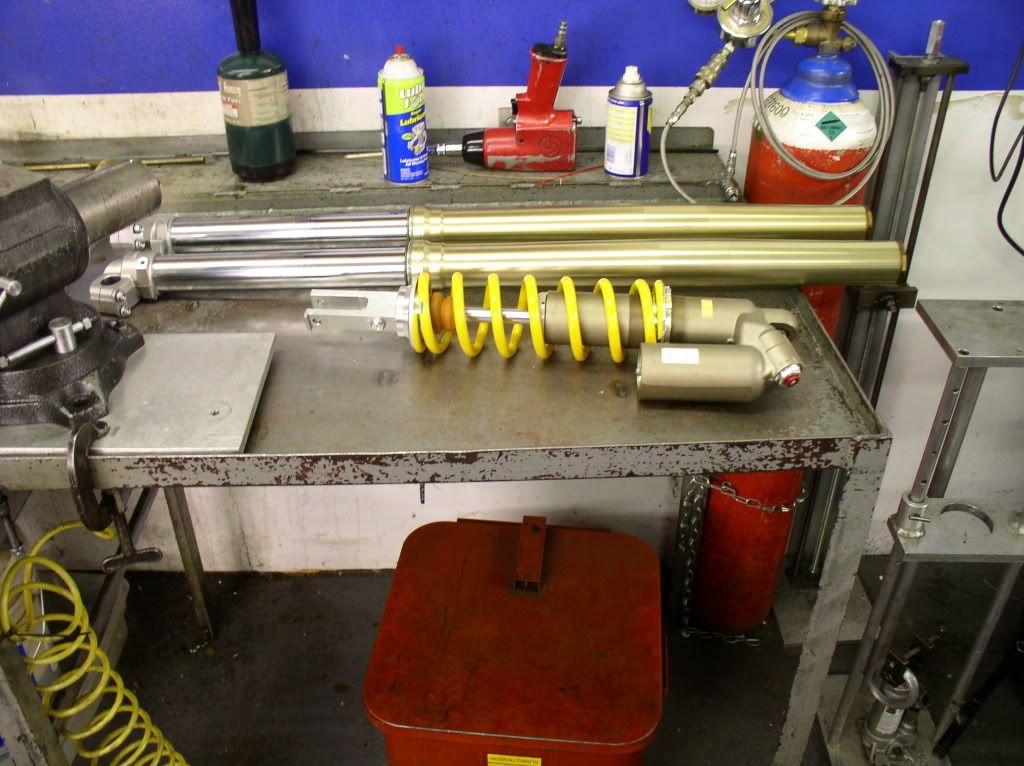
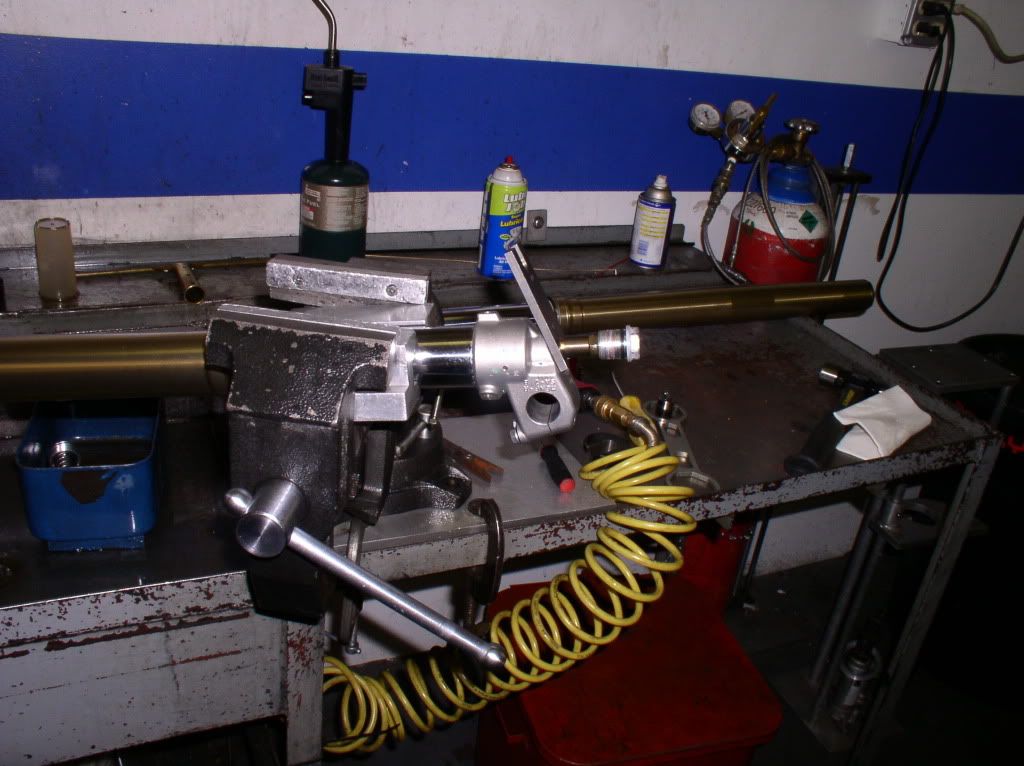
Today was suspension day. Ive done the complete how to service your forks and shock in the past so I didnt document this in much detail. Since these are brand new forks with 0 times on them Ive chosen to not separate the inner and outer fork legs. That will be done after probably after the riding season when its time to service the forks and replace the seals.
The starting point.
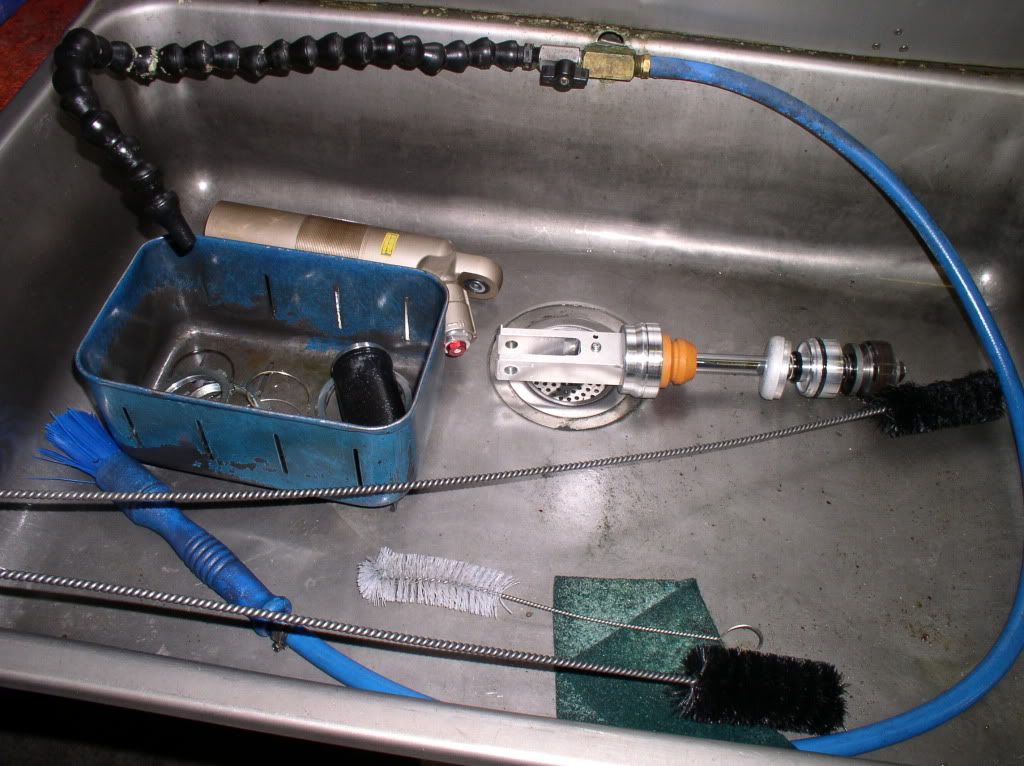
Most shocks are serviced in a similar manner so just a quick shot of the internals since we all know what a shock looks like assembled.
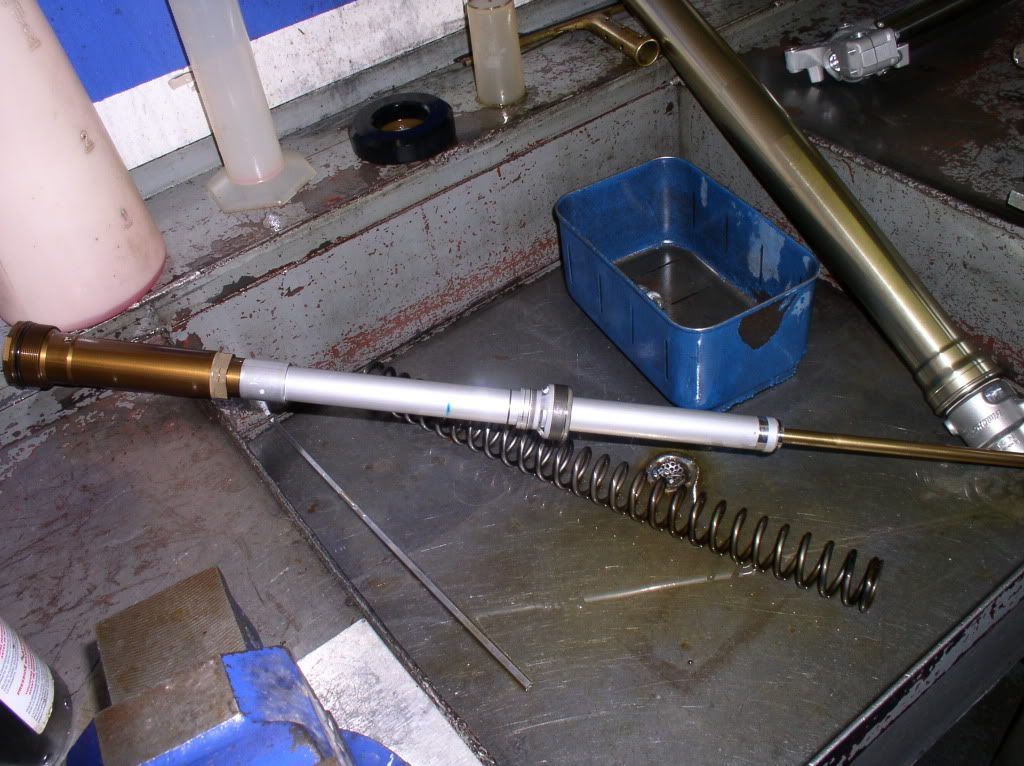
The forks on the CRF are dual chamber forks. Its pretty self descriptive. The inner chamber is the cartridge which is sealed off from the outer chamber. It contains oil and the valving. The outer chamber is the fork tubes. It holds the cartridge, spring, and oil which doesnt mix with the oil in the inner chamber.
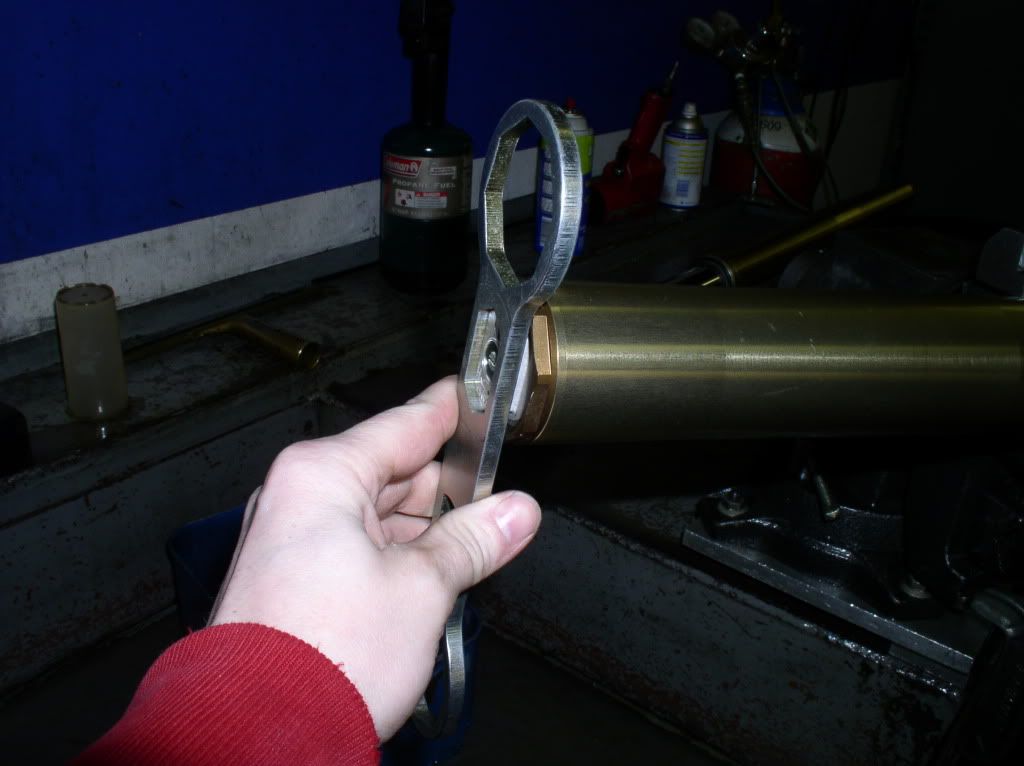
Unlike most street bikes the compression is up top.
Valving out youll end up with this.
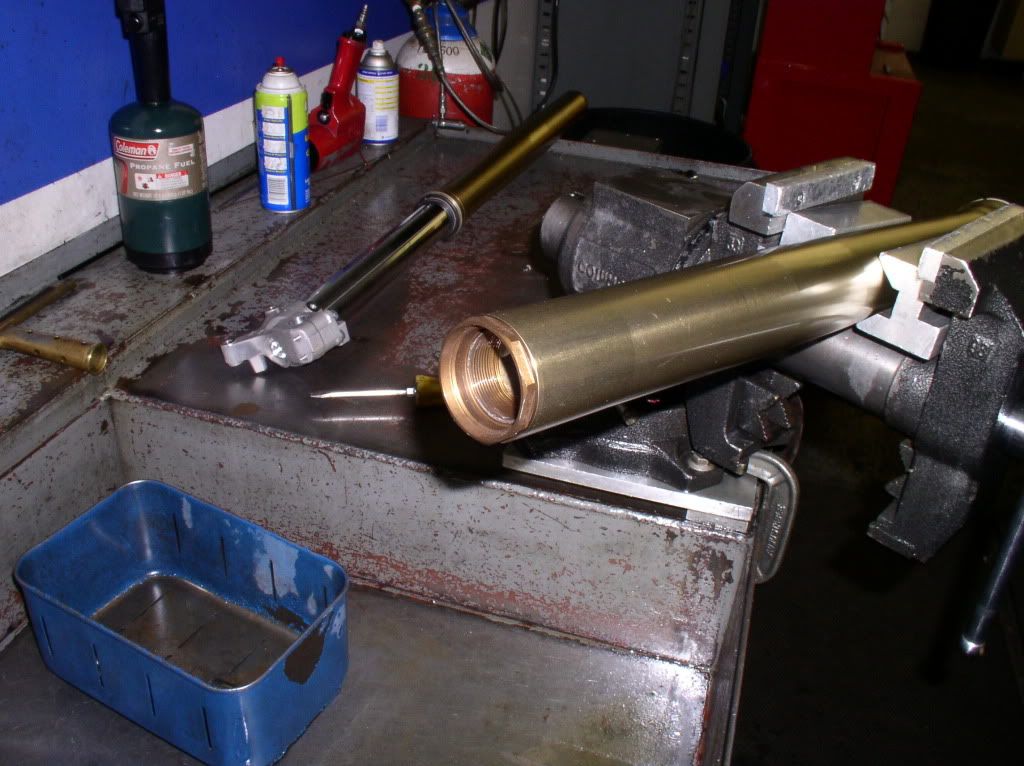
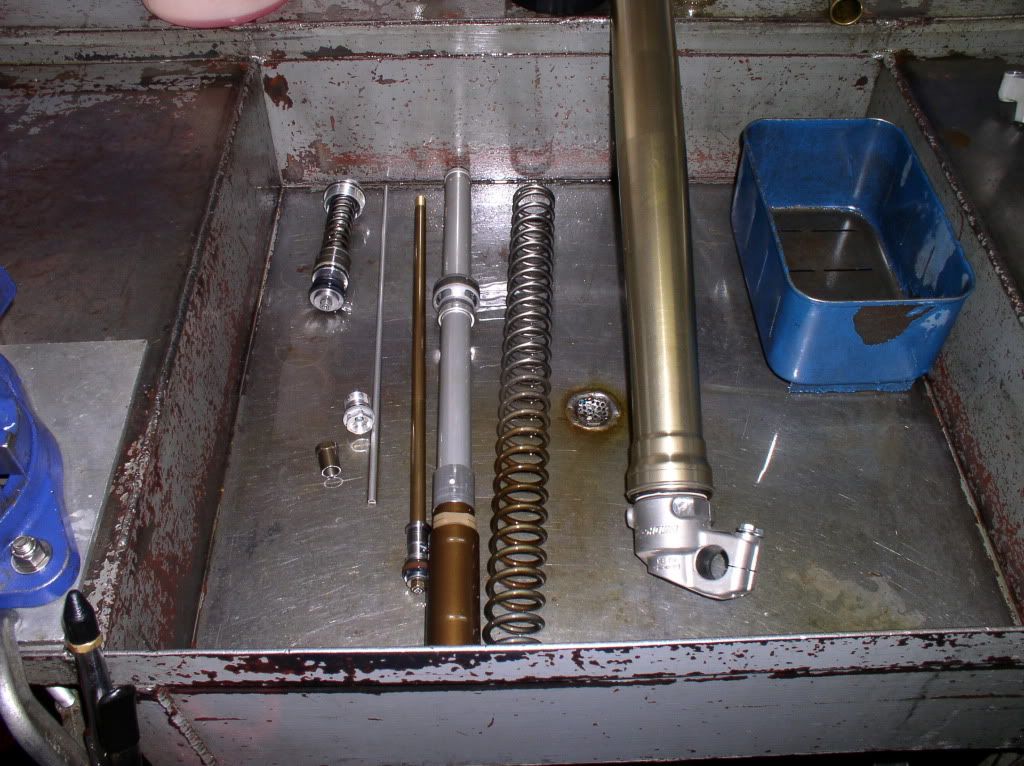
Then the outer chamber is loosened. If you notice its a little out of order. I got a little photo happy.
After the bolt on the bottom is removed the cartridge and spring are ready to be removed.
This is what you end up with from one fork leg. The other side is identical so mutiply the parts you see by two. What youre not seeing are the pieces in between the fork legs. Dust wiper, fork seals, bushings, and snap rings.
Now they are just waiting for PK to come up with a valve spec for the woods and work his magic.
 Posting Permissions

 Reply With Quote