0


Thanks man.Originally Posted by trickphoto

Yeah I hate it too... ugh. I am thinking maybe I should have rented a sander by now just because I hate this shit. Oh well. It'll get done eventually...
Zip-Tie Alley Racing
LRRS/CCS #103
PPS | Dunlop | Boston Moto | Woodcraft & Armour Bodies | 35 Motorsports | Pit Bull | K&N
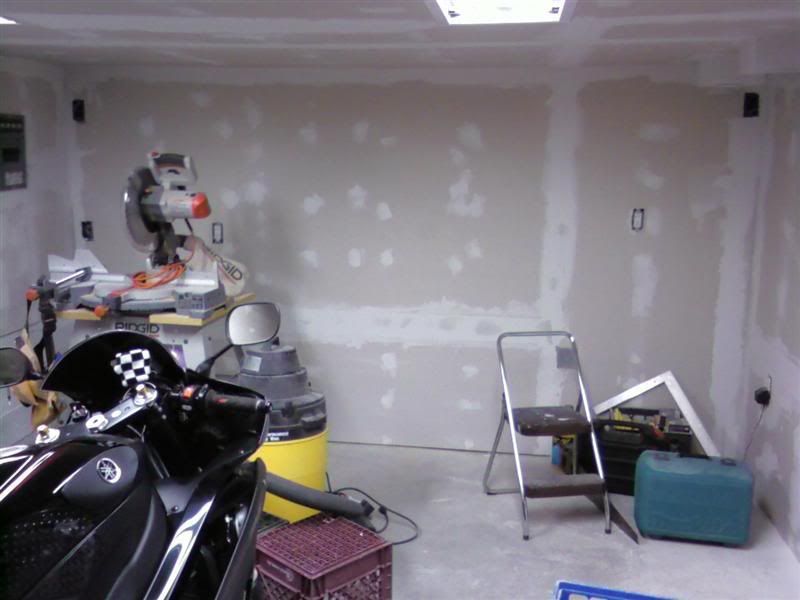
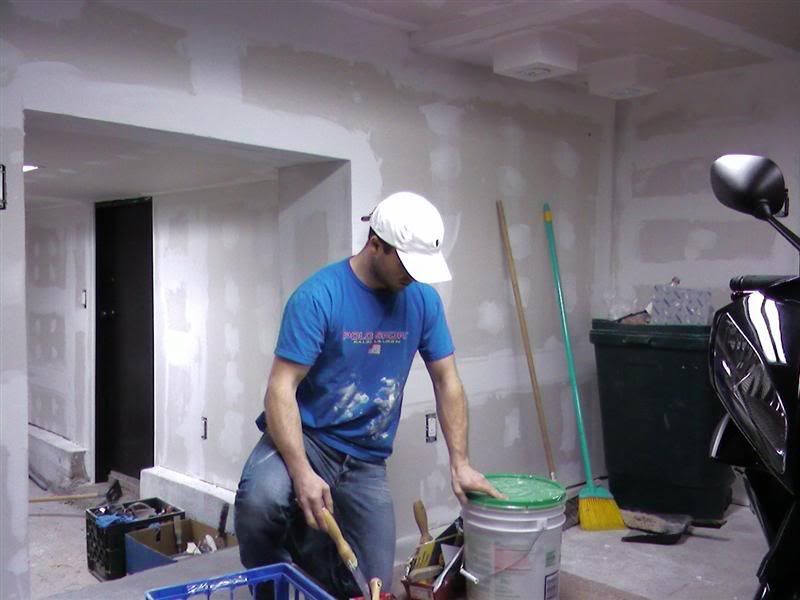
I was only able to put a large chunk of one day this weekend.
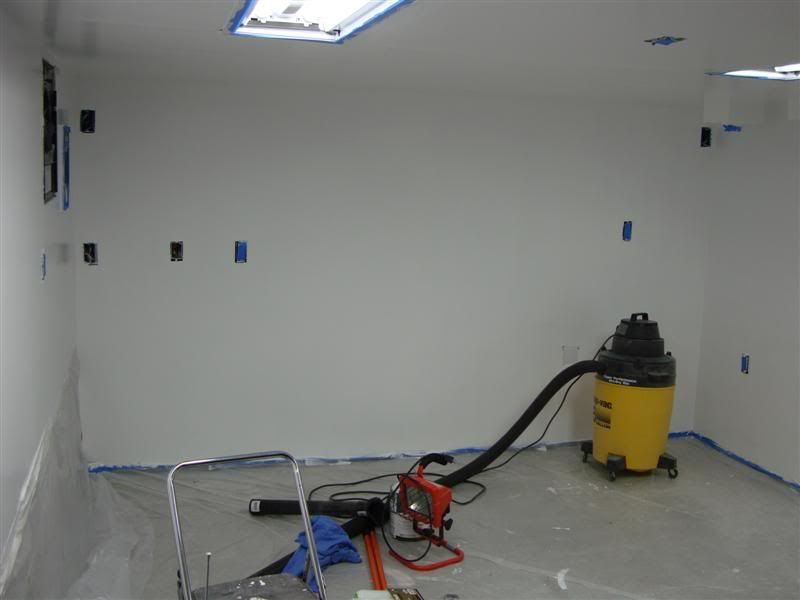
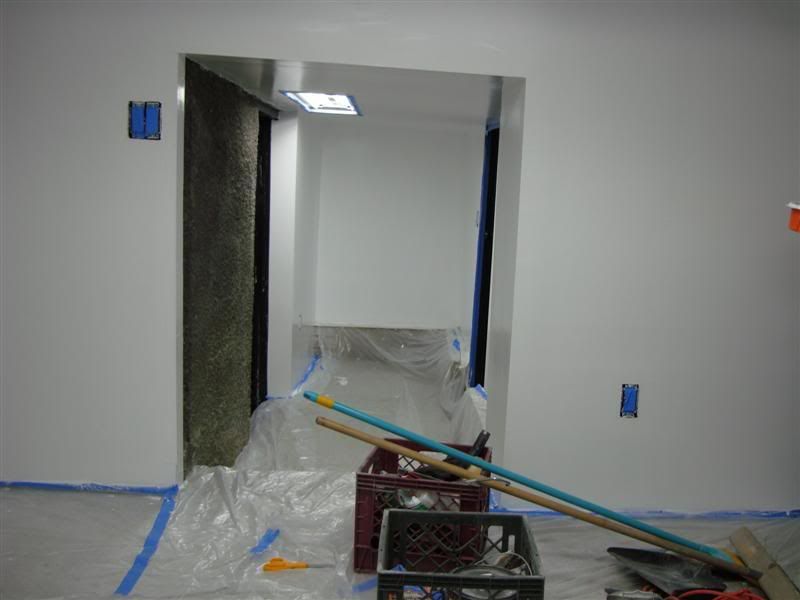
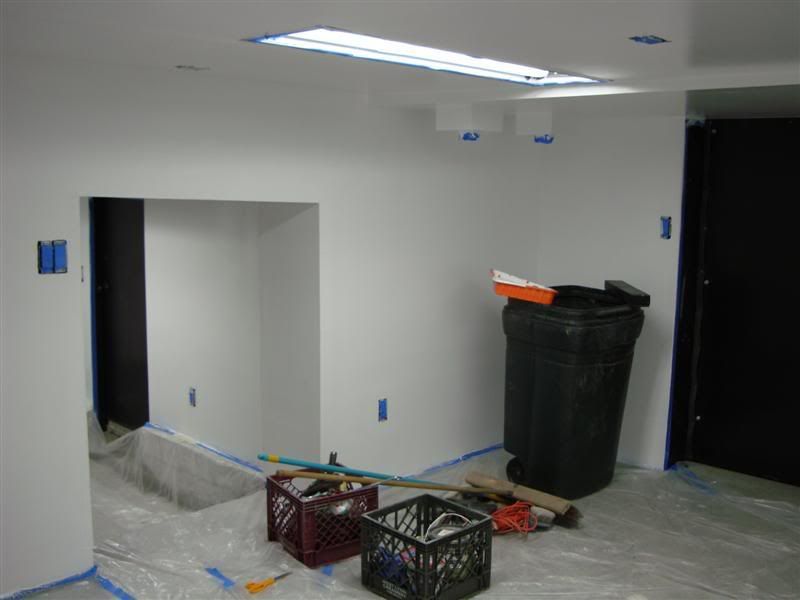
I finished sanding some mud and laid down a fresh coat over the whole garage. I think it is pretty much there in terms of coverage in smoothness. After a very light sanding, I think about 1/4-1/3 of the garage will need another very light coat of mud and then it will be done and ready to move on to paint. It doesn't look much different so I didn't take many pics obviously. You can see in these photos that there are some places where the mud is still a grayish color... i.e. it's still wet...:
A couple other odds and ends:
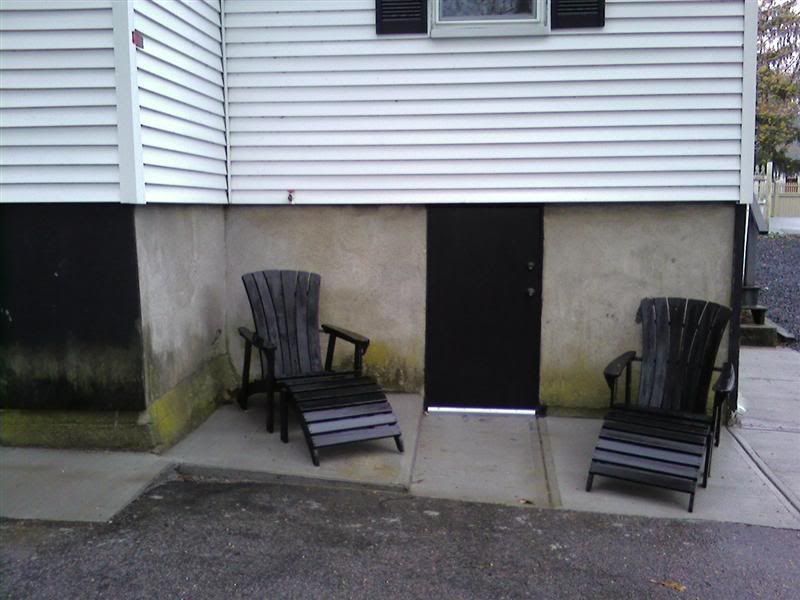
Down the street someone was throwing out these adirondack chairs, and they were really in decent shape and were the right color, so I nabbed them. I figure after a long day of wrenching on the bike, I can grab a beer and watch the sunset over the lake in these bad boys. Not bad for $0....:
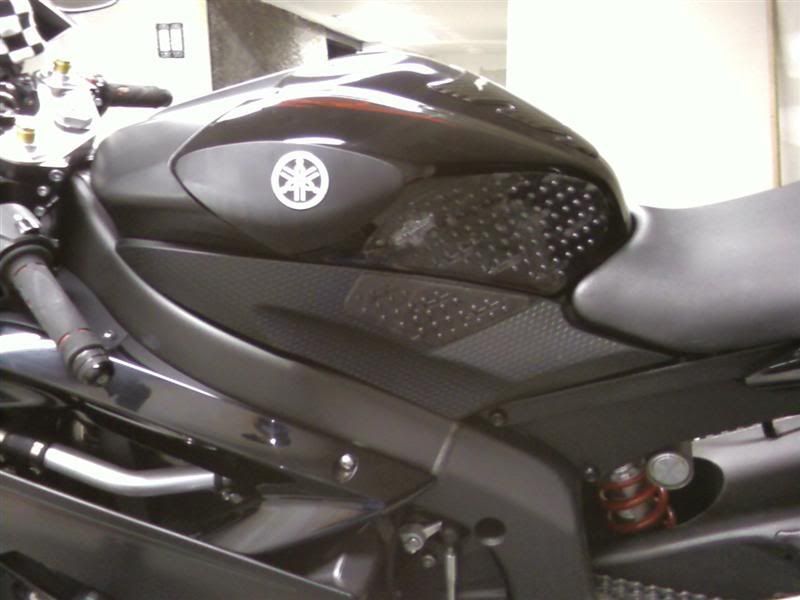
The new tank panel and piece of stompgrip came in... threw those on. Someone suggested drilling a little hole and securing these with a ziptie like they did on their bike... I will probably do that soon. Back to normal:
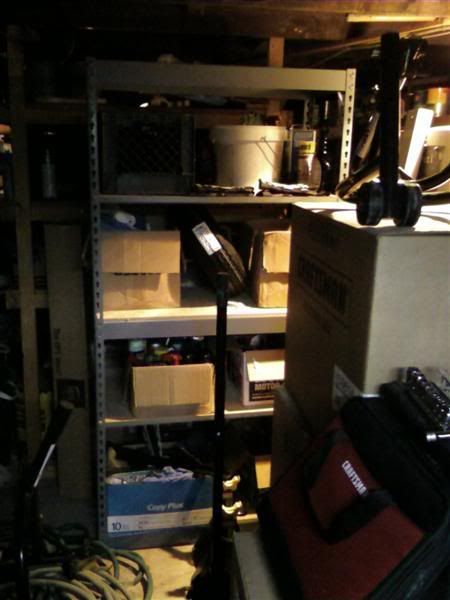
A friend's dad was using a set of utility shelves in a storage unit he was going to be emptying out and didn't need them anymore, so I grabbed them for free. For now, they are in the main basement with a lot of bike parts and maintenance materials on them, but when I'm done they will end up in the garage. Another $0 deal:
Hopefully will have some more good progress after this weekend, although a friend is going to be visiting. We'll see.
Zip-Tie Alley Racing
LRRS/CCS #103
PPS | Dunlop | Boston Moto | Woodcraft & Armour Bodies | 35 Motorsports | Pit Bull | K&N
Thats looking really nice.
Im impressed when people can take care of all of this stuff on their own. It makes you appreciate it more.
I say call it the man cave.
Thanks dude! It certainly does feel a lot better when you've done it all yourself. Rewarding.
It will certainly be a man cave, but I can't call it that until I get the mini beer fridge in there
Zip-Tie Alley Racing
LRRS/CCS #103
PPS | Dunlop | Boston Moto | Woodcraft & Armour Bodies | 35 Motorsports | Pit Bull | K&N
Well I was going to post up some progress I made this weekend, but DBConz made fun of me, so I'm not so sure anymore.
Zip-Tie Alley Racing
LRRS/CCS #103
PPS | Dunlop | Boston Moto | Woodcraft & Armour Bodies | 35 Motorsports | Pit Bull | K&N
please that is one clown telling another clown they look funny forsing like a clown.


I didn't even realize there were any gixxah riders there yesterday?
Yamaha
did you look at the back of the pack?
They were all in the back parking it in the corners
edit: weman beat me to it
Zip-Tie Alley Racing
LRRS/CCS #103
PPS | Dunlop | Boston Moto | Woodcraft & Armour Bodies | 35 Motorsports | Pit Bull | K&N
you go to hell and you die
HAHA - delicious
Denno - CCS|LRRS EX#49
2006 Yamaha R6LRRS Rookie of the Year 2008
Not really, usually I could not even see them
MSF RiderCoach
MSF Dirt Bike School Coach
PKism: you don't count, you're just a guy with indoor plumbing
not what i heard!
Denno - CCS|LRRS EX#49
2006 Yamaha R6LRRS Rookie of the Year 2008
Sorry for turning this into a gixxer thread..it's not their fault
Yamaha
Just read the whole thread. Pretty cool man! I need a garage too!
Thanks dude! It's coming along...
DISCLAIMER: If your name is DBConz, go read another thread.... and then fuck yourself.
Made some good progress this weekend.
Finished the last coat of joint compound, and sanded it down. I'm not great with mudding and sanding... it's not the best job, but it's good enough for a garage. I'm anxious to finish it so I'm not going to kill myself doing any more coats and/or sanding.
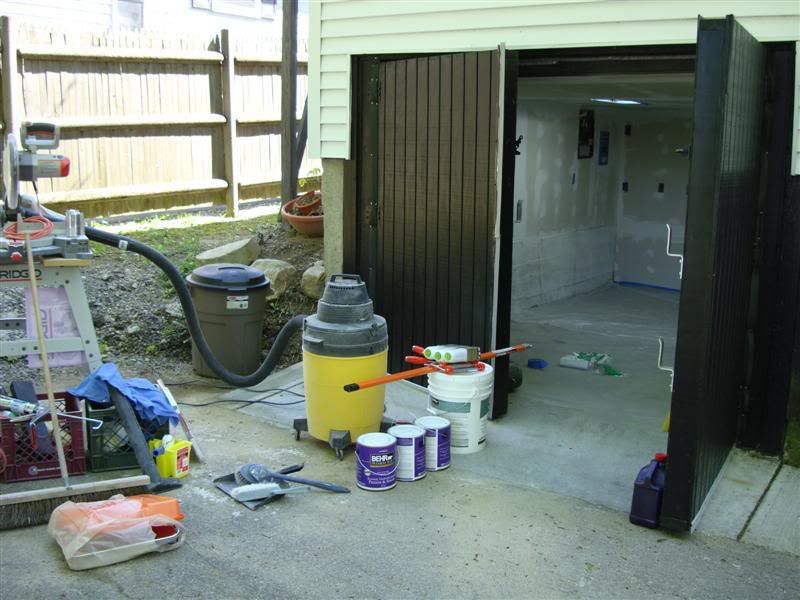
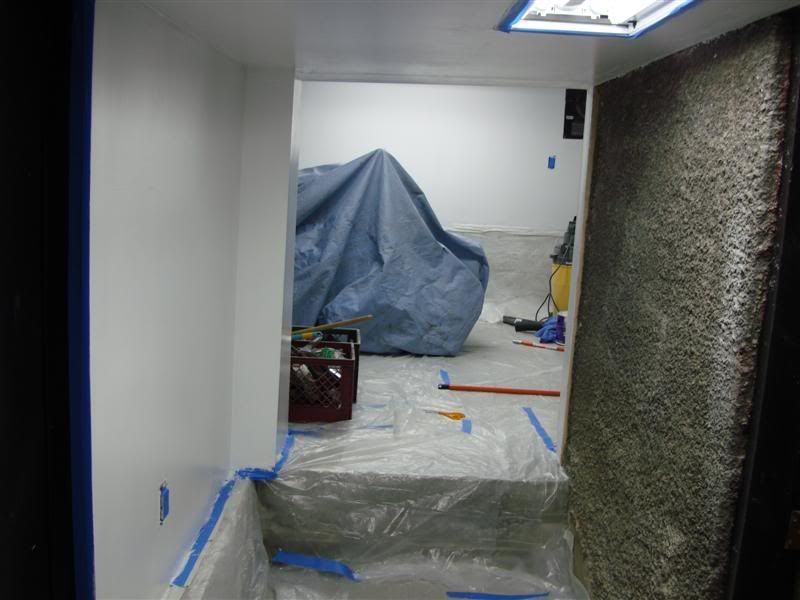
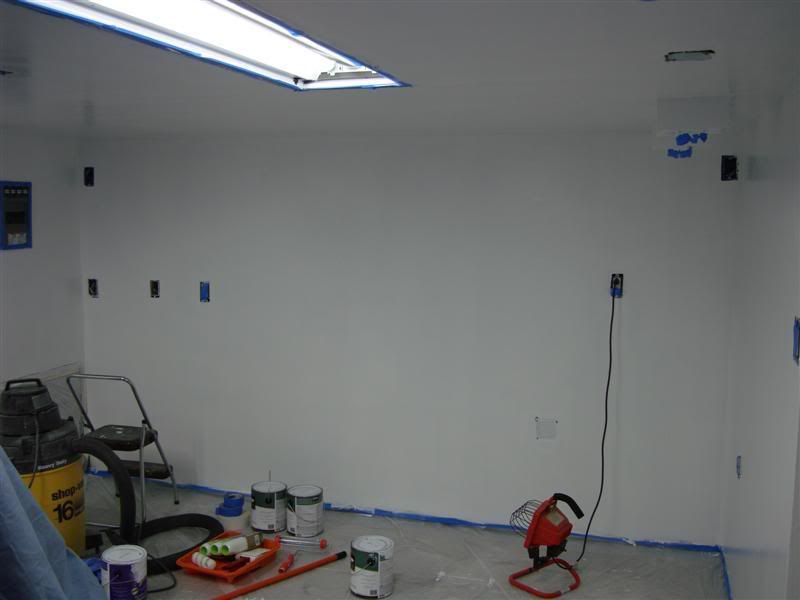
Then, I completely cleared the place out, swept the ceiling and all the walls (drywall dust... yuck), moved out all the tools, the bike, the table saw, etc. Swept out the floor, and it was time to get down to business. Bought all my primer, paint, and supplies:
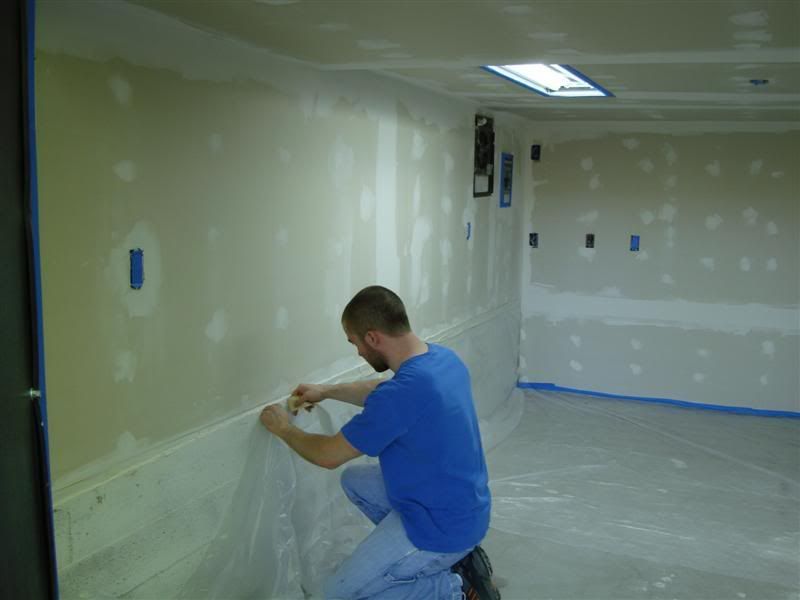
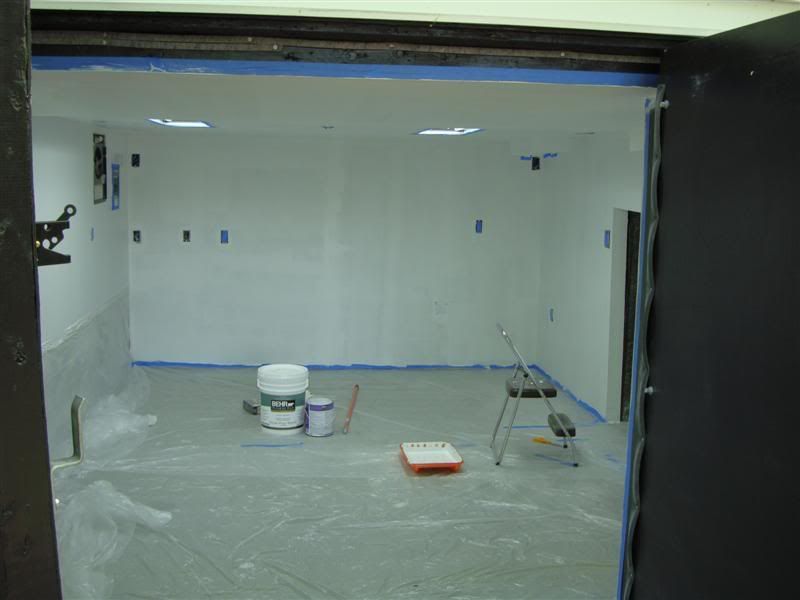
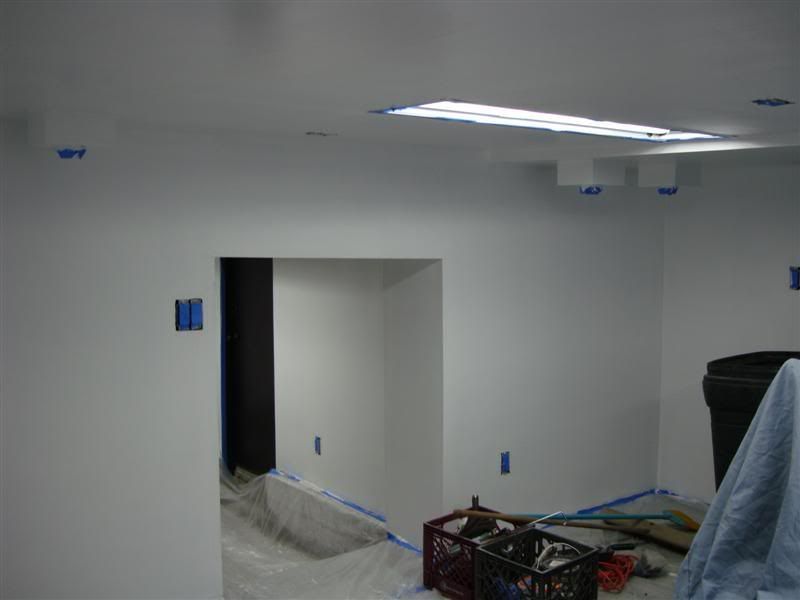
Laid down plastic everywhere and carefully taped all the borders, corners, outlets, lights, etc. I didn't want to paint the concrete kneewalls in either room because when I eventually do the epoxy floor coating I intend to do those surfaces as well. Prep work:
Behr paints are so much better than the cheap shit in terms of not only looks, but coverage and spreadability. Do yourself a favor and don't cheap out.
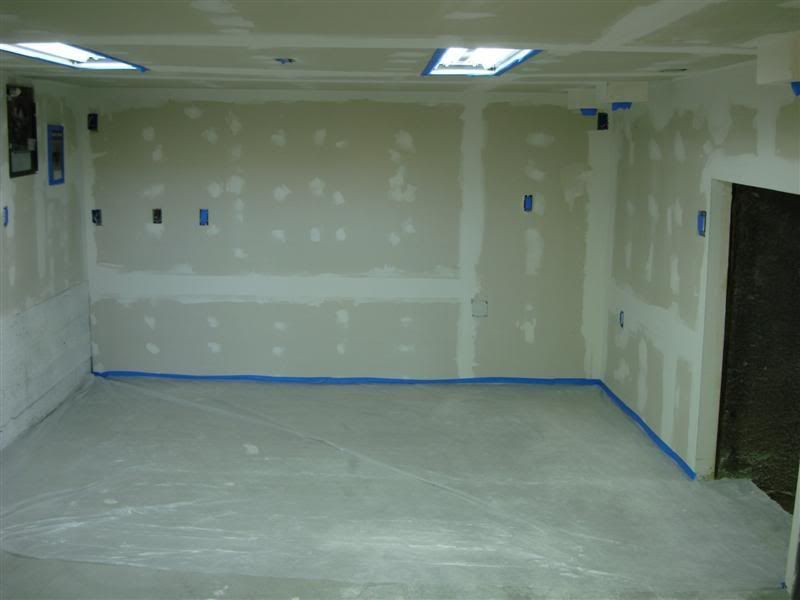
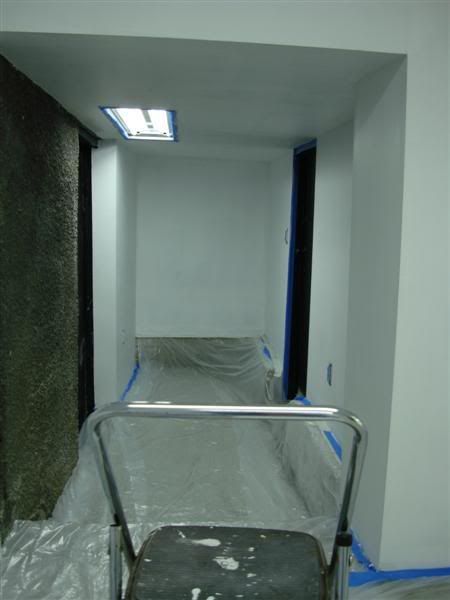
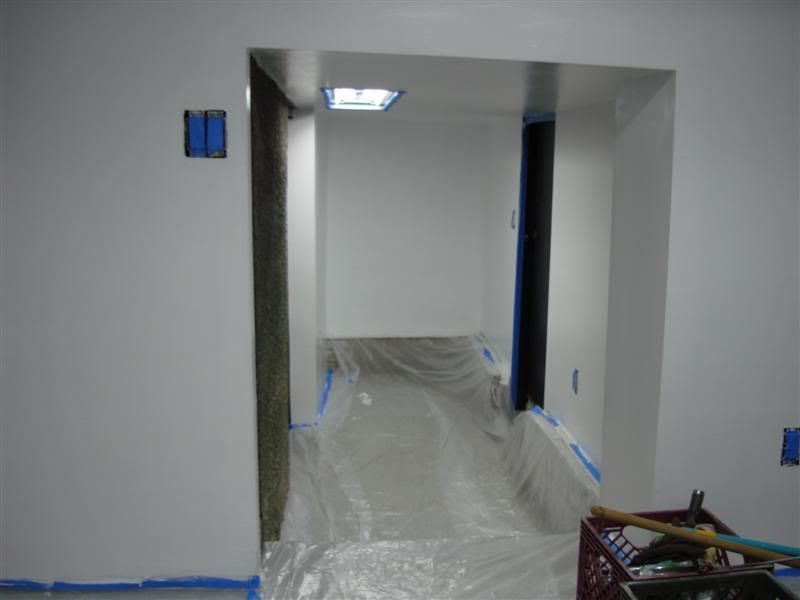
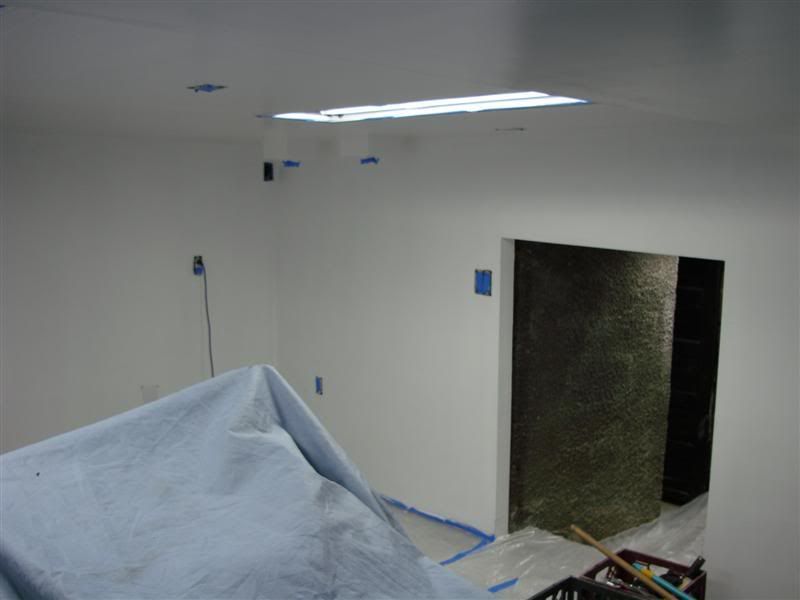
Put on the primer:
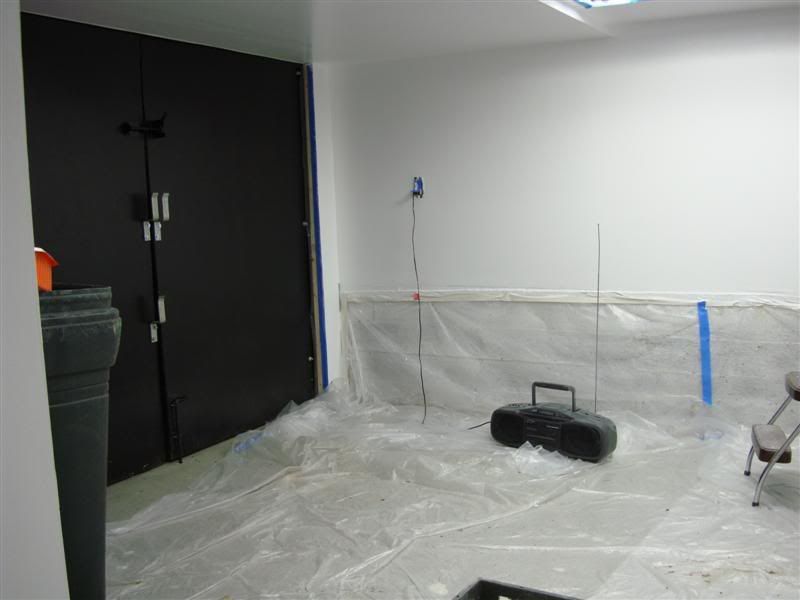
Went for a good ride sunday morning with the NESR crew, a couple hundred miles. Got back and did 1 coat of the finish paint:
Then I packed it up to watch the celtics game (GO C'S!!). Next weekend I'll do the last coat of paint.
Today I ordered the diamond plate baseboard that I mentioned ealier in this thread, it should arrive in time for me to install it this weekend. Then I'll seal it to the floor with caulking for waterproofing purposes, clean the shit out of concrete floor, and then it's just fun stuff left to do... like building all the shelves into the walls, building a workbench, setting up and organizing my toolchests, etc. So close!!
Zip-Tie Alley Racing
LRRS/CCS #103
PPS | Dunlop | Boston Moto | Woodcraft & Armour Bodies | 35 Motorsports | Pit Bull | K&N
shouldn't you have done that before you the finish work. I mean if they are being built into the walls would't that mean taking out some of the walls?
BTW looks sick. too bad its a short persons garage.
I'm not sure if you're joking or serious... I just meant that the shelving is going to be hard-mounted into the wall studs, but still through the drywall... it will be better that way as long as the screws are long enough. Painting first is easier in this case..
I'll use something like this (they'll probably be white though) and cut the shelves out of wood:
And yeah it's definitely low-ceiling in there.. but I fit in just fine and the space is free for me, so it's great.
Zip-Tie Alley Racing
LRRS/CCS #103
PPS | Dunlop | Boston Moto | Woodcraft & Armour Bodies | 35 Motorsports | Pit Bull | K&N
sorry it must have been the way i read it. It sounded like you were building custom shelves "into" the walls, you set back into the drywall. my bad.....
its coming along very nicely, considering when i picked up the rims it wasnt close to being finished, i think you just had the floor poured.
"Little people" is the term we use as a group. It brings us together. Kind of like the N word for black people. It's our way of fighting back.
Thanks man! Yeah... it's coming along... very slowly. If I had just worked on it straight from the start full time it would have been done like 8 months ago haha... damn schedule.
Zip-Tie Alley Racing
LRRS/CCS #103
PPS | Dunlop | Boston Moto | Woodcraft & Armour Bodies | 35 Motorsports | Pit Bull | K&N
This long weekend I was able to get a lot of the final things done. I'm really psyched right now. Most of these things didn't require a ton of work, but they make such a huge difference towards the appearance of being done that it really looks great now.
I did the final coat of paint all around. I also repainted parts of all three of the thresholds in black, since they got joint compound and/or paint on them. Other little black trim stuff outside was also given another coat. Here's the final coat of paint:
Intermittently I threw on all of the faceplates for the outlets and switches.
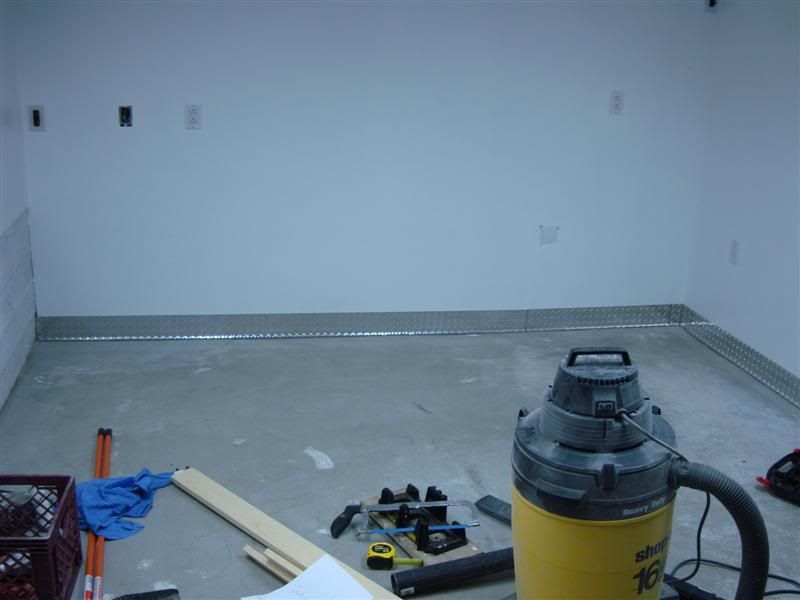
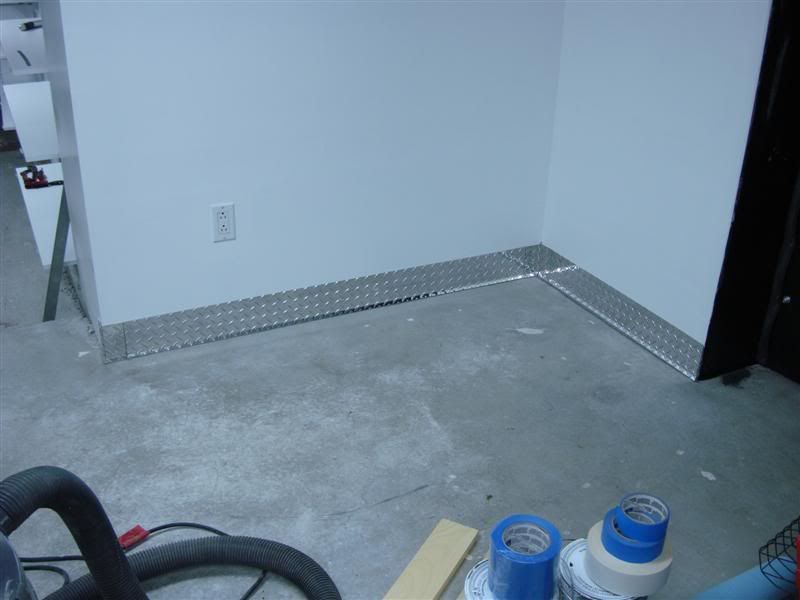
Next, I installed the diamond plate baseboard. I was able to do the whole main room with it. I couldn't do the one piece of wall I wanted to do in the small room because there were a couple pieces missing from the order, so I alerted the company and they will be here this week. Besides that, the people were nice and attentive (diamondlife I think the company is called) and also, the stuff looks great!!! Here's the parts that I did:
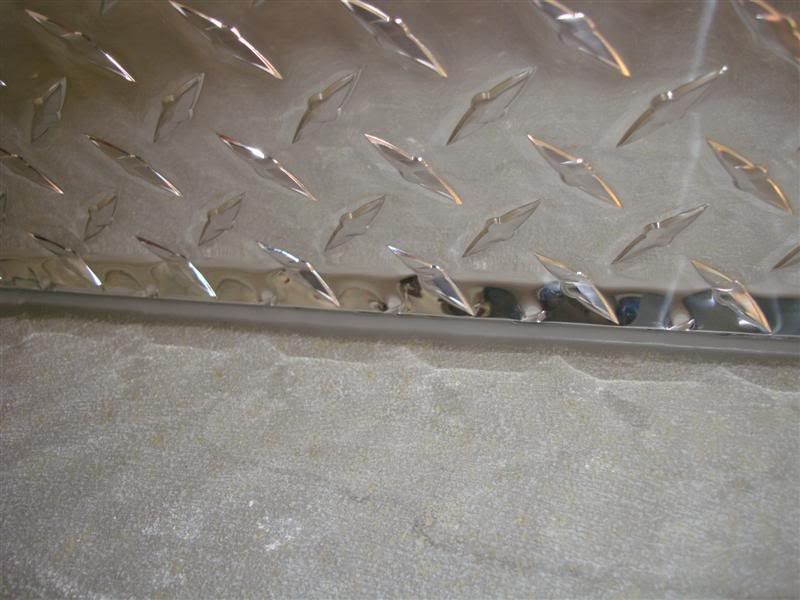
I used an aluminum-colored caulking meant for trim work to seal the baseboard to the floor all around the room. This means for washing the floor I never have to worry about moisture getting up under the wall, into the drywall and the wood. I could literally fill the room up with 4 inches of water. Here's a closeup of the caulking sealing the baseboard to the floor:
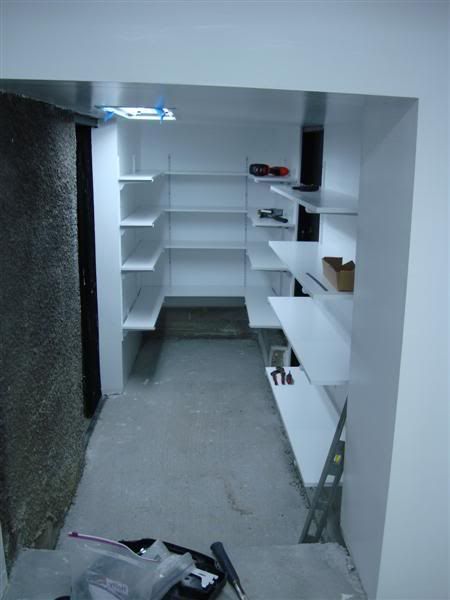
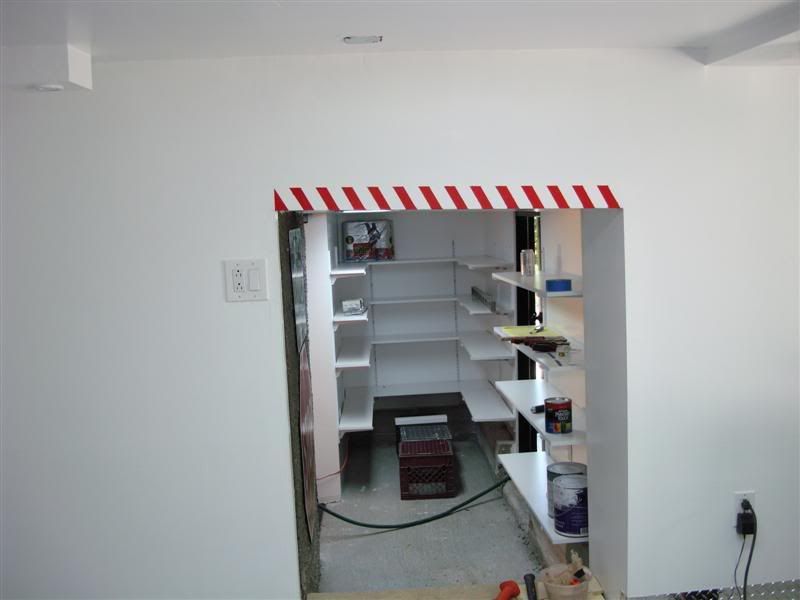
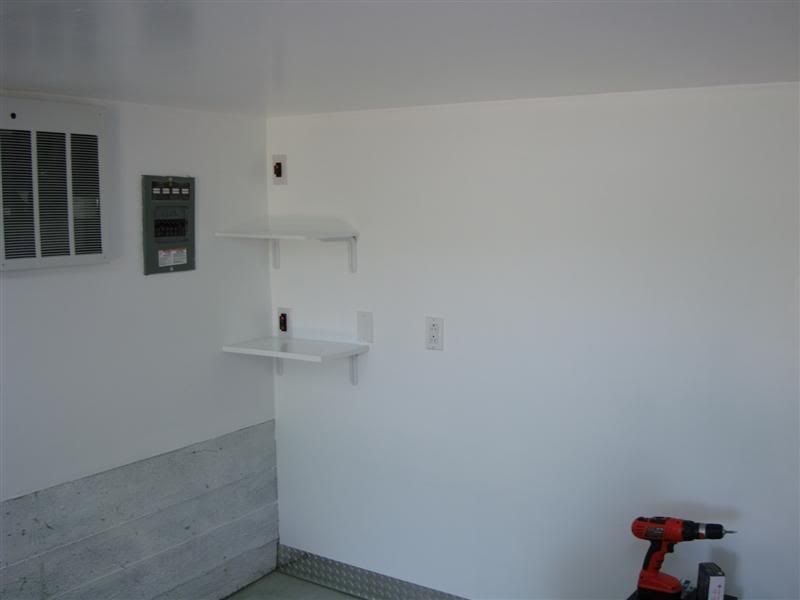
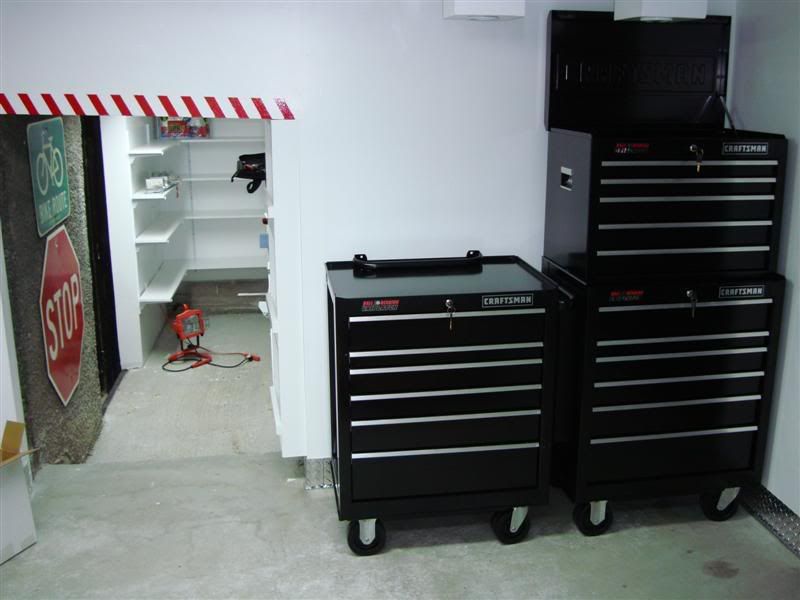
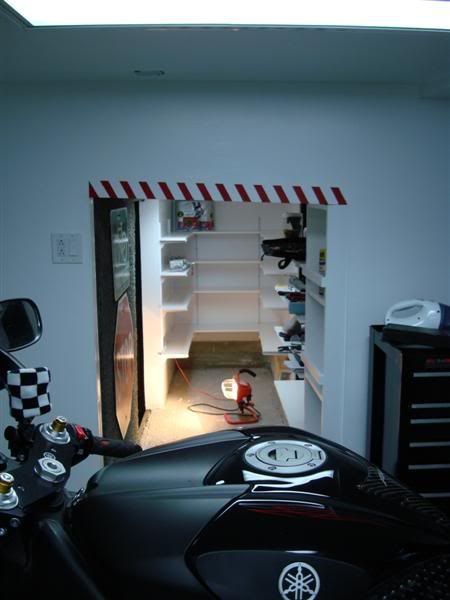
I installed shelving on all the walls in the small room. On the left are 8" deep shelves, the back wall has 12" deep shelves, and the whole right wall on either side of the doorway has 10" deep shelves.
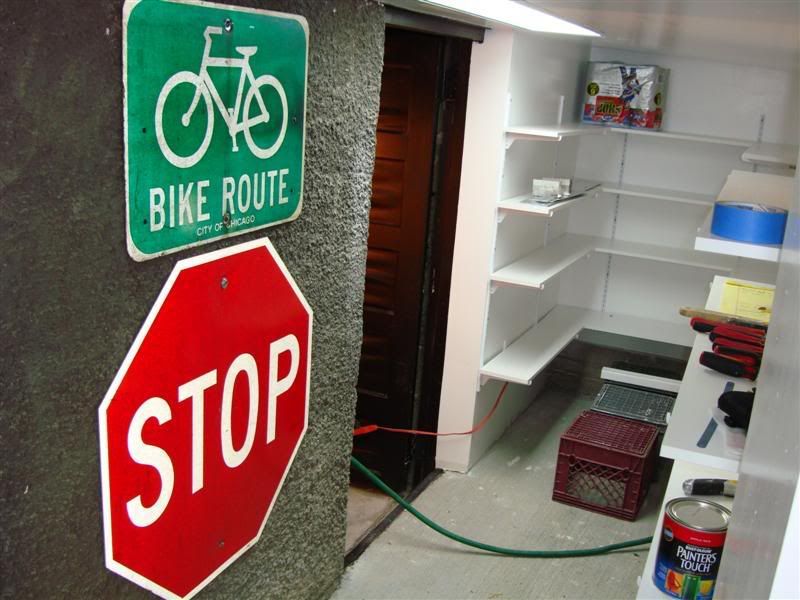
Here's a little bling I had lying around... a couple old street signs. The bike route sign is from chicago, forget how I came into that. I used a concrete nailer to hang 'em:
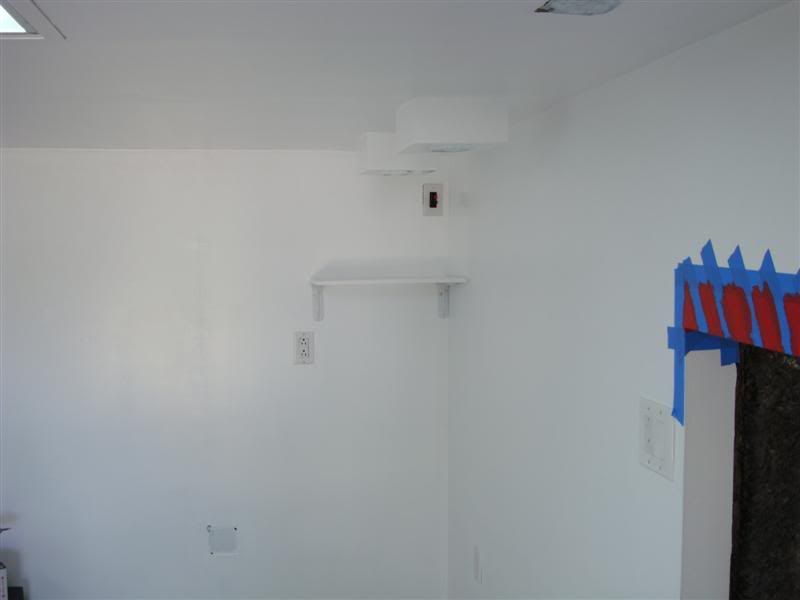
Because of the low overhang between rooms, I decided to paint some caution stripes on the threshold. Several people (including me once, forgetting to duck) had already hit their head. So I just measured off a bunch of stripes with a ruler and pencil, taped it up with painter's tape, and used some high gloss red paint:
Later, I pulled away the tape, and it came out pretty nicely I think:
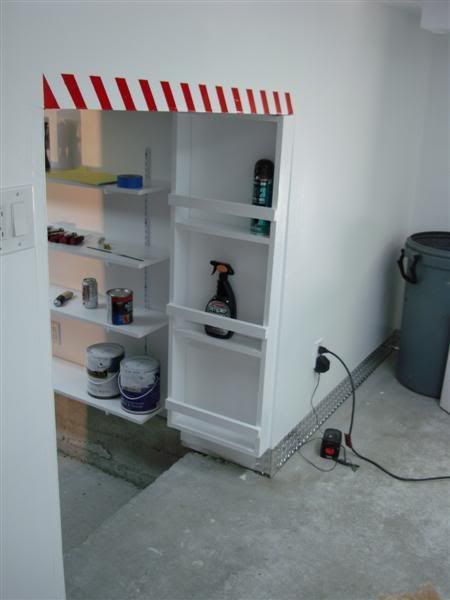
Next, I decided to take care of some more shelves in a few places. Since the shelves on the right wall in the small room are 10" deep, they protrude into the doorway a little bit. Thus, I figured I could utilize the space on the wall in the threshold between rooms.
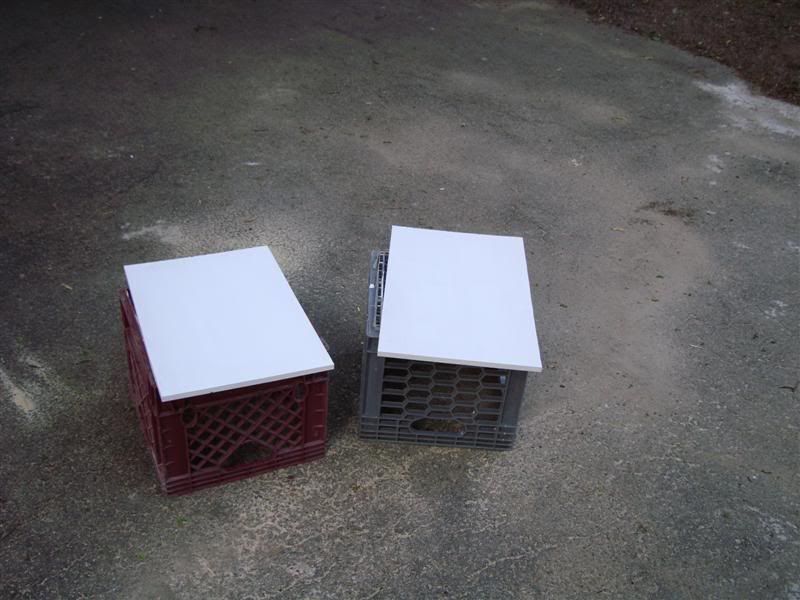
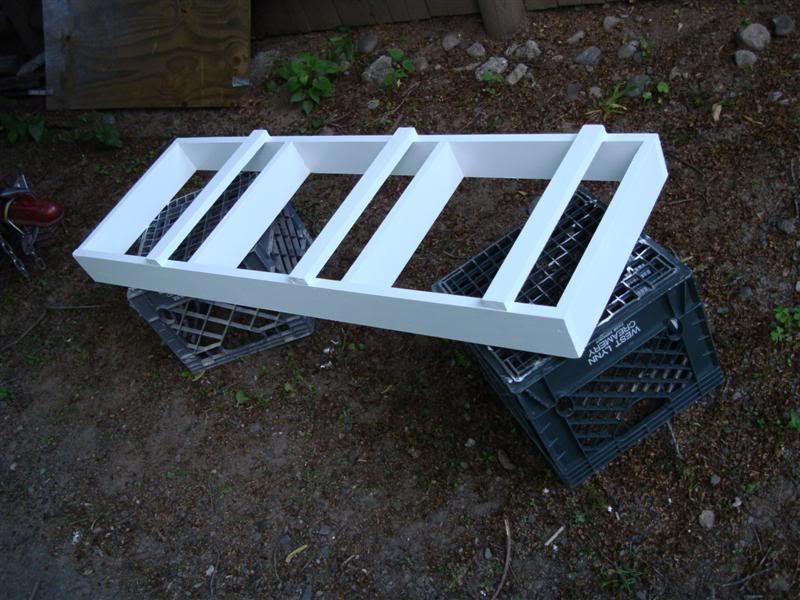
I don't like having tons of bottles and aerosol cans everywhere and not being able to find them when I need them, so I designed and built a little rig to hold them:
I also cut some plywood shelves for the speakers and my stereo. I painted those and the shelves I made for the cans/bottles:
Then I installed the can rig I dreamt up. It fit pretty well and looks like it will be very handy:
Also installed the shelves for the speakers and stereo, and wired up the speaker wire outlets they will all utilize:
This last picture was right after I used a floor degreaser called greaseaid, a bristle brush on my hands and knees, and rags to clean the floor. That drywall dust is really ground in there pretty badly. I'm a little pissed about this, but I'm not sure it's worth the effort to get it all off right now since eventually I will need to prep the surface in both rooms for adherance of an epoxy floor coating when I have the time and money to do it. That will probably occur this fall. That is, unless someone has an easy solution for cleaning the floor that I could do quickly soon.
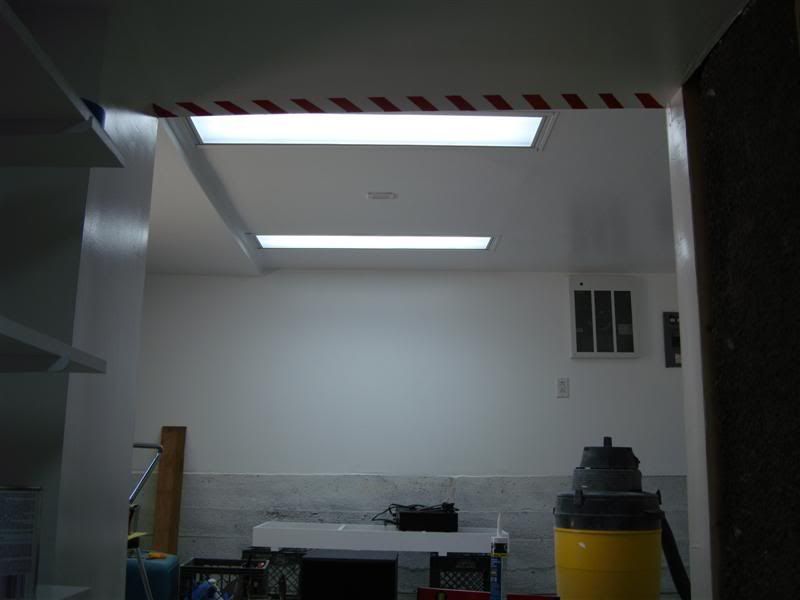
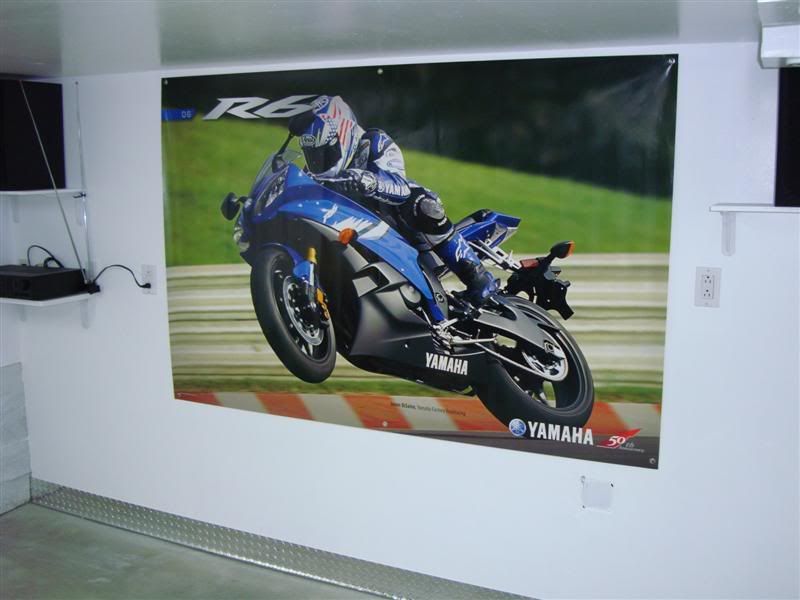
Then, here's another trick I had up my sleeve... hung up this bad boy:
Then I opened up the craftsman roller chests I bought three or so months ago, finally. I bought them at that time because they were on a killer sale but haven't been able to bring them into the garage obviously. The 5-drawer top chest had been damaged from the manufacturer/shipper, the lid wouldn't close and when put down on level ground it wobbled. I had to take that back to sears and get a replacement. They gave me no trouble at all and gave me a brand new one in exchange right away. After that hiccup, I got them all set up. When everything is in place, the lid of the top chest JUST clears the recessed lighting boxes I built. Yeah, I planned it that way carefully... right... haha. Here's the chests:
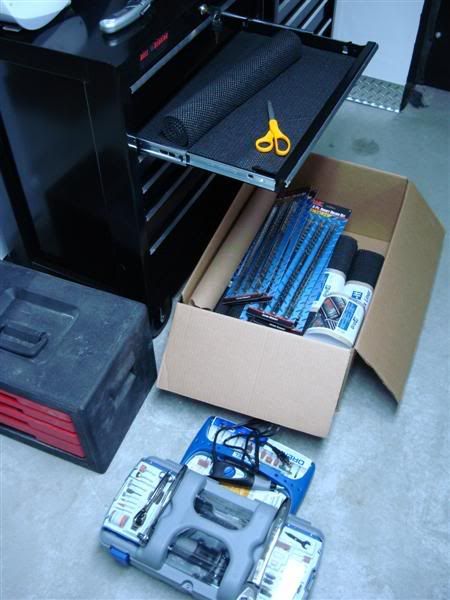
All the tool companies charge an arm and a leg for drawer liners for tool chests, like $20 a roll. I found rolls at harborfreight for $3, and got 11 rolls. This is enough to do all of my toolchests as well as the drawers that will be in my workbench when I build it. I test cut one drawer and the stuff is great, just as good quality as the craftsman (and others) drawer liners, nice and sticky, etc. Good way to save money for those of you who need some liners:
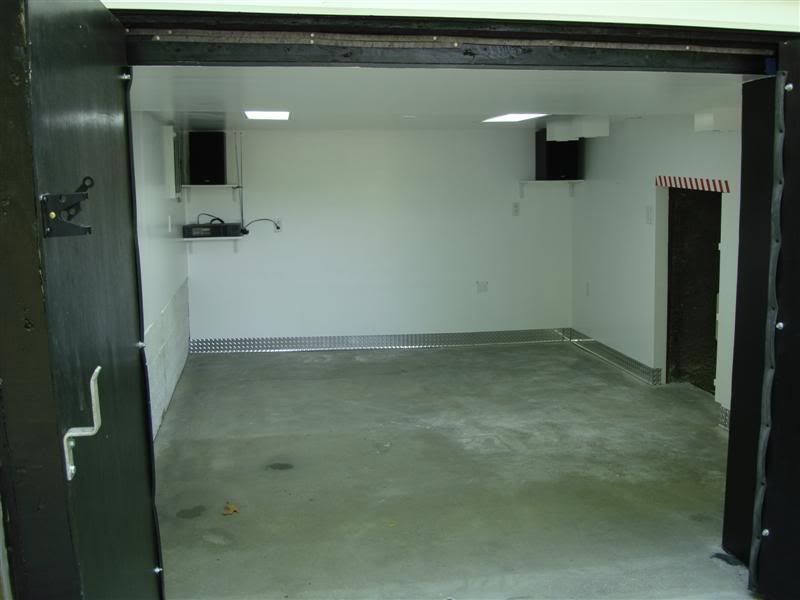
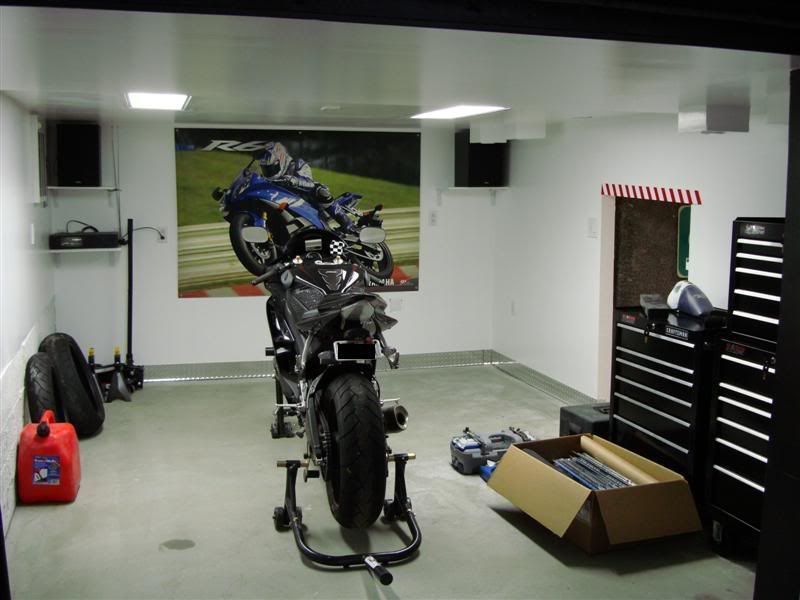
Then I started bringing stuff in from the main basement, like the bike and stands, my jack and jackstands, backup (old) tires, gas,more of my tools, etc. This is the garage in it's current state as I left it at the end of the weekend... basically 95% done!!!!!!!!!!
There is a bunch left to do, but for the most part, it's the way I want it.
Short term to-do's:
- Design and build workbench (I have a plan for this, just need to do it)
- Procure man-fridge to fit under said workbench to harbor tasty adult beverages (this is a HUGE necessity)
- Get everything out of the main basement that is mine, and get it organized and onto shelves and into tool chests
- Hang some hooks on the east wall for hanging up all my leathers and riding gear
- Finish the plumbing: right inside the main basement near the black door, install a big shop sink. Also, finish hooking up the outside faucet for washing cars/bike so the hose doesn't need to be drug out there every time.
Long-term to-do's:
- Grind/sand/etc concrete floor in both rooms, acid wash it, then apply medium gray epoxy base, then red/white/black paint flakes, then a nice think clear epoxy topcoat
- Buy a compressor, pour a concrete slab for it outside and build a 'doghouse' for it to 'live' in, plumb the air line in through the wall near the heater
- Tackle the main basement... lots of organization, trashing, and a little lighting/electrical work in there. Nothing anywhere near close to the work in the garage though. I'll take a break for now
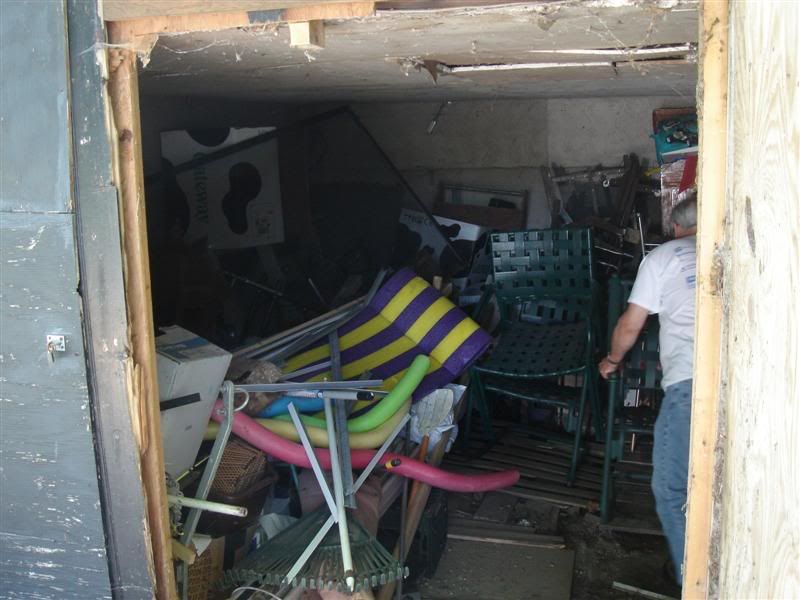
And it's not COMPLETELY done yet, but I can't help look back at this picture and compare:
Next weekend I will be doing a little bit on the garage, but it will mostly be related to packing for my trip and prepping the bike (this will include an onboard camera setup
Zip-Tie Alley Racing
LRRS/CCS #103
PPS | Dunlop | Boston Moto | Woodcraft & Armour Bodies | 35 Motorsports | Pit Bull | K&N
 Posting Permissions

 Reply With Quote